On-screen Manual
> Scanning Guide > MP Navigator EX Screens
> One-click Mode Screen
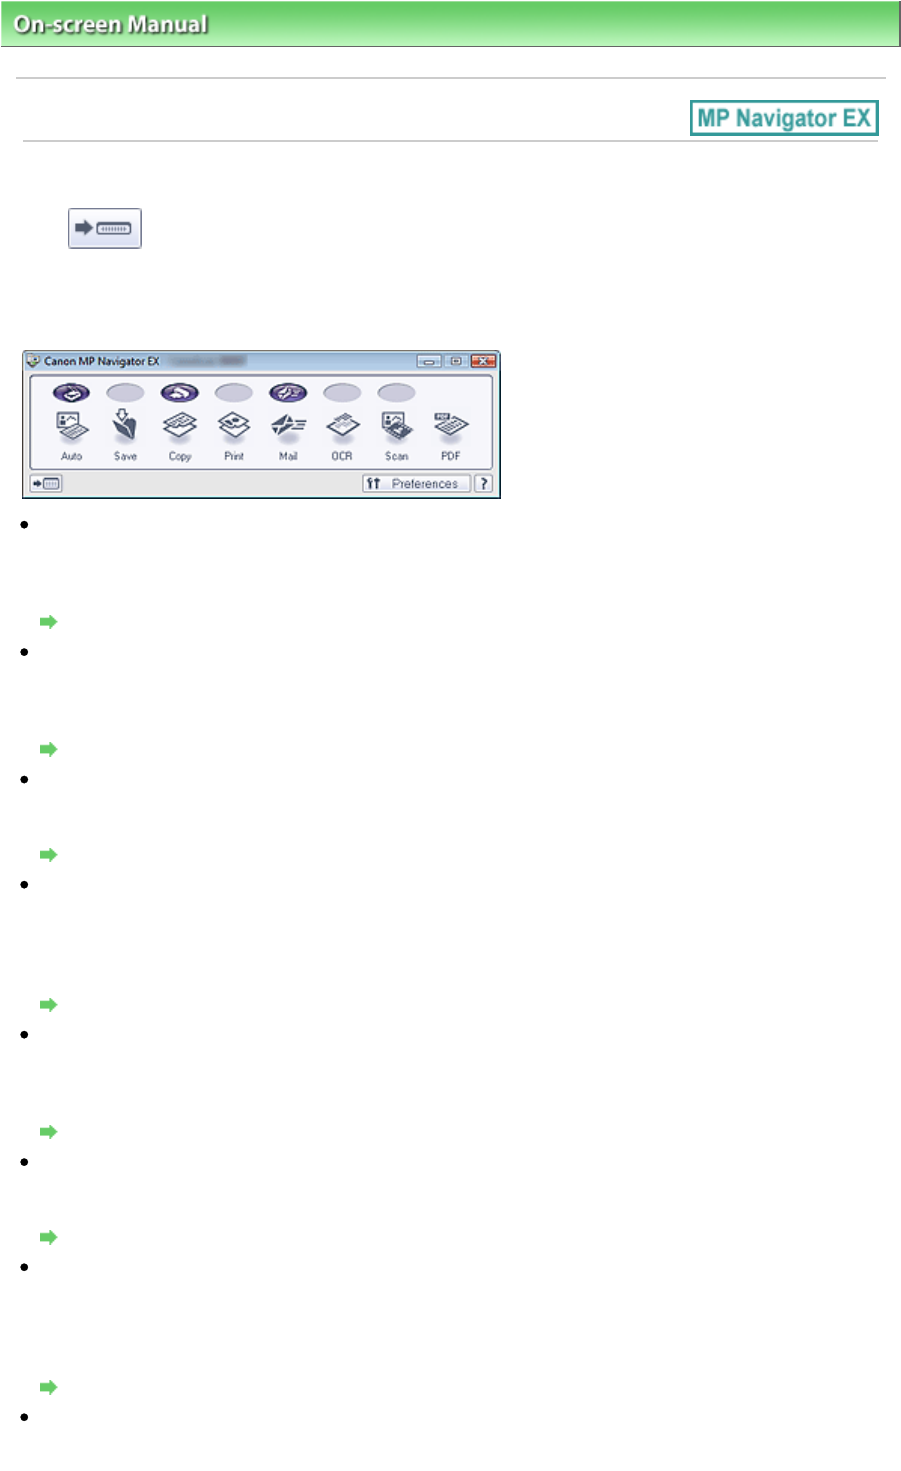
One-click Mode Screen
Click
(Switch Mode) at the bottom left of the Navigation Mode screen to display the One-click
Mode screen.
You can complete from scanning to saving, printing, etc. at one time by simply clicking the corresponding
icon.
Auto
Scan documents by automatically detecting the document type. File format is automatically set. Files
are saved to a computer.
When you click this icon, the Auto Scan dialog box opens and you can specify the save settings.
Auto Scan Dialog Box
Save
Scan documents or photos and save them to a computer. The document type can be detected
automatically.
When you click this icon, the Save dialog box opens and you can specify the scan/save settings.
Save Dialog Box (One-click Mode Screen)
Copy
Scan and print documents.
When you click this icon, the Copy dialog box opens and you can specify the scan/print settings.
Copy Dialog Box
Print
Scan documents and print them after specifying the paper, printing method, size, etc. This is useful
when you want to copy/enlarge printed photographs.
When you click this icon, the Print dialog box opens. You can specify the scan/print settings and print
on a printer.
Print Dialog Box
Mail
Scan documents or photos and attach them to e-mail.
When you click this icon, the Mail dialog box opens and you can specify the scan/save and e-mail
software program settings.
Mail Dialog Box
OCR
Scan text documents then extract text in the image and display it in Notepad (included with Windows).
When you click this icon, the OCR dialog box opens and you can specify the scan/save settings.
OCR Dialog Box
Scan
Scan documents/photos and open them in a specified application. The document type can be
automatically detected.
When you click this icon, the Scan dialog box opens and you can specify the scan/save and application
settings.
Scan Dialog Box
PDF
Scan documents and save them as PDF files.
Page 133 of 334 pagesOne-click Mode Screen


