


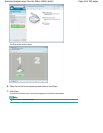


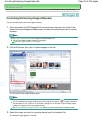
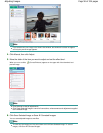

Note
If you selected only one image in the View & Use window, the thumbnail list does not appear
and only the preview image appears.
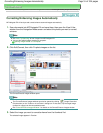
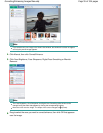
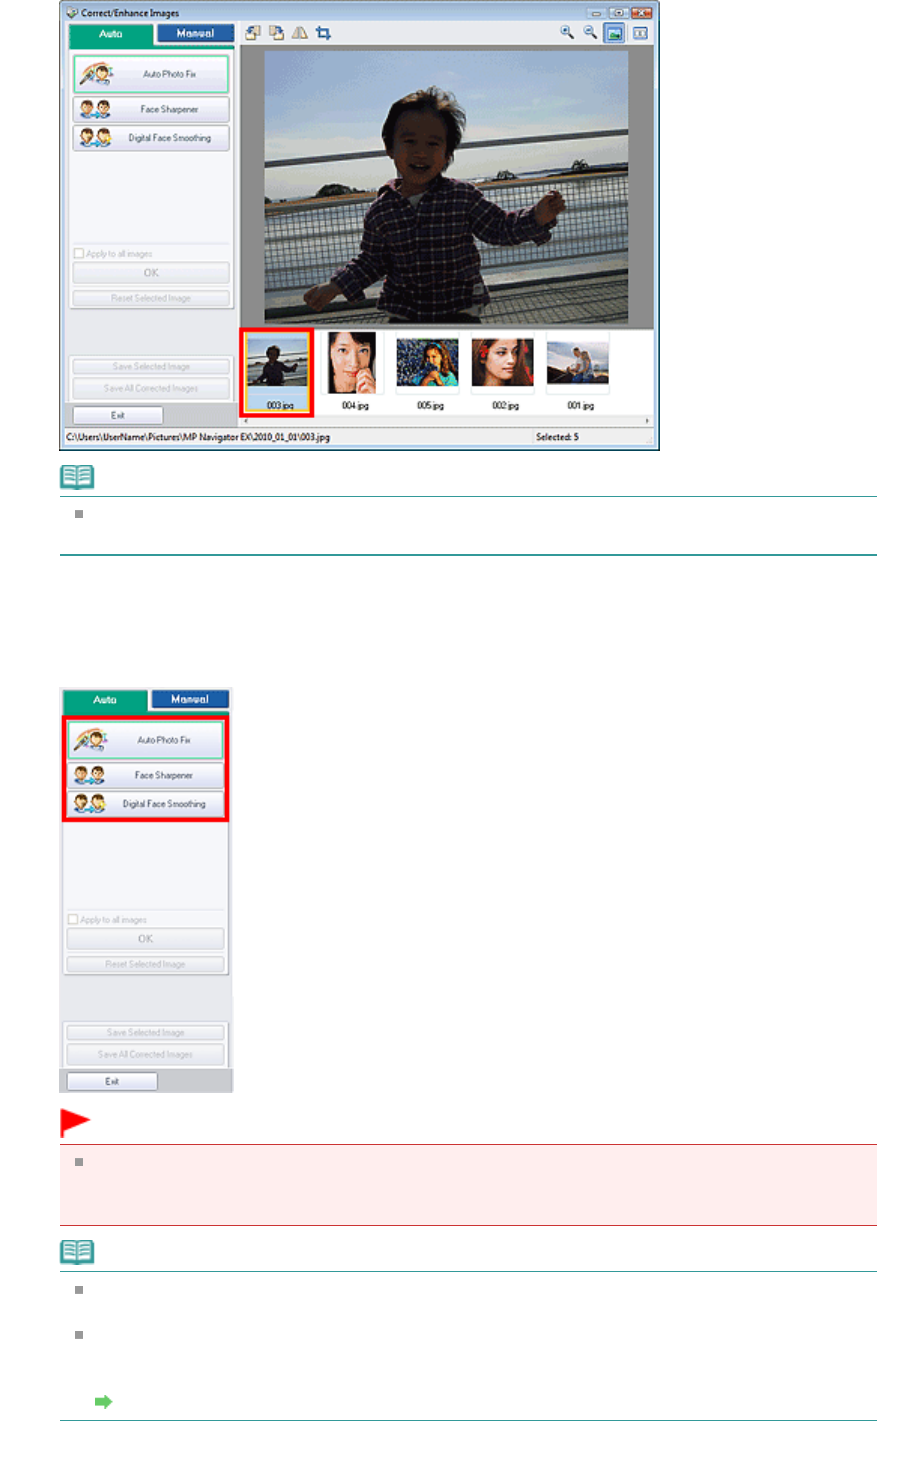
4.
Make sure that Auto is selected.
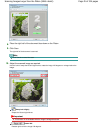
5.
Click Auto Photo Fix, Face Sharpener or Digital Face Smoothing.
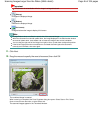
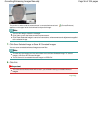
Important
Once image is corrected with Auto Photo Fix and saved, it cannot be corrected again with Auto
Photo Fix. Auto Photo Fix may not be available for images edited using an application, digital
camera, etc. manufactured by other companies.
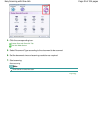
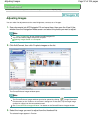
Note
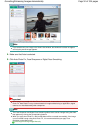
The Face Sharpener and Digital Face Smoothing effect levels can be changed using the slider
that appears by clicking the corresponding buttons.
When you apply Auto Photo Fix, dark backlit photos will be corrected automatically. If the image
is not corrected enough using Auto Photo Fix, it is recommended that you apply Face
Brightener on the Manual tab.
Correcting/Enhancing Images Manually
Page 52 of 334 pagesCorrecting/Enhancing Images Automatically