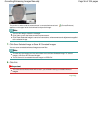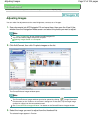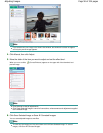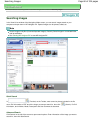
Custom categories: Displays your custom categories.
To create custom categories, see "
Creating Custom Categories
."
Unclassified: Displays images that are not classified.
Note
Click Classify Images to classify images displayed in Unclassified automatically. Click Cancel
to stop.
Classification may take time if there are many images to classify.
Important
Even if you classify images saved in removable media such as USB flash drive and external hard
disk, the classification information will be deleted once you remove the media. From the next time,
the images are classified to Unclassified.
Images cannot be classified when Recently Saved Images is selected in the View & Use window.
Note
Some images may not be detected correctly and thus may be classified into wrong categories. In
that case, drag and drop the image to the correct category.
Images saved in network folders may not be classified.
You can search for images by category. See "
Searching Images
" for details.
Creating Custom Categories
1.
In the View & Use window, sort images by category and click Edit Custom
Categories.
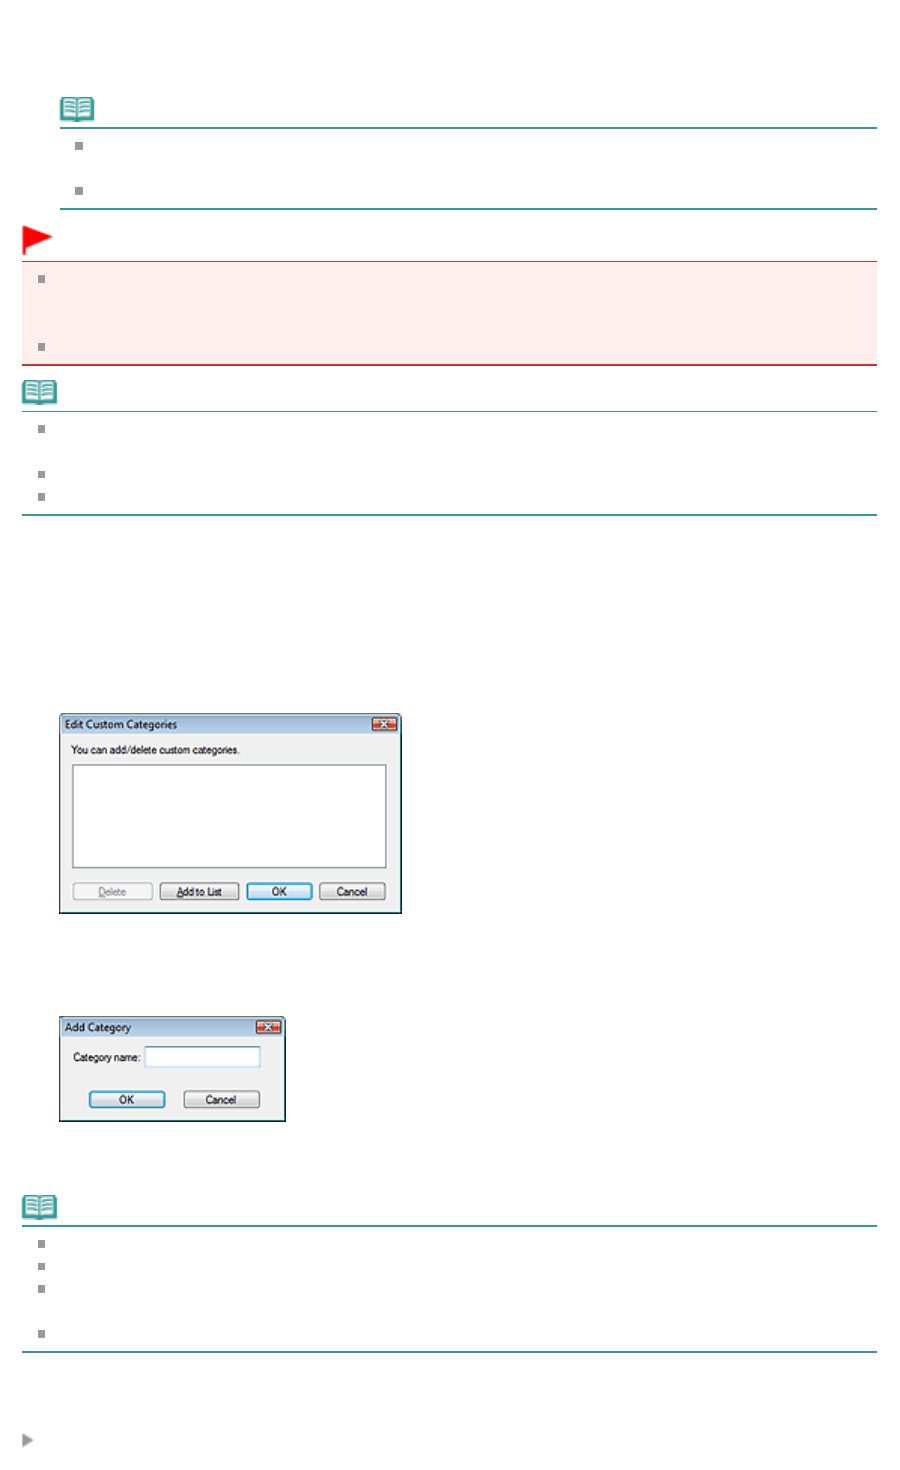
The Edit Custom Categories dialog box opens.
2.
Click Add to List.
The Add Category dialog box opens.
3.
Enter Category name and click OK.
Note
You can create up to 20 custom categories.
Up to 50 single-byte characters can be used for a category name.
Double-click a created category to open the Change Category Name dialog box in which you can
change the category name.
Select a custom category and click Delete to delete it.
Related Topic
View & Use Window
Page 64 of 334 pagesClassifying Images into Categories


