4.5 Changing Carrier Sheet Settings
ScanSnap S510 Operator's Guide 109
Setting the ScanSnap
4
[Add custom size] button
You can create up to 5 custom sizes.
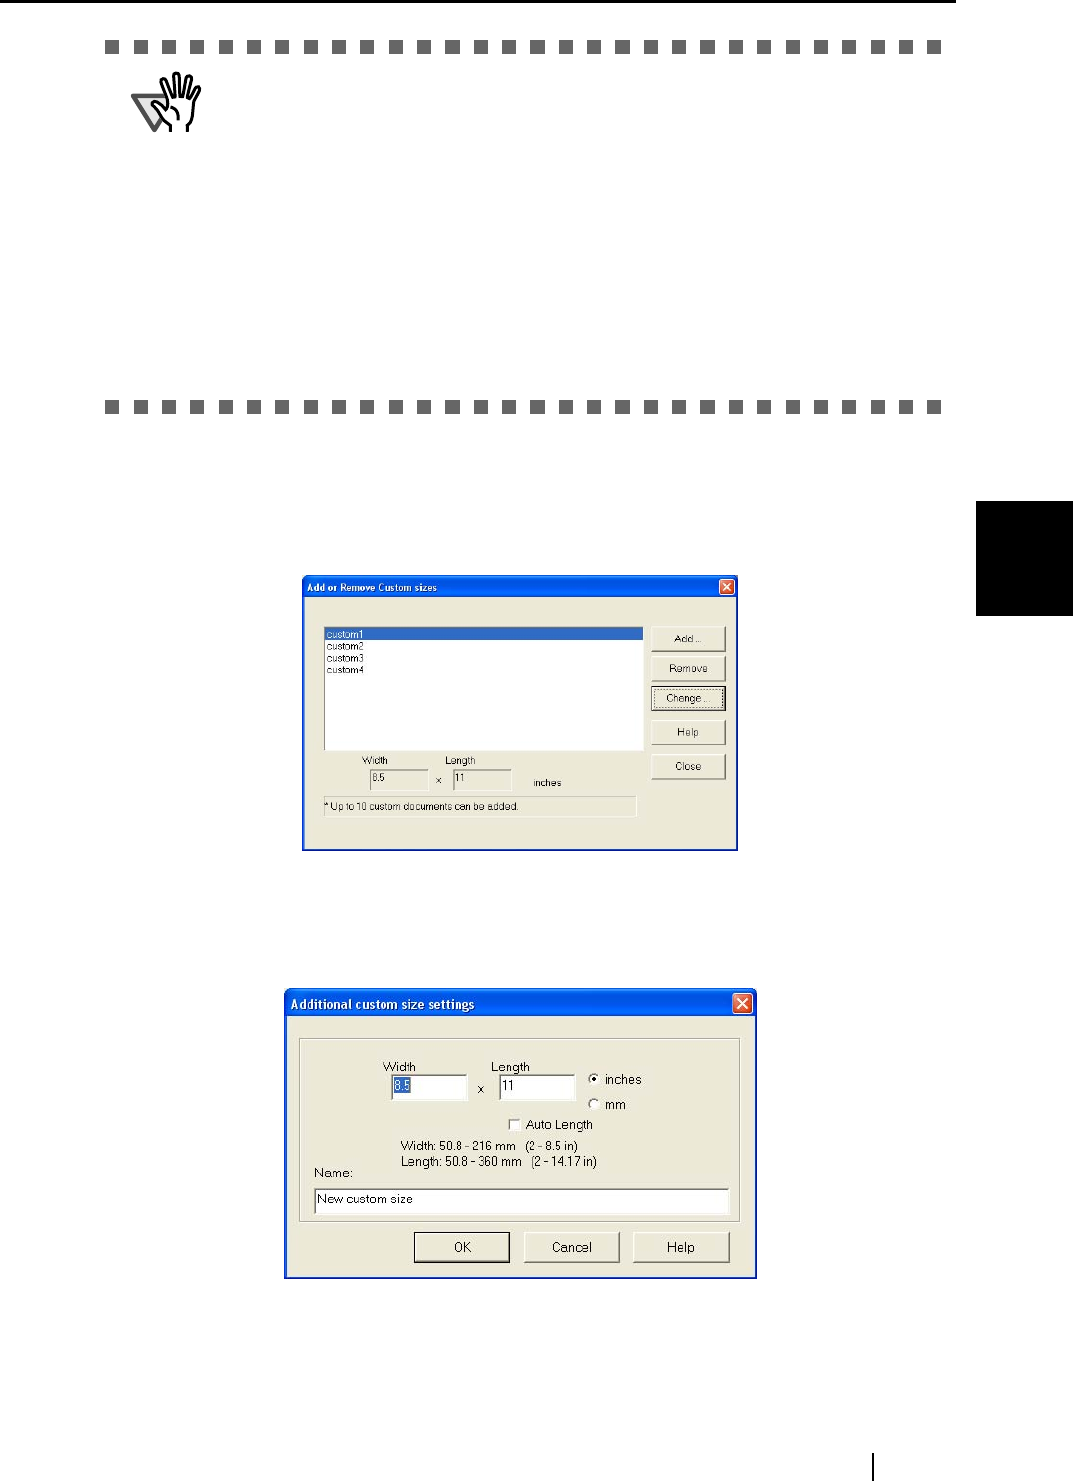
Clicking the [Add custom size] button displays the following dialog box.
To add custom size documents
1) Click the [Add] button.
2) The following dialog box appears.
•Type in the width and length.
You can create custom sizes of the following:
Width: 50.8 - 216 mm (2 - 8.5 in.)
ATTENTION
• When you select [Automatic Detection] in the "Output image size" drop-down list and
scan an irregular-sized document (not in the table above), the scanned image is output
in a standard size that is larger than and the nearest to the original document size.
If you want to output a scanned document image in its original size, add a custom size
beforehand in the "Add or Remove Custom sizes" dialog box, which appears when the
[Custom] button is clicked, and then select the added size in the "Output image size"
drop-down list.
• When you select [Automatic Detection] in the "Output image size" drop-down list, the
output image size may be larger than the original. If so, try the following:
- Insert a document into the Carrier Sheet so that the sides of the document and
Carrier Sheet becomes parallel.
- Adjust the side guides to the width of the Carrier Sheet to prevent the Carrier Sheet
from skewing.
If the situation does not improve, select a size in the "Output image size" drop-down list.


