


108
Applications
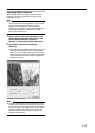
With the archiving feature, you can store recorded images up to the
maximum available capacity of the hard disk.
By default, recorded images received from cameras are stored in
the database for each camera, and data is automatically archived
when the database is full.
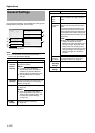
Memo :
●
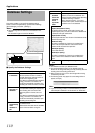
To adjust the database settings for each camera, click [Camera
Record Setting]
-
[Device Manager]
-
[Camera Name]
-
and
select [Datebase Settings]. You can store up to 600,000 frames
or 40 GB of data. If the maximum capacity is exceeded, data is
deleted starting from the oldest information. By archiving on a
daily basis, you can store image data up to the maximum
available capacity of the hard disk.
●
You can specify the number of times to create archives in a day.
●
The archiving location for each camera is automatically selected.
The drive with a large amount of free space is selected.
●
You can use the playback features for archived images in the
same way as normal recorded images.
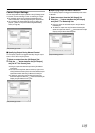
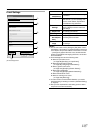
1
Click [Camera Recording Administator]
-
[Archive
Setup]
2
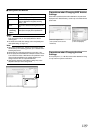
Specify the number of days for storing the archived
data in [Delet databases in the backup directory older
then [ ] days]
3
Use the [Add] and [Delete] buttons to specify the time
to create archives everyday
4
Select the camera for which archive is to be created
Note :
●
The recorded images may be interrupted for several seconds
when archiving starts.
Memo :
●
If audio is enabled during recording, audio data from the device
will also be archived.
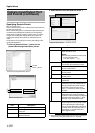
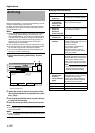
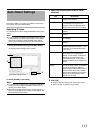
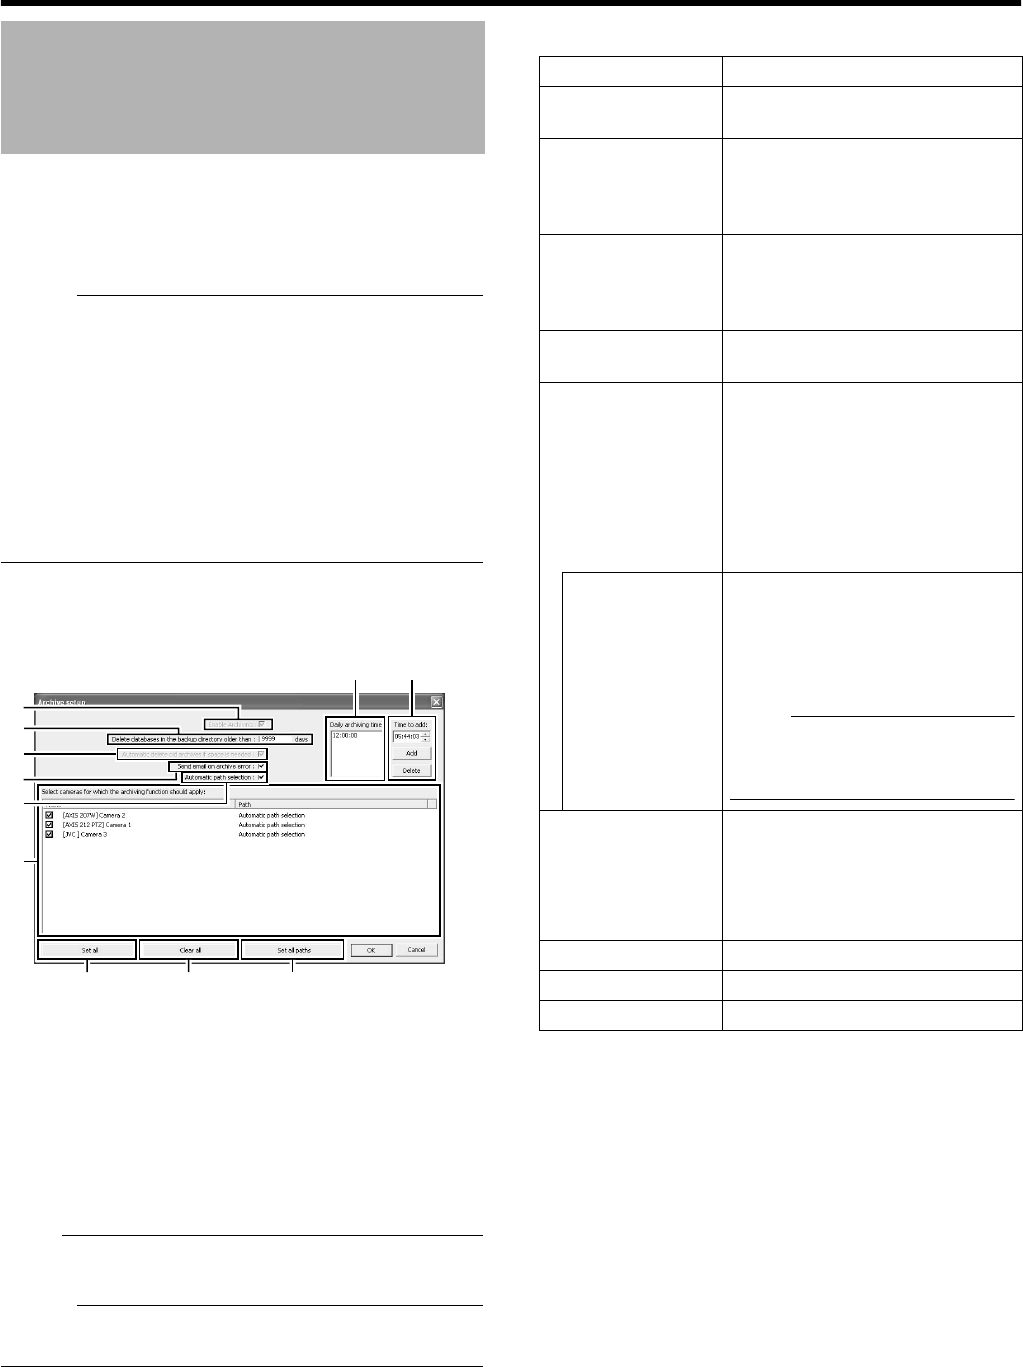
Ⅵ Setting Items and Buttons
Archiving
A
C
B
D
E
F
G H
I
JK
[Archive Setup] Screen
Item Description
A Enable
Archiving
This function is not available.
The check box is selected at all times.
B Delet databases
in the backup
directory older
then [ ] days
For specifying the number of days you
want to store archived images.
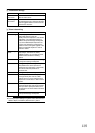
C Automatic
delete old
archives if
space is needed
This function is not available. The check
box is selected at all times.
D Send email on
archive error
Sends out an e-mail alert when
archiving fails.
E Automatic path
selection
The archiving location is automatically
selected. The drive with a large amount
of free space is selected.
Select this check box.
If the check box is deselected, the
[Save to] button appears.
Deselect this check box if you are
specifying a drive to save the archive
data to, such as NAS.
Save to This button appears when the
[Automatic path selection] check box is
deselected. Specify the archive location
for each camera. Enter the archive
location if you are specifying a drive to
save the archive data to, such as NAS.
Note :
●
If you change the archive path after
applying the setting, playback of
previously archived data will fail.
F Select cameras
for which the
archiving
function should
apply
If you have selected the [Enable
Archiving] check box, a list of cameras
that enable archiving appears.
To specify the archiving settings for a
specific camera, select the check box
next to the name of the camera.
G Set All
Selects the check box for all cameras.
H Clear All
Clears the check box for all cameras.
I Set all paths
Not used.