


45
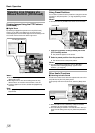
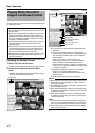
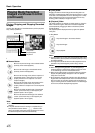
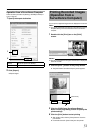
Searching Recorded Image from the Alert
List
A list of recorded images is displayed for each [Alart], such as when
motion is detected (
A
Page 105).
1 Double-click the [Alerts] bar on the [Browse]
screen
2 Click [ ] on the [Alerts] list and select an event
from the list
●
You can select a specific event, camera or [Server].
3 Click the [Get List] button
●
A list of detected events appears.
●
You can click on the event list to view recorded images of
the selected event.
Memo :
●
The Alerts list displays events occurring around the time
(approx. 1 day before and after) set in [Time Navigation].
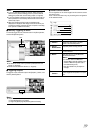
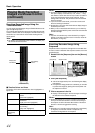
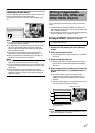
Smart Search
Smart Search enables you to search the parts with motion by
specifying the search area within the recorded images of the
selected camera.
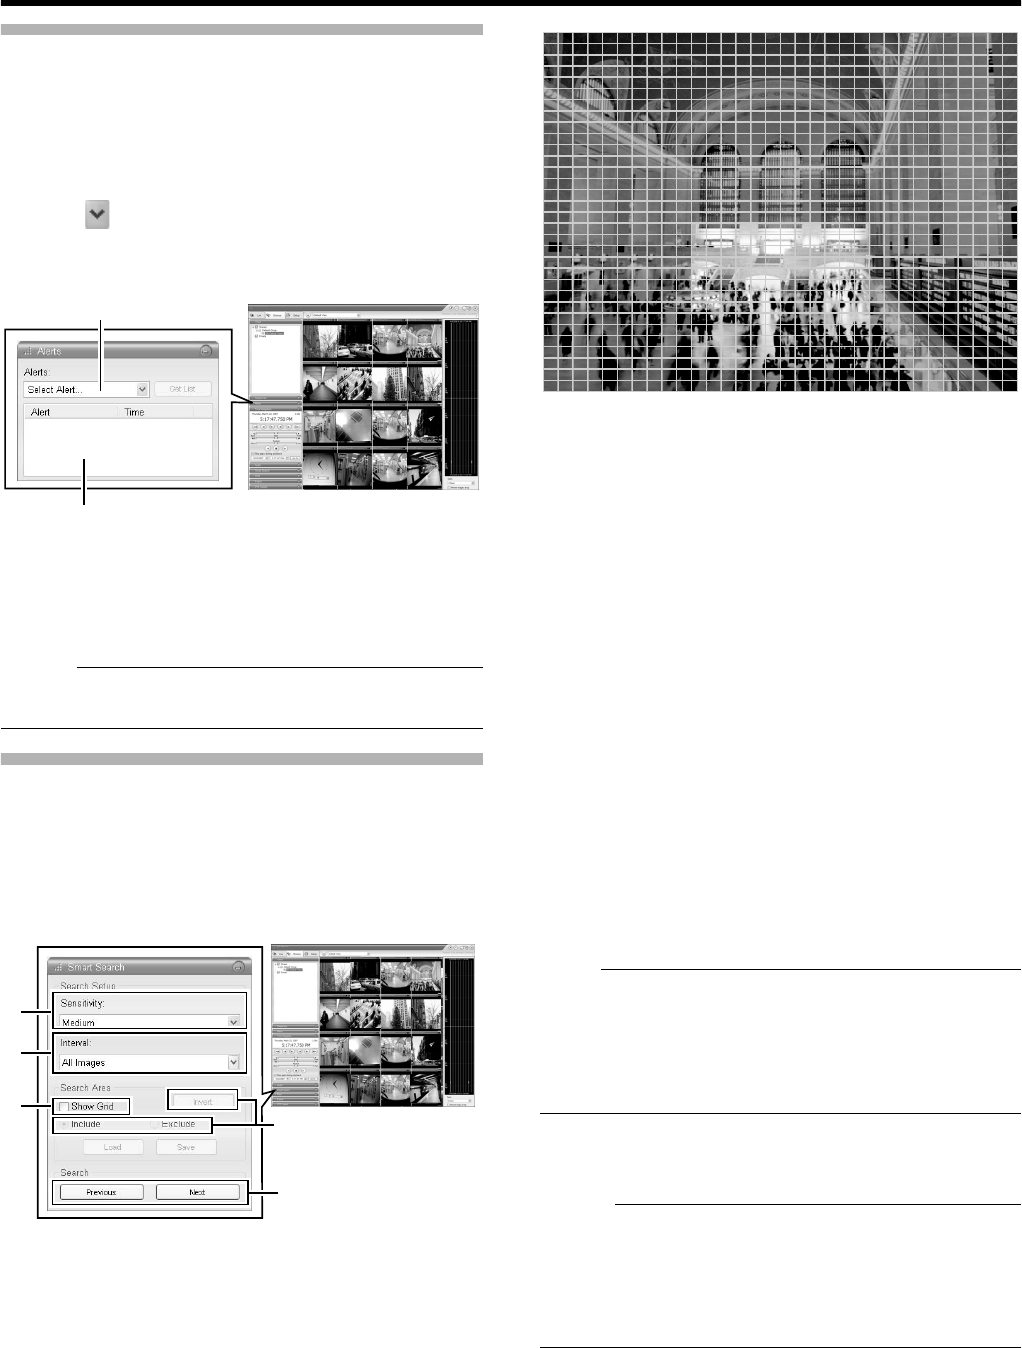
1 Double-click the [Smart Search] bar on the
[Browse] screen
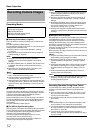
2 Tick [Show Grid] in [Search Area] setting
3 Select the camera to display
●
A blue grid overlay appears.
4 Click and drag within the screen to specify the
search area.
●
The areas that you have selected become transparent.
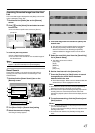
●
Selecting the [Include] checkbox adds the dragged
section to the search area. Selecting the [Exclude]
checkbox deletes the dragged section from the search
area.
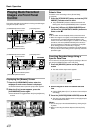
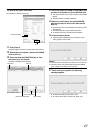
5 Select the sensitivity level from the [Sensitivity]
list in [Search Setup]
●
The setting values are as follows.
[Very High]
[High]
[Medium]
[Low]
[Very Low]
6 Set the time interval in the [Interval] list
7 Press the [Previous] or [Next] button to search
through data for which motion has been
detected within the area
●
Smart Search begins. When motion is detected inside the
selected area, it will be highlighted in the view.
Note :
●
Smart Search is carried out in the [Forward] and [Backward]
directions from the time of the image you are viewing.
●
Smart Search that is performed during recording may lower the
recording frame rate. Check the performance meter while
adjusting the playback speed to ensure that the display does not
turn red.
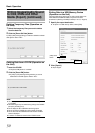
8 To continue searching, click the [Previous] and
[Next] buttons
Memo :
●
You can use the [Save] button to temporarily save the area that
you have selected in Step 4.
To return to the saved area settings, click the [Load] button after
selecting another area.
●
To cancel the area selection, tick [Exclude] and drag all the
areas.
NVRViewer
[Alerts] List
Event List
[PLAY] Screen
NVRViewer
2
4
5
6
7,8
[Browse] Screen