


47
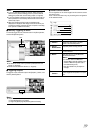
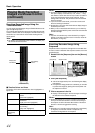
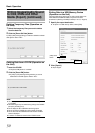
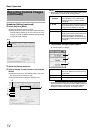
Listening to Audio Sound
To listen to recorded audio sound, select the required audio source
from the [Audio Source] list of the [Audio] section.
To temporarily mute the live audio sound, select the [Mute] check
box.
Note :
●
The sound may become distorted when audio is played back
with multiple surveillance computers.
●
The audio setting is restored to [No Audio Sources] when you
return from screen display setting to the [Live] or [Browse]
screen. To listen to an audio sound, reselect an audio source
from the [Audio Source] list.
●
There will be no audio output during still image playback or
search/frame advance playback except at the speed of
ן
1.
●
When a recorded image is played back during recording, the
played back audio sound may be interrupted.
Memo :
●
If you have selected an camera that has been set to record an
audio sound, the specified audio sound will be output.
●
If you have selected a camera that is not set to record an audio
sound, the most recently played back audio sound will be output
continuously.
●
During simultaneous recording and playback of recorded
images, the playback image may pause and the sound may be
interrupted. (This has no impact on recording to the system or
additional hard disk.)
You can write (export) recorded images or audio sound to other
media.
●
The VR-N1600U/VR-N1600E/VR-N900U unit enables you to
write images and audio sound to a CD-R, CD-RW, DVD-R, DVD-
RW, or USB memory device.
●
On a surveillance computer, you can write recorded images and
audio to the desktop or to any folder you select.
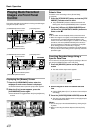
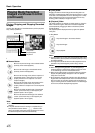
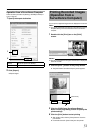
Burning a CD/DVD
(Operation on the unit)
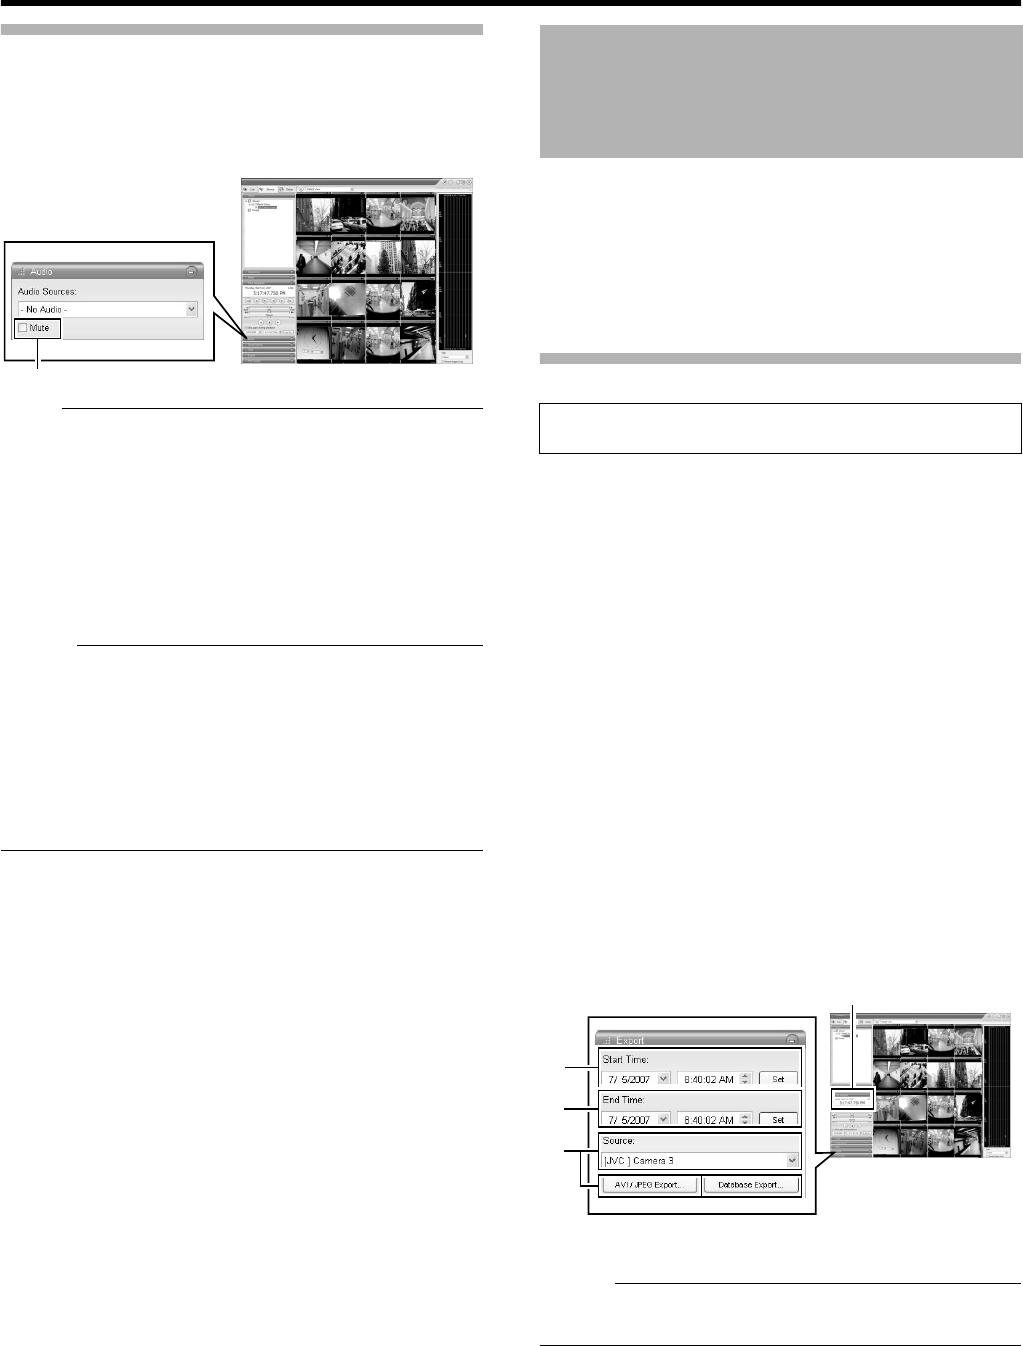
1 Double-click the [Export] bar on the [Browse]
screen
2 Enter the start date and time
●
Click the [Set] button to input the date/time of the Master
Time area.
3 Enter the end date and time
●
When the [Set] button is clicked, the time input will be a
second ahead of the date/time displayed in the Master
Time area.
4 Select a camera from the [Source:] list, and click
the [AVI/JPEG Export...] or [Database Export...]
button
●
You can also select [-Current View Source-] when
selecting the source. When [-Current View Source-] is
selected, images from all cameras within the view are
exported.
●
This export dialog appears. The specified start time, end
time, and camera are shown in the dialog.
Memo :
●
Export preparation may take some time depending on how the
external hard disk drive is connected.
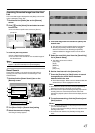
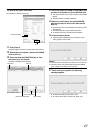
NVRViewer
[Browse] Screen
Select
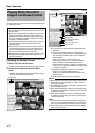
Writing Images/Audio
Sound to CDs, DVDs and
Other Media (Export)
●
Steps 1 to 9 are common steps between writing to CD/DVD
and USB memory devices.
NVRViewer
2
3
4
[Browse] Screen
Master Time Area
[Export] Section