114
Applications
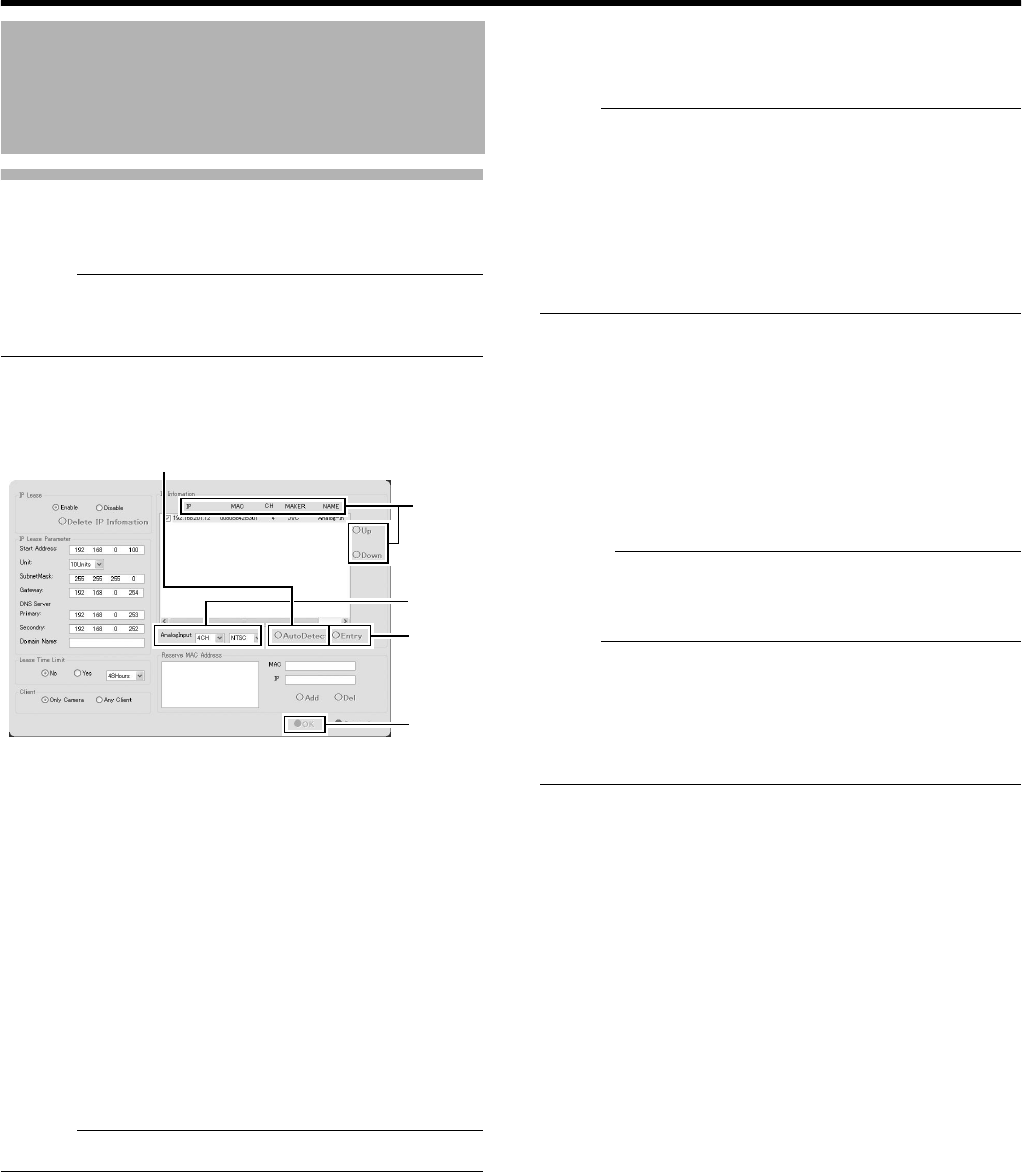
Using the Auto Detect Feature
The Auto Detect feature enables automatic detection of network
cameras.
Memo :
●
When multicast packets are configured such that they do not
pass through the network equipment, such as a switching hub,
the Auto Detect of the camera may not function properly.
The [IP Information] list contains information on the IP address of
the automatically detected camera, MAC address, number of video
CH, manufacturer, and model.
1 Click [Auto Detect]
●
Auto Detect starts and the camera image appears on the
screen.
2 Replace the detected camera accordingly in
sequence
●
You can click the Sort button to sort the order of detected
cameras.
●
There are five types of sort buttons, including Sort by [IP],
Sort by [MAC], Sort by [CH], Sort by [MAKER], and Sort
by [MODEL] buttons.
●
Select the detected cameras, followed by clicking the [Up]
or [Down] button to change the order of the cameras.
●
Deselect the check box of any camera that you are not
using.
Memo :
●
The camera at the top of the list is used with priority.
3 Configure the analog input (VR-N900U)
●
For specifying the number of channels and format of the
analog input to be used.
Note :
●
If the signals of the analog camera connected to the rear panel
[VIDEO IN1 to 4] terminal are different from those in the
[AnalogInput] settings (NTSC/PAL), a message indicating
A
ENCODE ERROR(format)
B
will appear. In this case, click the
[OK] button using the mouse to hide the
A
ENCODE
ERROR(format)
B
message, followed by specifying the NTSC/
PAL selection for [AnalogInput] correctly.
●
For details on how to use the mouse, refer to [Character Input
and Mouse Pointer] (
A
Page 28).
4 Click [Entry]
5 Click [OK]
●
The [Camera Record Setting] screen appears.
6 Click the [Close] button on the [Camera Record
Setting] screen
●
The Default View is automatically created. To save this
view, change its name.
Memo :
●
The Default View created by the Auto Detect feature may
change the camera placement in the view. To maintain a fixed
position, name the view and save it.
Note :
●
Select
A
Do not detect in the future.
B
check box on the [Detect
Device] screen during the Auto Detect operation if you do not
want the [Detect Device] screen of that camera to appear during
subsequent Auto Detect operations. For cameras that you have
excluded from detection, you can add (
A
Page 86) them again
manually at a later time.
Auto Detect Settings
(continued)
2
1
5
4
3
VR-N900U


