


127
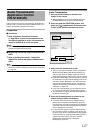
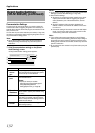
Audio sound input (such as from a microphone) to the [AUDIO IN 1]
terminal is sent to a camera that supports bidirectional audio, and
output to the speakers connected to the camera.
Preparation
Ⅵ Connection
1 Refer to [System Connection Example]
(A Page 26) to connect the microphone to the
microphone amplifier or mixer, and connect the
output to [AUDIO IN 1] on the rear panel
Memo :
●
Audio sound input to the [AUDIO IN 2] terminal cannot be sent to
cameras that support bidirectional audio.
Ⅵ Registering camera that supports bidirectional
audio
1 Refer to [Adding Cameras] (A Page 86) to
register the camera that supports bidirectional
audio
Note :
●
If you have changed the camera password, specify the new
password in [Event Audio Setting] of the main menu. [Password]
(
A
Page 131)
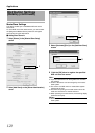
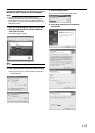
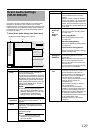
Audio Transmission
1 Start up the NVR Viewer to check the live
images of the camera
●
With the wallpaper or main menu displayed, press the
[LIVE/BROWSE] button to start up the NVR Viewer.
2 Press and hold the [FUNCTION] button, and
press the [7/B] keypad button at the same time
to start up the [Audio Transmission] screen
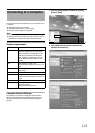
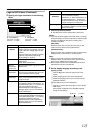
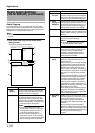
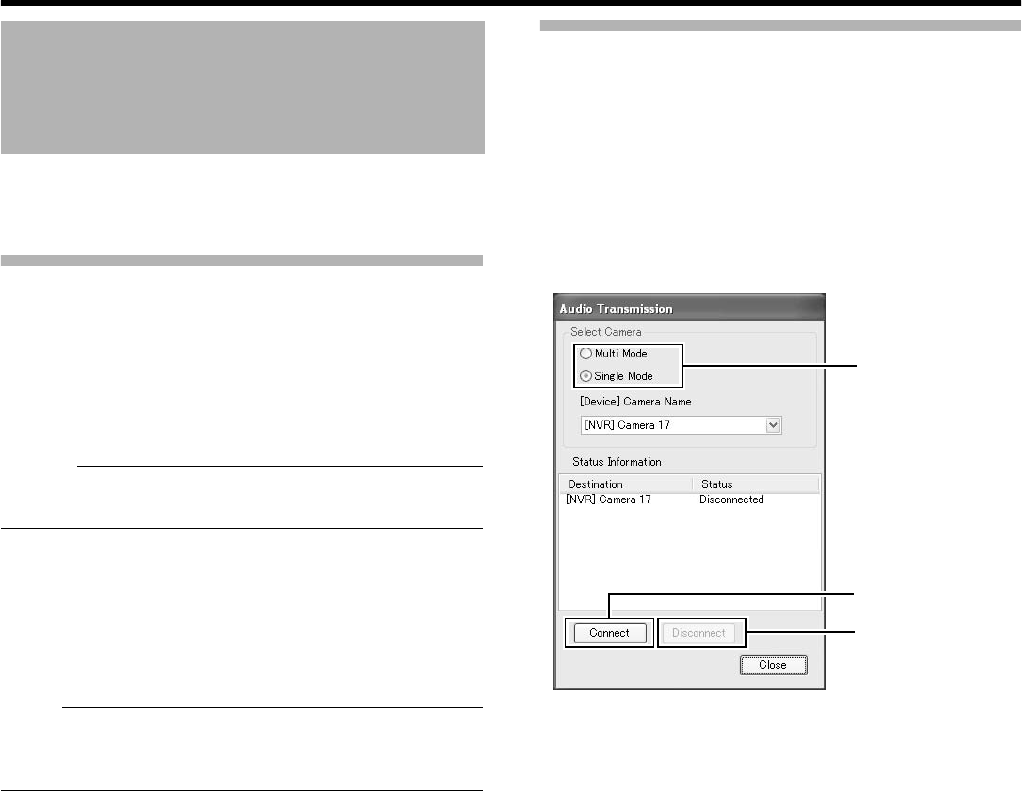
3 Select an audio transmission mode
●
There are two audio transmission modes, namely [Multi
Mode] and [Single Mode]. [Multi Mode] enables you to
send out audio sound to multiple cameras at one time.
[Single Mode] sends out audio sound to only one camera.
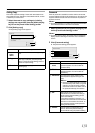
●
In the case of [Multi Mode], select the camera for receiving
the audio data on the [Event Audio Setting] screen of the
main menu. Select
A
Multi Mode
B
from the list at the left
end of the [Event Audio Setting] screen, and select the
checkbox corresponding to the camera for receiving the
audio data. (
A
Page 129)
●
In the case of [Single Mode], you can select the camera
for receiving the audio data in [[Device]Camera Name].
●
The camera that is receiving the audio sound appears on
the [Status Information] list.
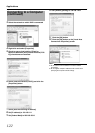
4 Press the [Connect] button to connect to the
camera and start audio transmission
●
Connection status with the camera is displayed in the
[Status] area of the [Status Information] list. Press the
[Connect] button and audio sound that input to [AUDIO IN
1] terminal of this unit will be transmitted to the cameras
that are displayed as
A
Connected
B
.
●
If
A
Disconnected
B
appears, check the network between
this unit and the camera, IP address of the camera, and
the power of the camera. If [Authentication failed] appears,
repeat procedures on the [Event Audio Setting] screen to
register the password of the camera for which the
[Authentication failed] message is displayed.
[Password] (
A
Page 131)
Audio Transmission
Application Control
(VR-N1600U/E)
3
4
5
[Audio Transmission] Screen