


- 200 -
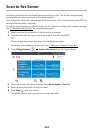
Scan to Email
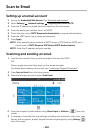
Setting up an email account
1
Access the
Embedded Web Service
. See "Required web browser"
2
Select
Settings
Network Settings
Outgoing Mail Server(SMTP)
.
3
Enter the IP address in dotted decimal notation or as a host name.
4
Enter the server port number, from 1 to 65535.
5
Check the box next to
SMTP Requires Authentication
to require authentication.
6
Enter the SMTP server Log in name and password.
7
Press
Apply
.
NOTE: If the authentication method of SMTP server is POP3 before SMTP, put a
check mark of SMTP Requires POP Before SMTP Authentication.
NOTE: Enter the IP address and port number.
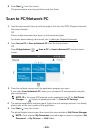
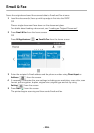
Scanning and sending an email
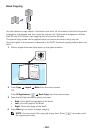
1
Load the document(s) face up with top edge in first into the DADF.
OR
Place a single document face down on the document glass.
For details about loading a document, see "
Loading an Original Document".
2
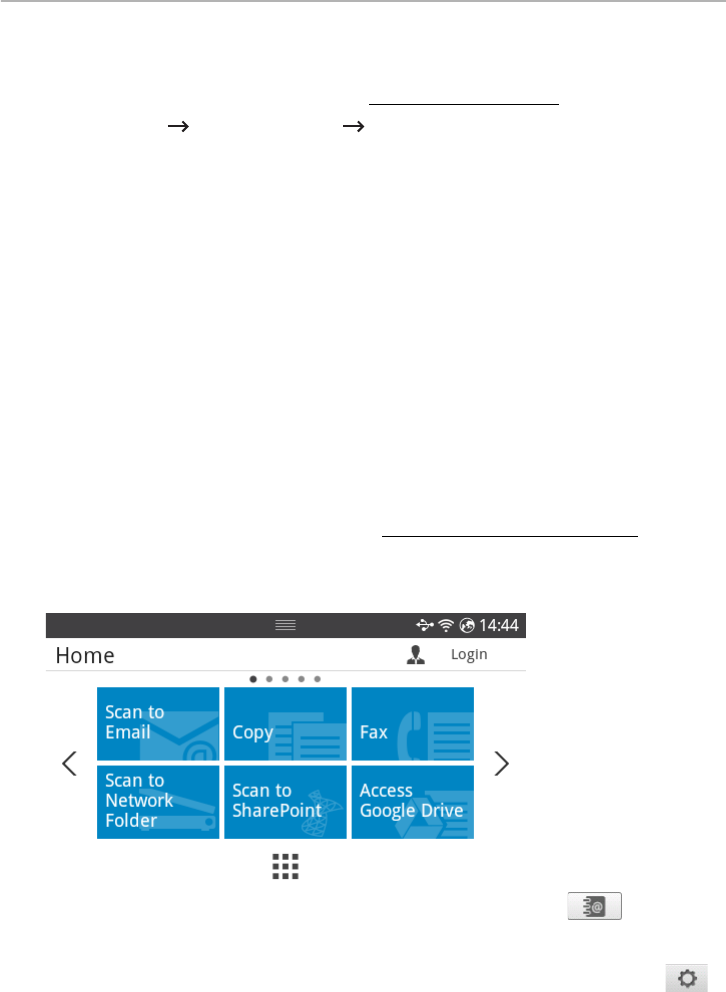
Press
Scan to Email
from the home screen.
3
Press the left/right arrows to select
Send Email
.
4
Enter the recipient’s email address using
Direct Input
or
Address
( ) from the
screen.
5
If necessary, customize the scan settings including scan resolution, scan color, scan
format, pdf encryption, duplex, original size and original type by using
Setting
()
from the screen.