


- 47 -
Setting fax setup boot sequence
1
Set the language. See "Changing the Display Language (Administrator only)".
2
Select the country. See "Selecting Country (Administrator only)".
3
Set the date and time. See "Setting the Time and Date (Administrator only)".
4
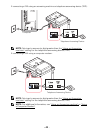
When
fax setup confirmation window
appears, select or .
If you selected , your printer restores the fax settings as default.
If you selected
Check
():
a
Enter the machine ID. See "Setting the Printer ID".
b
Select the receive mode and ring to answer. See "Setting up the Fax System".
c
Test the fax line. See "Testing Fax line connection".
5
Your printer returns to Home Screen.
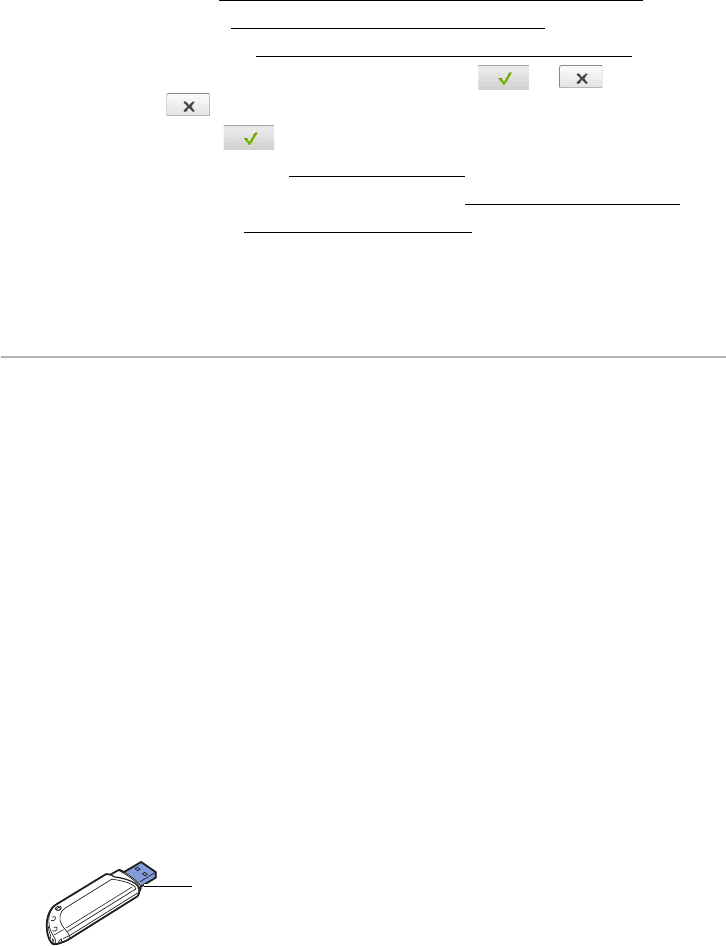
Using USB memory device
This chapter explains how to use a USB memory device with your machine.
About USB Memory
USB memory devices are available with a variety of memory capacities to give you more
room for storing documents, presentations, downloaded music and videos, high resolution
photographs or whatever other files you want to store or move.
You can do the following features using an optional USB memory:
• Scan documents and save them on the USB Memory.
• Print data stored on a USB memory device.
• Restore backup files to the machine’s memory
• Format the USB Memory.
• Check the available memory space.
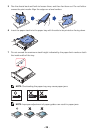
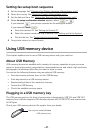
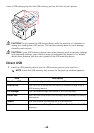
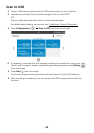
Plugging in a USB memory key
The USB memory port on the front of your printer is designed for USB V1.1 and USB V2.0
memory.Your machine supports USB memory devices with FAT16/FAT32 and a sector size
of 512 bytes.
Check your USB memory device’s file system from your dealer.
Use only the metal/shielded
USB memory key.