


- 201 -
6
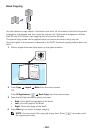
Press
Start
( ) from the screen.
The printer begins scanning and then sends the Email.
Scan to PC/Network PC
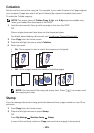
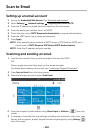
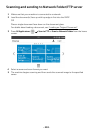
1
Load the document(s) face up with top edge in first into the DADF (Duplex Automatic
Document Feeder).
OR
Place a single document face down on the document glass.
For details about loading a document, see "
Loading an Original Document".
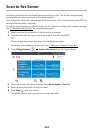
2
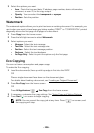
Press
Scan to PC
or
Scan to Network PC
from the home screen.
OR
Press
All Applicatons
()
Scan to PC
or
Scan to Network PC
from the home
screen.
3
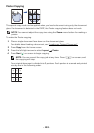
Press the up/down arrows until the application program you want.
If you select
Scan to Network PC
, select your computer ID and password using the
pop-up keyboard.
NOTE: ID is the same ID/Password as the registered scan ID for
Dell Printer
Manager
Switch to advanced mode Scan to PC Settings.
4
The selected application window opens. Adjust the scan settings and scan. For details,
please refer to the user’s guide of the application.
5
Press
Start
( ) from the screen.
The printer begins scanning and then sends the scanned data to
Dell Printer Manager
.
NOTE: If you selected My Document scanned image is saved in computer's My
Document My Pictures Dell folder.
→
→
→
→