


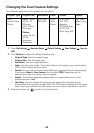
- 52 -
1
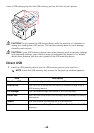
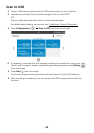
Insert the USB memory key into the USB memory port on your printer.
NOTE: Insert the USB memory key as soon as the pop-up window appears.
OR
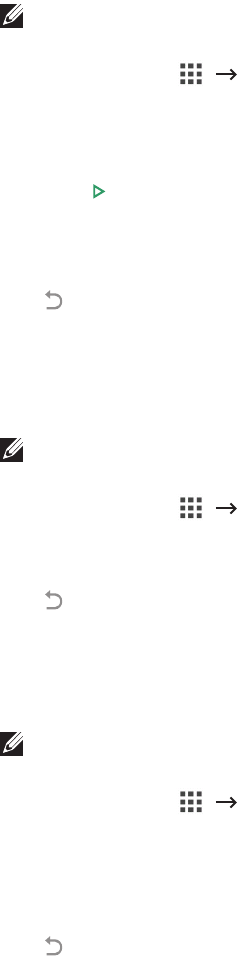
Press
All Applicatons
()
USB
from the home screen.
2
Press
Print From USB
.
3
Press the up/down arrows to select the folder or file you want.
4
Select the number of copies to be printed or enter the number.
5
Press
Start
( )from the screen.
Printing is started.
6
Press
OK
when
Yes
appears to print another job, and repeat from step 2. Otherwise,
press the left/right arrow to select
No
and press
OK
.
7
Press to go to the upper menu.
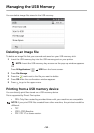
Viewing the USB Memory Status
You can check the amount of memory space available for scanning and saving documents.
1
Insert the USB memory key into the USB memory port on your printer.
NOTE: Insert the USB memory key as soon as the pop-up window appears.
OR
Press
All Applicatons
()
USB
from the home screen.
2
Press
Show Space
.
The available memory space appears on the display.
3
Press to go to the upper menu.
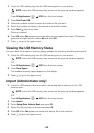
Import (Administrator only)
1
Insert the USB memory device on which the backup data is stored in to the USB
memory port.
NOTE: Insert the USB memory key as soon as the pop-up window appears.
OR
Press
All Applicatons
()
USB
from the home screen.
2
Press
Import
.
3
Select
Setup Data
,
Address Book
and press
OK
.
4
Select the file you want to restore and press
OK
.
5
Press
OK
when
Yes
appears to restore the backup file to the machine.
6
Press to go to the upper menu.