Installing the In-Ceiling Mount
Description
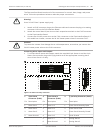
This chapter details how to install the camera in an In-Ceiling Mount. The In-Ceiling
AUTODOME camera is suitable for use in environmental air spaces. Refer to Installing the
Pendant Arm Wall, Corner, and Mast (Pole) Mounts, page 24, or refer to Installing the Roof
Parapet and Pipe Mounts, page 40 for these specific installations.
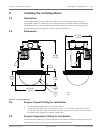
Dimensions
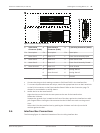
206.89
[8.145]
175.99
[6.929]
21.29
[0.838]
99.76
[3.928]
IP
78.04
[3.072]
IP
204.49
[8.051]
ø
74.65
[2.939]
HD
95.88
[3.775]
HD
mm
[in.]
ø
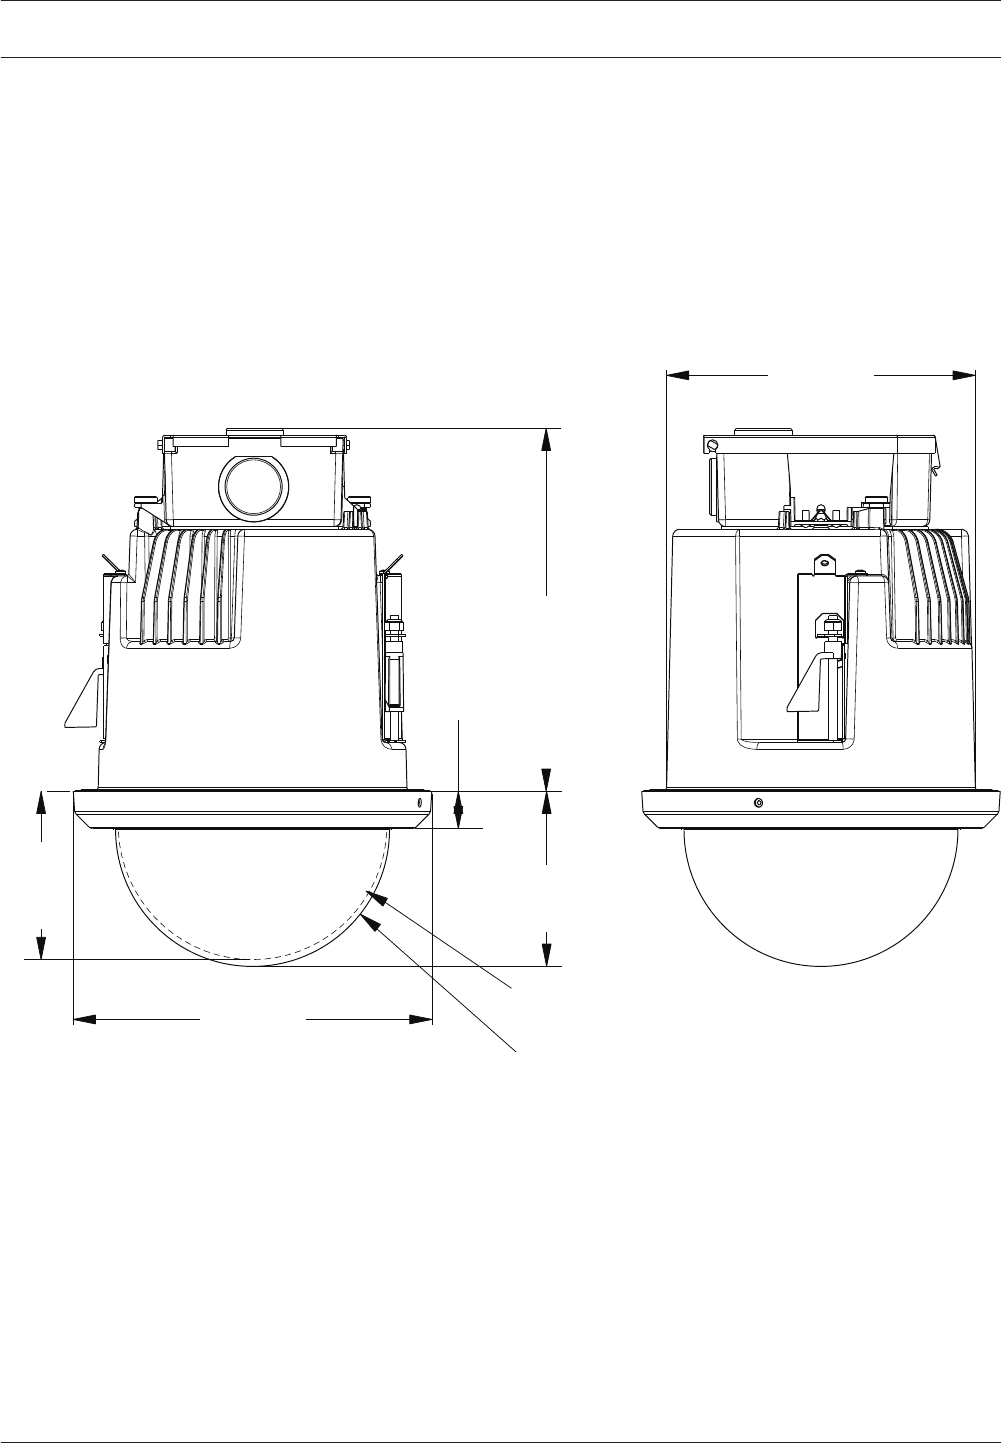
Figure 9.1: In-Ceiling Dimensions
Prepare Drywall Ceiling for Installation
1. Choose the desired location to mount the camera.
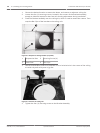
2. Use the bracket Base Plate as a template to cut a 7 in. hole with a tolerance of ±1/8 in.
(177.8 mm ±2.2 mm) in the ceiling with a drywall utility saw or Jig Saw. Proceed to Wire
the Interface Box, page 59, for further instructions.
Prepare Suspension Ceiling for Installation
You must use the VGA-IC-SP In-ceiling Support Kit to install the camera In-ceiling housing into
a suspended or drop ceiling. This kit requires a separate purchase.
9
9.1
9.2
9.3
9.4
AutoDome 7000 Series (IP and HD) Installing the In-Ceiling Mount | en 57
Bosch Security Systems Operation Manual 2013.07 | 1.2.2 | F.01U.283.679


