


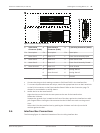
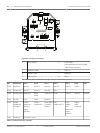
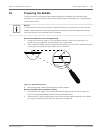
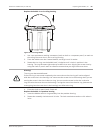
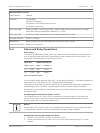

Replace the bubble in an in-ceiling housing
Figure 10.3: In-Ceiling Bubble
1. Use a non-permanent marking instrument (such as chalk or a carpenter pencil) to mark on
the ceiling the screw slot in the in-ceiling housing.
2. Place the bubble over the Camera Module, and align it until it settles.
3. Rotate the trim ring, not the bubble itself, clockwise until it locks in position in the
housing. The ring becomes tight and may be difficult to turn. Aligning the screw slots by
using the chalk or pencil mark as reference ensures that you align both screw slots.
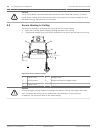
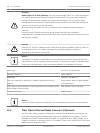
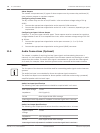
!
Warning!
Trim ring can become deformed
If the trim ring is not turned completely, the screw slot on the trim ring will not be aligned
with the screw slot in the housing. You cannot see the screw slot in the housing when you are
turning the screw in the slot in the trim ring. You can turn the screw in the slot in the trim
ring, but miss the screw slot on the housing. Forcing the screw into the trim ring (without the
screw going into the screw slot in the housing) can deform the ring.
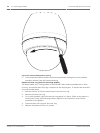
4. Erase the chalk or pencil mark if desired.
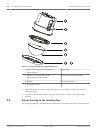
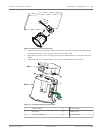
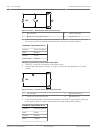
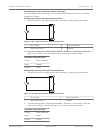
Replace the bubble in a pendant housing
1. Insert the bubble and trim ring assembly into the pendant housing.
2. Rotate the assembly clockwise until it locks. The latch mechanism makes a click when it
locks.
AutoDome 7000 Series (IP and HD) Preparing the Bubble | en 69
Bosch Security Systems Operation Manual 2013.07 | 1.2.2 | F.01U.283.679