


111
1
Camera Basics
2
Auto Mode /
Hybrid Auto Mode
3
Other Shooting Modes
4
P Mode
5
Tv, Av, M, and C Mode
6
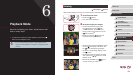
Playback Mode
7
Wi-Fi Functions
8
Setting Menu
9
Accessories
10
Appendix
Index
Before Use
Basic Guide
Advanced Guide
4
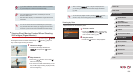
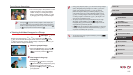
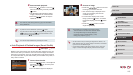
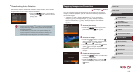
Choose the name of the person to
overwrite with.
zFollow step 2 in “Overwriting and Adding
Face Information” (
=
47) to choose
the name of the person you want to
overwrite with.
● You can also access the [Edit ID Info] screen by touching an
image on the screen in step 2, touching [
] to display the
orange frame, and then touching the face to overwrite its name.
● You can also choose editing options by touching them in step 3.
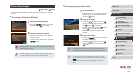
Erasing Names
zFollowing step 3 in “Changing Names”
(
=
111), choose [Erase] and press the
[ ] button.
zAfter [Erase?] is displayed, press the
[
][ ] buttons or turn the [ ] dial to
choose [OK], and then press the [ ]
button.
● You can also erase names by touching [OK] after [Erase?] is
displayed.
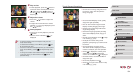
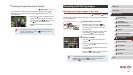
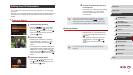
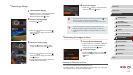
Editing Face ID Information
If you notice that a name is incorrect during playback, you can change it
or erase it.
However, you cannot add names for people who are not detected by Face
ID (names are not displayed), and for people whose names have been
erased.
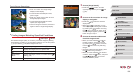
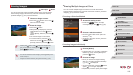
Changing Names
1
Access the setting screen.
zPress the [ ] button and choose
[Face ID Info] on the [ ] tab (
=
30).
zPress the [
][ ] buttons or turn the [ ]
dial to choose [Edit ID Info], and then
press the [ ] button.
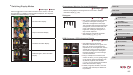
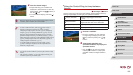
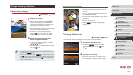
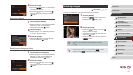
2
Choose an image.
zFollowing the procedure in “Checking
People Detected in Face ID” (
=
107),
choose an image and press the [ ]
button.
zAn orange frame is displayed around the
selected face. When multiple names are
displayed in an image, press the [
][ ]
buttons or turn the [ ] dial to choose the
name to change, and then press the [ ]
button.
3
Choose the editing option.
zPress the [ ][ ][ ][ ] buttons or turn
the [ ] dial to choose [Overwrite], and
then press the [ ] button.