


121
1
Camera Basics
2
Auto Mode /
Hybrid Auto Mode
3
Other Shooting Modes
4
P Mode
5
Tv, Av, M, and C Mode
6
Playback Mode
7
Wi-Fi Functions
8
Setting Menu
9
Accessories
10
Appendix
Index
Before Use
Basic Guide
Advanced Guide
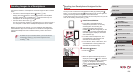
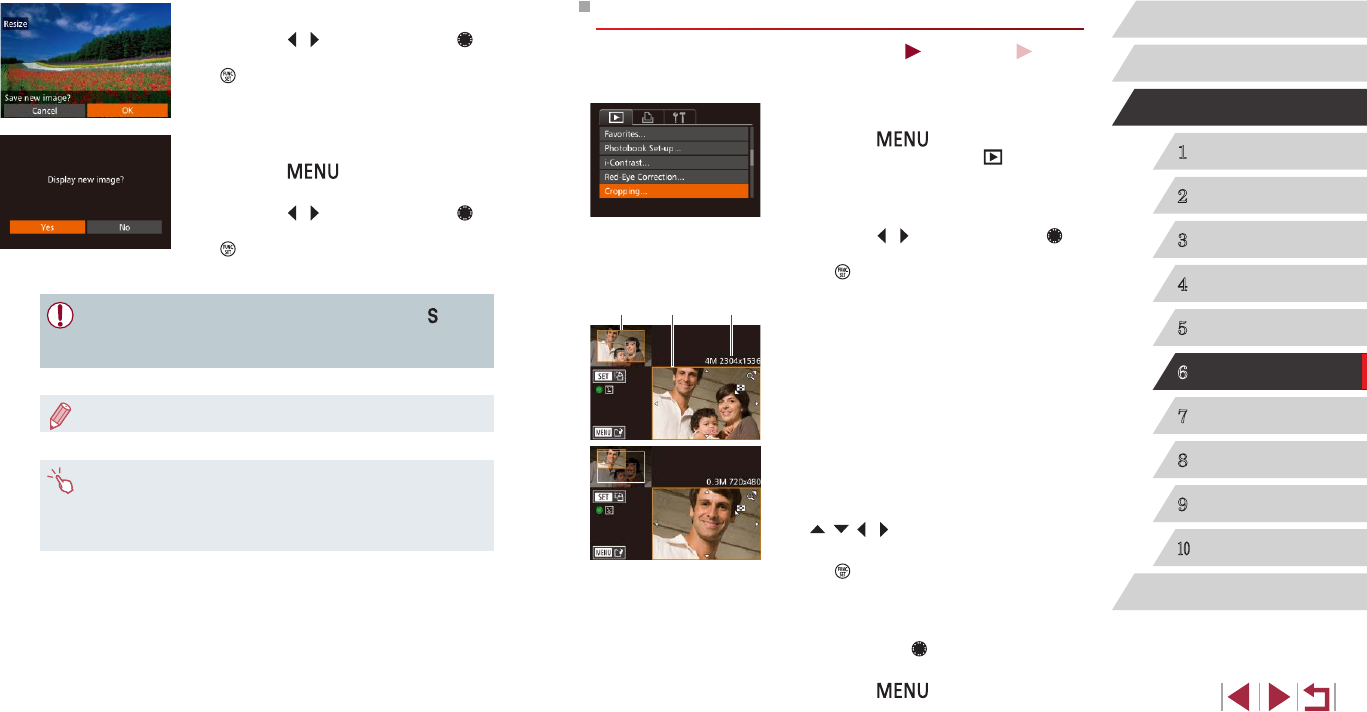
Cropping
Still Images
Movies
You can specify a portion of an image to save as a separate image le.
1
Choose [Cropping].
zPress the [ ] button, and then
choose [Cropping] on the [ ] tab
(
=
30).
2
Choose an image.
zPress the [ ][ ] buttons or turn the [ ]
dial to choose an image, and then press
the [ ] button.
3
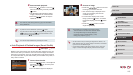
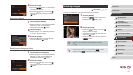
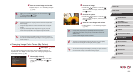
Adjust the cropping area.
zA frame is displayed around the portion of
the image to be cropped (1).
zThe original image is shown in the upper
left, and a preview of the image as
cropped (2) is shown in the lower right.
You can also see the resolution after
cropping (3).
zTo resize the frame, move the zoom
lever.
zTo move the frame, press the
[
][ ][ ][ ] buttons.
zTo change the frame orientation, press
the [
] button.
zFaces detected in the image are
enclosed in gray frames in the upper-left
image. To crop the image based on this
frame, turn the [
] dial to switch to the
other frame.
zPress the [
] button.
(
1
) (
3
)(
2
)
4
Save the new image.
zPress the [ ][ ] buttons or turn the [ ]
dial to choose [OK], and then press the
[ ] button.
zThe image is now saved as a new le.
5
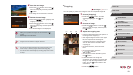
Review the new image.
zPress the [ ] button. [Display new
image?] is displayed.
zPress the [
][ ] buttons or turn the [ ]
dial to choose [Yes], and then press the
[ ] button.
zThe saved image is now displayed.
● Editing is not possible for images shot at a resolution of [ ]
(
=
49).
● RAW images cannot be edited.
● Images cannot be resized to a higher resolution.
● You can also congure this setting by touching the size on the
screen in step 3, touching it again, and then touching [OK].
● You can also view saved images by touching [Yes] on the screen
in step 5.