21
Control Panel
Chapter 2 Locations and Functions of Parts
are overlapped during transition of the background video
(mix).
When wipe is selected, mix mode is canceled.
f WIPE button
When you press to light up this button, the current video
(background video) is gradually switched as if the next
video was wiping out the present video during transition of
the background video (wipe).
When mix is selected, wipe mode is canceled.
g AUTO TRANS (automatic transition) button
When you press to light up this button, an effect is
automatically executed within the preset transition time
during transition of the background video (AUTO TRANS
function) (page 69).
When you press to light up this button while the AUTO
TRANS function is being executed (the button lights in
orange), the function is suspended (the button stays lit in
orange). Pressing the button again restores the AUTO
TRANS function, and the button goes dark when the
transition is complete.
h CUT button
When you press to light up this button, the present video is
instantaneously switched to the next program video during
transition of the background video (cut).
i Transition lever
Use this lever to execute a transition of the background
video manually.
If the switcher is turned on when the transition lever is not
positioned at either end, move the lever back and forth
between both ends once. This action enables the function
of the lever.
j Transition indicator
The indicator shows the available direction of the
transition lever.
Moving the transition lever in the direction of the indicator
lit starts a transition.
If you press the AUTO TRANS button after moving the
transition lever to the middle, for example, an
inconsistency between the application of the effect and the
position of the transition may occur. In such a case, both
indicators may light up.
Do not use excessive force while operating the transition
lever.
5 Menu/Snapshot/Camera Position Section
The buttons in the menu/snapshot/camera position section
differ in function depending on whether the switcher is in
menu mode, SW mode, or CAM mode.
a MENU button
When you press to light up this button, the display panel is
set to menu mode.
In menu mode, pressing one of numeric buttons 4 to 9
allows you to display one of the top menus (see “Top menu
list”). The selected numeric button lights up. To return to
CAM or SW mode, press the MENU button or press the
CAM or SW mode button.
• When you switch to menu mode, the menu page
displayed last will be shown on the display panel. At the
time of the system startup the display panel shows the
top page of the SETUP menu.
• For the procedures for menu operation, see “To display
the menu” on page 22.
• For details on the setting menus, see “Menu List” on
page 131.
Note
Note
Note
Note
7
DSK PIP SETUP
MEM
MENU/SNAP
SHOT/CAMERA POSITION
WIPE MATT
89
MENU
456
DIRECT
RECALL
123
PRESET
0.
CLEAR RECALL
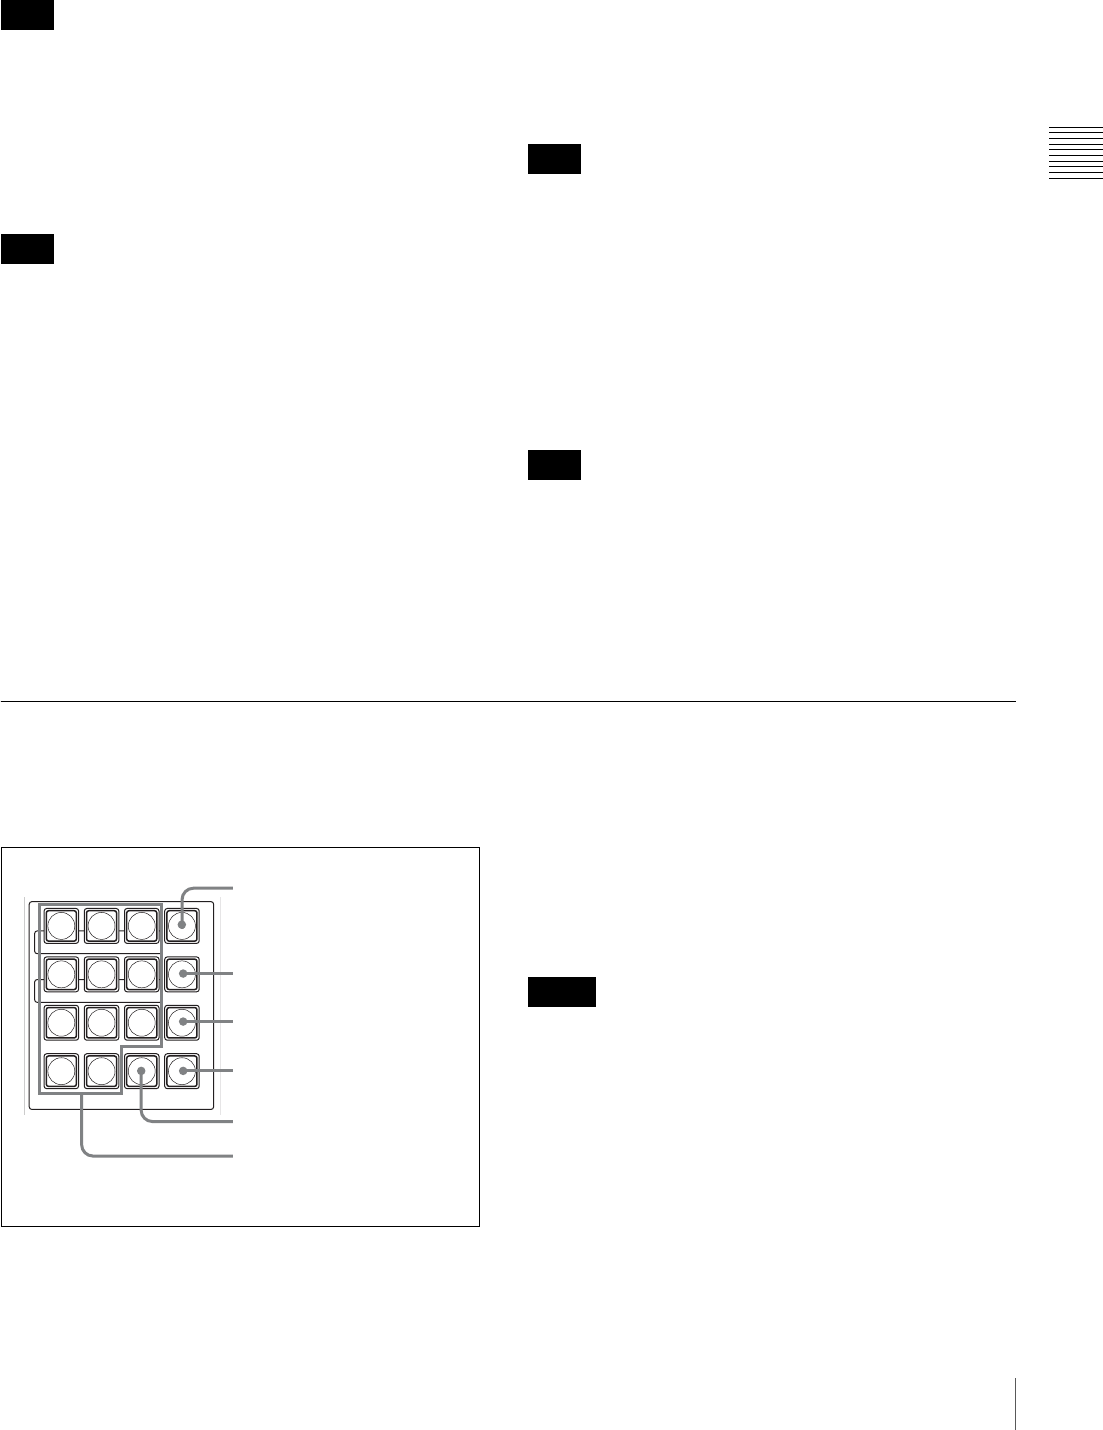
1 MENU button
2 DIRECT RECALL button
3 PRESET button
4 RECALL button
5 CLEAR button
6 Numeric (0 to 9) buttons and .
(dot) button
Notes


