


Using Wireless LAN
187
11
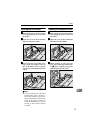
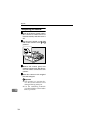
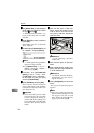
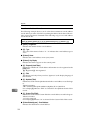
When you use a hub
A Connect a straight network ca-
ble to the network interface
connector of this machine.
B Connect the other end of the
cable to an available connector
of the hub.
C Confirm that the computer is
connected to the hub B
BB
B.
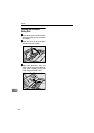
When not connected, connect
the computer to the hub using a
10BASE-T or 100BASE-TX
straight network cable.
B
BB
B
Change the computer's IP address
to 192.168.1.3, and subnet mask to
255.255.255.0.
C
CC
C
Restart the computer.
The computer's IP address is
changed to 192.168.1.3.
D
DD
D
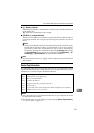
Press the {
{{
{User Tools}
}}
} key on this
machine.
The scanner Features menu ap-
pears.
E
EE
E
Press the {
{{
{1}
}}
} key.
The System Settings menu is dis-
played, and “1. Function Priority ”
appears as the setup item currently
selected.
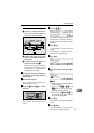
F
FF
F
Press [Next].
“1. IP Address ” input screen will
appear.
“2. IP Address ” appears as the set-
up item currently selected.
G
GG
G
Press [OK].
H
HH
H
Enter “192.168.1.2” with the number
keys
.
Note
❒ Input each part of the IP address
in three digits.
❒ You can use {
{{
{1
11
1 }
}}
} (or {
{{
{#}
}}
} ) and
{
{{
{0
00
0}
}}
} keys to move the high-
lighting to right and left.
❒ You can use the {
{{
{Clear/Stop}
}}
} key
to clear the three-digit number
currently highlighted.
I
II
I
Press [OK].
This returns to the System Settings
menu.
J
JJ
J
Press [↓
↓↓
↓Next].
“3. Subnet Mask ” appears as the
setup item currently selected.
ADG004S
ABK006S