


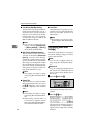
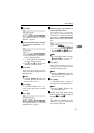


Configuring the Scanner Settings
72
3
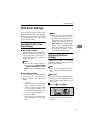
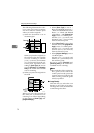
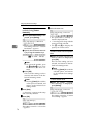
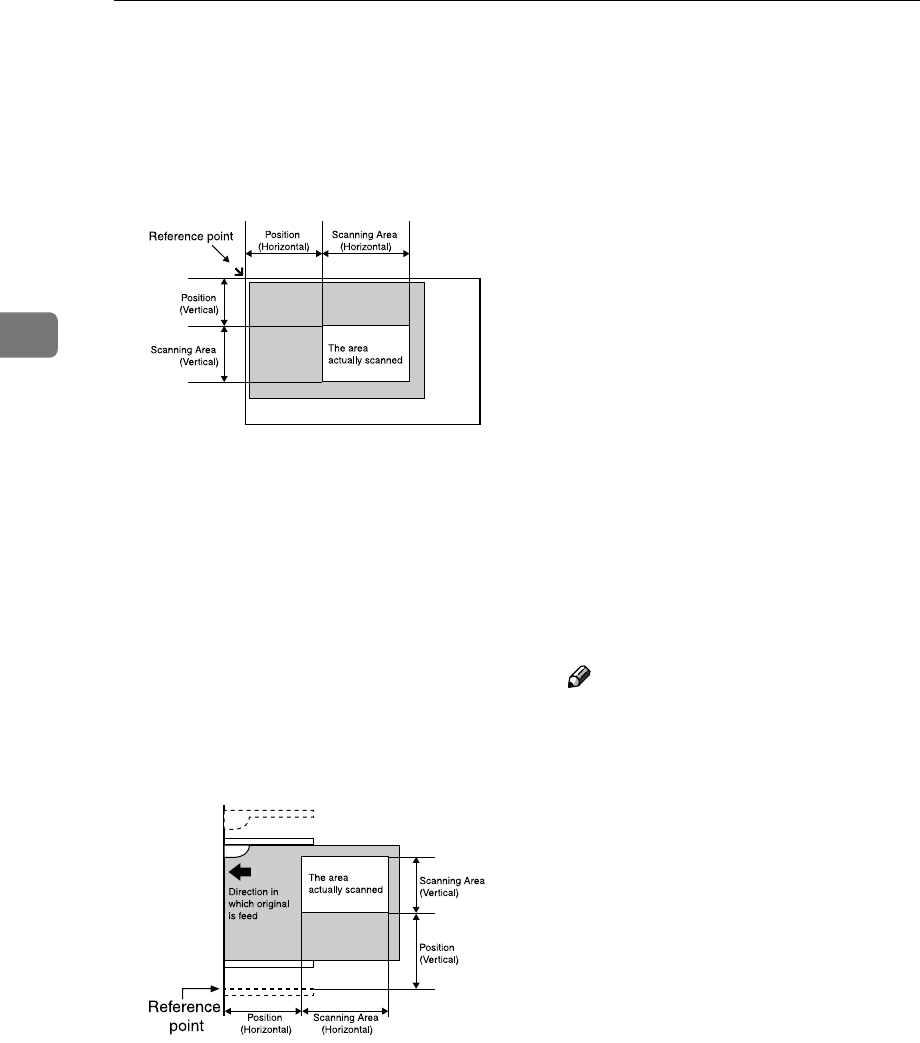
The following illustrates the refer-
ence point and actual scanning
area in accordance with the place
where you set the originals.
A
When the document is set in
document glass
When you place the originals on
the exposure glass, the available
area for scanning is 300mm
(11.8”) (vertical) and 432mm
(17”) (horizontal) from the ref-
erence point, regardless of the
setting in [Scan Type]. Be sure to
specify [Position] and [Scanning
Area] to be within the available
area for scanning.
B
When you place the originals in
the ADF
When you place the originals in
the ADF, the available area for
scanning is as follows depending
on the setting in [Scan Type] and
[Original Settings].
• When [Scan Type] is set to “
Black and White:Text ”,
“ Black and White:Text/
Photo ” or “ Black and White&
colon;Photo ” and [Original Set-
tings] is set to a 1-sided option:
297mm (11.7”) (vertical) and
2000mm (78.7”) (horizontal)
from the reference point
• When [Scan Type] is set to other
than the above, and [Original Set-
tings] is set to a 1-sided option:
297mm (11.7”) (vertical) and
630mm (24.8”) (horizontal)
from the reference point
• When [Original Settings] is set to
a 2-sided option:
297mm (11.7”) (vertical) and
432mm (17”) (horizontal) from
the reference point
Be sure to specify [Position] and
[Scanning Area] to be within the
available area for scanning.
Note
❒ The inside line of the original ta-
ble’s guide on the side of the
control panel exactly passes the
vertical reference point for the
ADF scanning, when the guide
is fully expanded.
❖
❖❖
❖ Image Density
This item lets you select the scan
density in one of the seven steps.
The larger the value, the darker the
scanned image becomes.
ADG012S
ADG013S