


Configuring the Scanner Settings
62
3
• Selecting “ sRGB 2” reduces
the paper's yellowish tone.
Note
❒ Selecting “ sRGB 1” or “ sRGB
2” disables the [Image Density]
setting. (⇒ p.72)
❖
❖❖
❖ End of Scan Option
This item lets you select how this
machine behaves after a scanning
operation ends. The option select-
ed for this item applies scanning
performed in a Send Scan (Deliv-
ery Server or Send Mail/Send File)
operation.
Note
❒ You can perform additional
scan operation after a scanning
from the exposure glass is fin-
ished, regardless of the setting
of this item.
❒ When you perform a Print Scan
operation, the option selected
for this setup item does not ap-
ply.
• Show Options after Each Scan
Job
The screen for selecting the next
operation appears on the dis-
play panel of this machine.
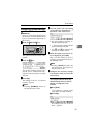
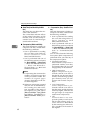
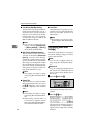
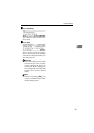
When scanning is performed
from the ADF
The following screen appears
when all the originals in the
ADF are scanned.
• Press [Add] to continue scan-
ning to add scanned data to
the current image file.
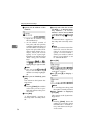
• Pressing [New Job] finishes
the current scanning job and
sends the scanned data. You
can start a new job with the
current settings after the
scanned data is sent.
• Pressing [OK] finishes the
current scanning job, sends
the scanned data, and then
returns to the initial screen
when the power is turned on.
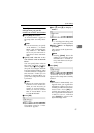
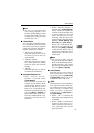
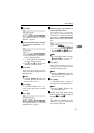
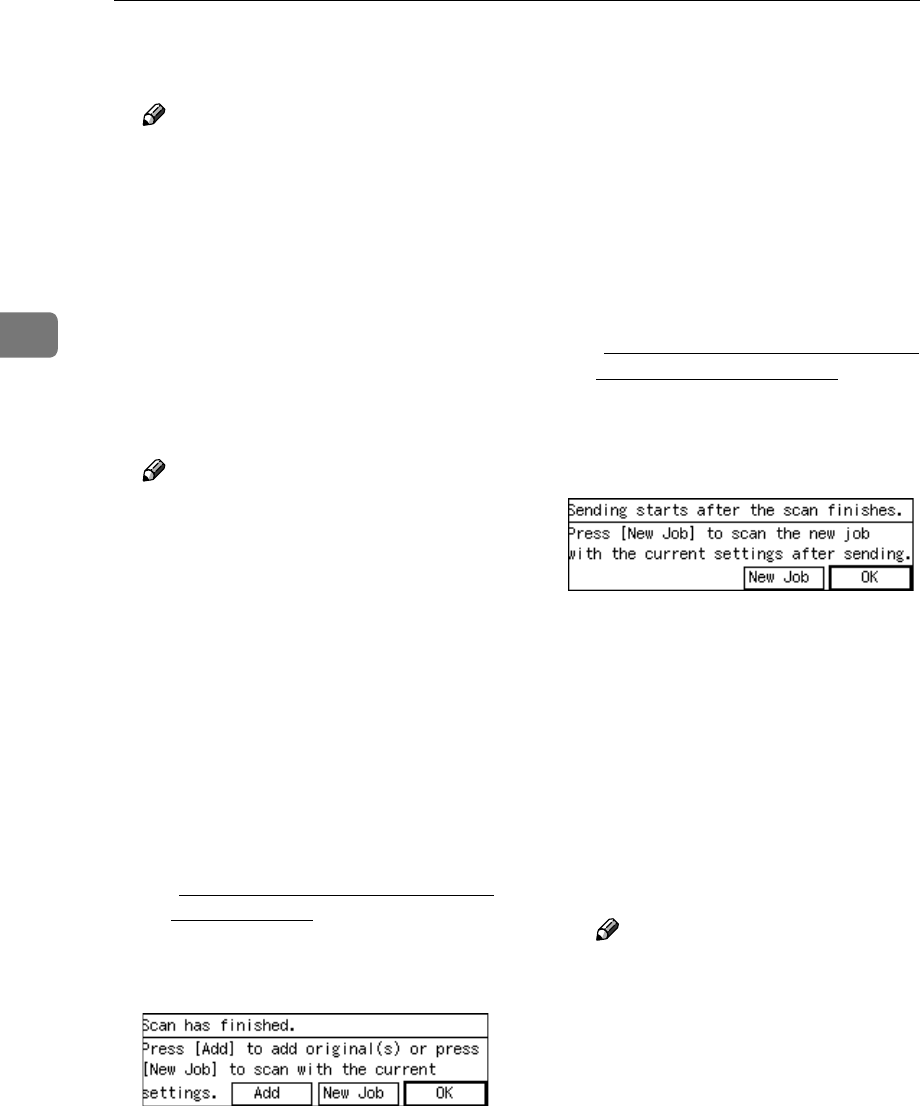
When scanning is performed
from the exposure glass
The following screen appears
when you press [Finish] after
scanning the original on the ex-
posure glass.
• Pressing [New Job] finishes
the current scanning job and
sends the scanned data. You
can start a new job with the
current settings after the
scanned data is sent.
• Pressing [OK] finishes the
current scanning job, sends
the scanned data, and then
returns to the initial screen
when the power is turned on.
Note
❒ You can specify the time dur-
ing which the screen for se-
lecting the next operation
remains displayed using
[Configuration] → [Basic Set-
tings] → [Scanner] → [Wait
Time for Additional Scanning]
on the Web Status Monitor.
See the Web Status Monitor
Help.