


Guide to this Scanner
13
1
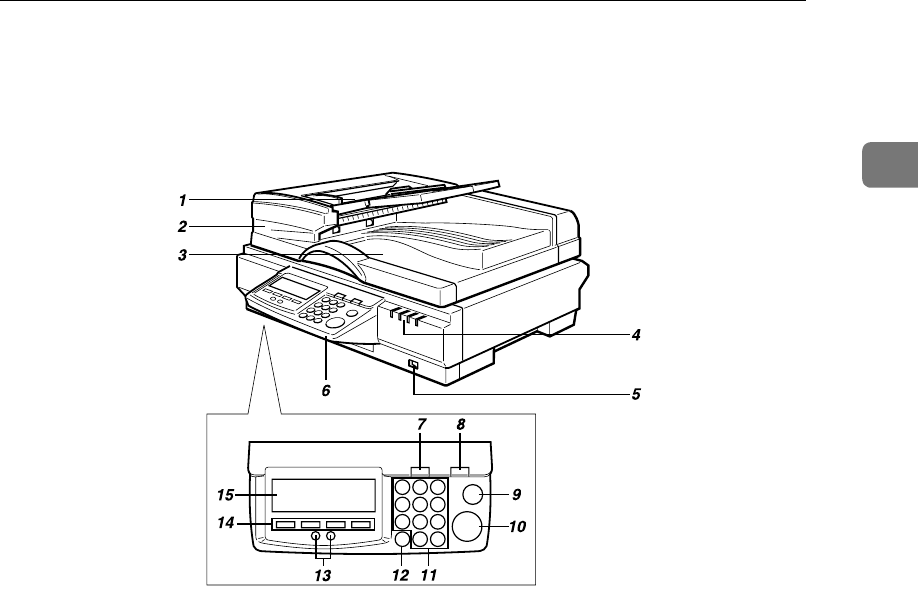
Guide to this Scanner
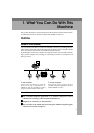
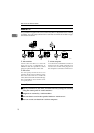
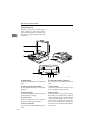
1. Original table
Set originals here to be loaded into this
machine using the ADF (Automatic Doc-
ument Feeder).
2. ADF (Automatic Document Feed-
er)
Allows you to automatically load multi-
ple originals into this machine. The ADF
also provides duplex scanning.
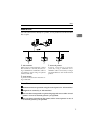
3. Output table
The originals that have been loaded by
the ADF are output here after scanning.
4. Indicators
Indicate status of this machine.
5. Power switch
Turns this machine’s power on and off.
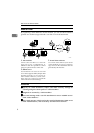
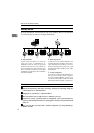
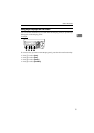
6. Control panel
Used to configure settings and operate
this machine.
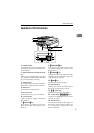
7. {
{{
{User Tools}
}}
} key
Press this key to configure various set-
tings such as send scan, print scan, net-
work, etc.
8. {
{{
{Clear Modes}
}}
} key
Press this key to return to the initial
screen that is displayed when you turn
the power on.
9. {
{{
{Clear/Stop}
}}
} key
Press this key when you want to clear the
value that you have entered, or stop scan-
ning currently in progress.
10. {
{{
{Start}
}}
} key
Press this key to start scanning.
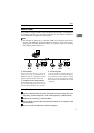
11. Number keys
Used to select a menu item displayed on
the screen, or enter numeric values.
12. {
{{
{./*}
}}
} (Title) key
Press this key to display list of titles.
13. Cursor keys ( {
{{
{0
00
0 }
}}
} / {
{{
{1
11
1}
}}
} keys)
Used to move highlight on the screen for
selecting an option.
14. Function key
Used to select functions that appear on
the display panel of this machine. See
p.15 “Using Keys Displayed on the
Screen” for details.
ADG018S