


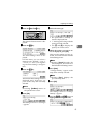


Configuring Settings Using a Web Browser
89
3
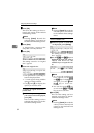
Note
❒ Be sure to click [OK] to save
the settings you have made
on the currently displayed
screen. Once you move to an-
other page without clicking
[OK], all the settings that you
have made on the previous
page will be cleared.
❒ The changes are discarded if
[Cancel] is clicked.
To delete an existing e-mail
address
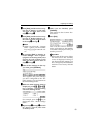
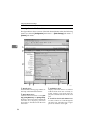
A Display the item that you want
to delete within the list on the
screen.
Note
❒ You can select the number of
items to be displayed at a
time by selecting a number in
the [Display Items] box.
❒ Click [Next] or [Prev] to dis-
play the next or previous
page. Click [Top] or [End] to
display the first or last page.
❒ If you want to display a spe-
cific page, enter the page
number in the [Page(s)] box,
and then press [Go].
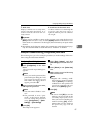
B Select the item that you want to
delete, by clicking the option
button to the left of the item.
C Click [Delete].
D On the confirmation dialog
box that appears, click [OK] to
delete the item.
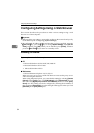
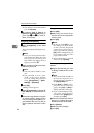
To export the address data to a
CSV file
A Click [Export].
The [Export Data] page appears.
B Click the [Download] button to
the right of [Entered Program In-
formation].
C On the dialog box that appear,
select [Save this file to disk], and
then click [OK].
Note
❒ The above dialog box varies
depending on the version of
the operating system (Win-
dows). When a save dialog
box appears here, click [Save]
here.
The [Save As] dialog box ap-
pears.
D Specify a file name and the lo-
cation to save the file, and then
click [Save].
Note
❒
The default name that is auto-
matically assigned to the file
is “<device name_addr.csv”.
For “<device name”, the
name that is specified for the
machine’s device name is
used. (You can specify the de-
vice name using
[Configura-
tion]
→
[Basic Settings]
→
[General Settings]
→
[Device
Name]
.)
This returns to the [Export Data]
page.