Configuring the Scanner Settings
74
3
Note
❒ When “ Black and White&co-
lon;Gray Scale ” or “ Col-
our:Full Colour ” is
selected in the [ Scan Type ]
list, and “ High Compression
”, “ Normal Compression ”,
or “ Low Compression ” is
selected in the [Compression
(Gray Scale/Full Colour)] list un-
der [System Settings], the
scanned image is saved as a
JPEG file. Otherwise, it is
saved as a TIFF file.
• PDF
The scanned image is saved as a
PDF file.
• Multi-page TIFF
An original of two or more pag-
es is saved as one file.
When “ Black and White&co-
lon;Gray Scale ” or “ Col-
our:Full Colour ” is
selected in the [ Scan Type ] list,
and “ High Compression ”, “
Normal Compression ”, or “
Low Compression ” is selected
in the [Compression (Gray
Scale/Full Colour)] list under [Sys-
tem Settings], the scanned image
is saved as a PDF file. Other-
wise, it is saved as a TIFF file.
❖
❖❖
❖ Original Settings
This item lets you select the orien-
tation of the original, and whether
to scan one side or both sides of the
original. See p.112 “Original Ori-
entation” for details.
Registering [Scan Settings]
Follow the steps below to configure
and register Scan Settings using the
control panel of this machine.
Note
❒ You can also configure these set-
tings using the Web Status Moni-
tor.
Reference
See p.15 “Using Keys Displayed on
the Screen” for information about
how to select items displayed on
the screen.
A
AA
A
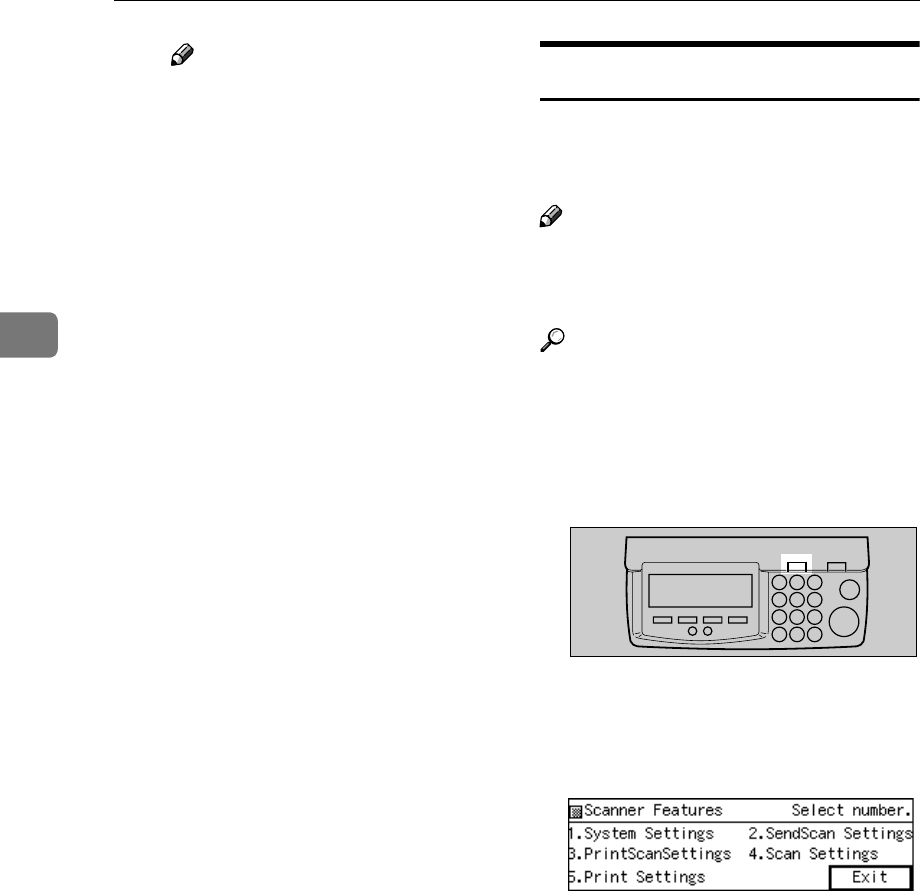
Press the {
{{
{User Tools}
}}
} key.
The Scanner Features menu is dis-
played.
B
BB
B
Press the {
{{
{4}
}}
} key.
The Scan Settings menu is dis-
played.
On this menu, you can select a
memory area (“ Default ”, “ User
1”, “ User 2”, or “ User 3”) for reg-
istering the Scan Settings configu-
ration.
ABK006S


