


Appendix
188
11
K
KK
K
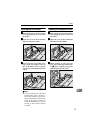
Set [Subnet Mask] to 255.255.255.0
in the same way as you have done
in steps
G
GG
G
through
J
JJ
J
.
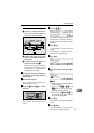
“4. Default Gateway Address ” ap-
pears as the setup item currently
selected.
L
LL
L
Press [Next] three times, and then
press [OK].
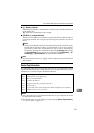
The setting screen for “7. Network
Boot ” appears.
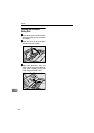
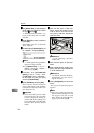
M
MM
M
Confirm that [7. Network Boot] is set
to “ NONE ”, and press [Cancel].
Note
❒ “*” mark appears along with the
option currently selected.
❒ If [7.Network Boot] is set to “
DHCP ”, change it to “ NONE ”,
and then press [OK].
N
NN
N
Confirm that [10.Transmission
Speed] is set to “ Auto ” and
[11.LAN Type] is set to “ Ethernet ”,
in the same way that you have
done for [7.Network Boot].
O
OO
O
Press [PrevMenu], and then [Exit].
This exits the Scanner Features
menu, and returns to the standby
screen that is displayed when you
turn the power on.
Important
❒ Never turn off the power of this
machine before the standby
screen is displayed. Doing so
can discard all the settings you
have configured, and return this
machine to its factory default
status.
P
PP
P
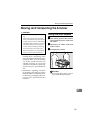
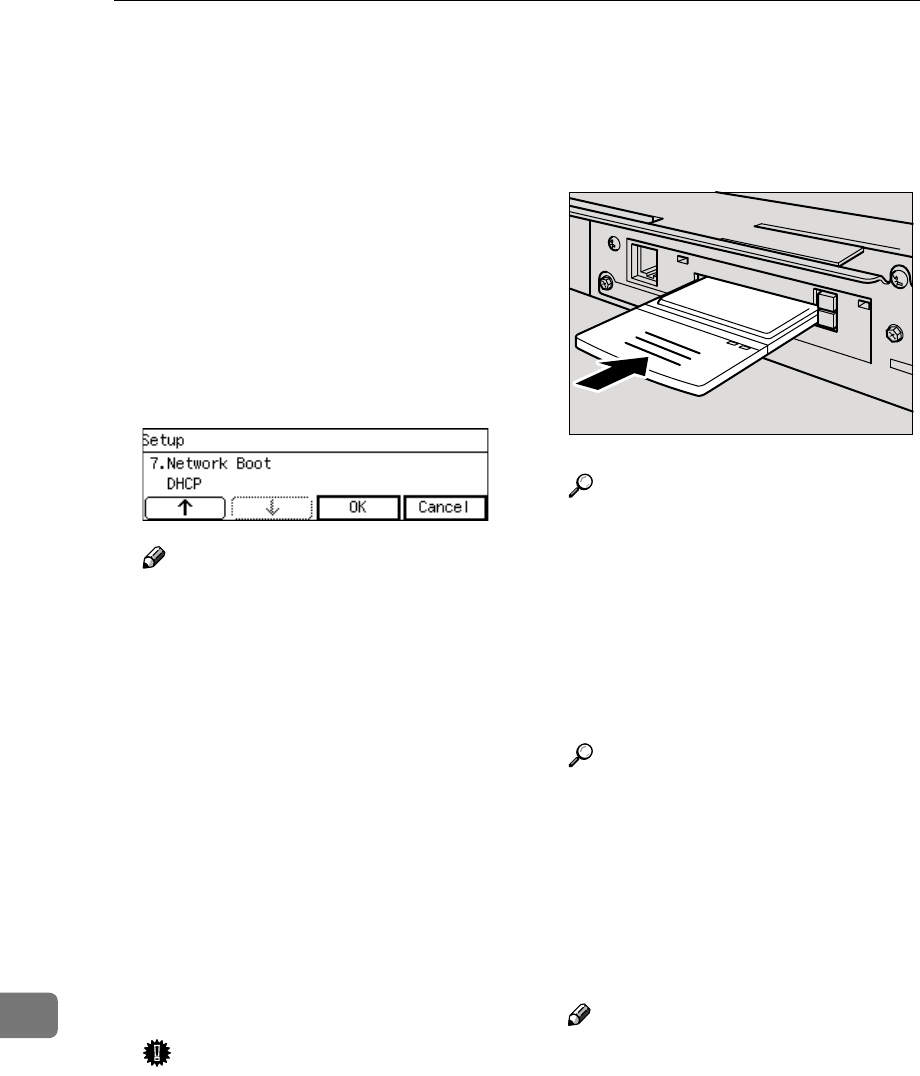
Turn off the power of this ma-
chine, Insert the wireless LAN
card to the PC Card slot on the
rear panel, and then attach the
card slot cover.
Reference
⇒ p.29 “Inserting a Wireless
LAN Card”
Q
QQ
Q
Turn ON the power of this ma-
chine.
R
RR
R
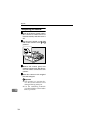
Start a Web browser on the com-
puter, and enter “http://192.168.1.2
/” in the address bar.
Reference
For details about the Web Sta-
tus Monitor, see p.84 “Access-
ing the Scanner”.
S
SS
S
Click [Configuration] on the main
menu.
The password input dialog box
appears.
Note
❒ Once you set the password, the
password input dialog box will
not appear from the second
time. When the dialog doesn’t
appear, proceed to step
U
.
ADG005S