


Registering Scan Settings
75
3
C
CC
C
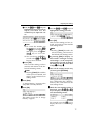
Press the {
{{
{1}
}}
} key.
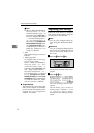
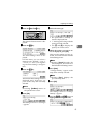
The Default Scan Settings menu is
displayed, and “1. Scan Type ” ap-
pears as the setup item currently
selected.
D
DD
D
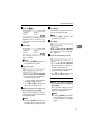
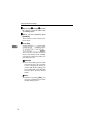
Press [OK].
The setting screen for “1. Scan
Type ” appears.
Note
❒ Pressing [PrevMenu] returns to
the parent menu screen.
E
EE
E
Select scan type.
• The option that is currently se-
lected is displayed first.
•“*” mark appears along with the
option currently selected.
• Use [↑
↑↑
↑] and [↓
↓↓
↓] to display the
option you want to select.
F
FF
F
While the option you want to se-
lect is displayed, press [OK].
This saves the setting you have se-
lected, and returns to the Default
Scan Settings menu.
Note
❒ Pressing [Cancel] discards the
selected option, and returns to
the Default Scan Settings menu.
G
GG
G
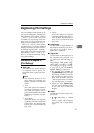
Press [Next ].
“2. Resolution ” appears as the set-
up item currently selected.
Note
❒ Pressing [Prev.] displays the
previous setup item.
H
HH
H
Press [OK].
The setting screen for “2. Resolu-
tion ” appears.
I
II
I
Select the resolution you want.
• The option that is currently se-
lected is displayed first.
•“*” mark appears along with the
option currently selected.
• Use [↑
↑↑
↑] and [↓
↓↓
↓] to display the
option you want to select.
To select a preset resolution
A While the preset resolution
you want to select is displayed,
press [OK].
This saves the setting you have
selected, and returns to the De-
fault Scan Settings menu.
Note
❒ Pressing [Cancel] discards the
selected option, and returns
to the Default Scan Settings
menu.