NovaJet 800 Series Service Manual
Assembly\Disassembly 5-3
3. Lift up on the left side of the Top Cover until it clears the Left Cover
while still depressing the retracting stop assembly, then slide the cover
to the left to disengage it from the Right Cover.
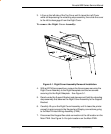
To remove the Right Cover Assembly:
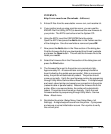
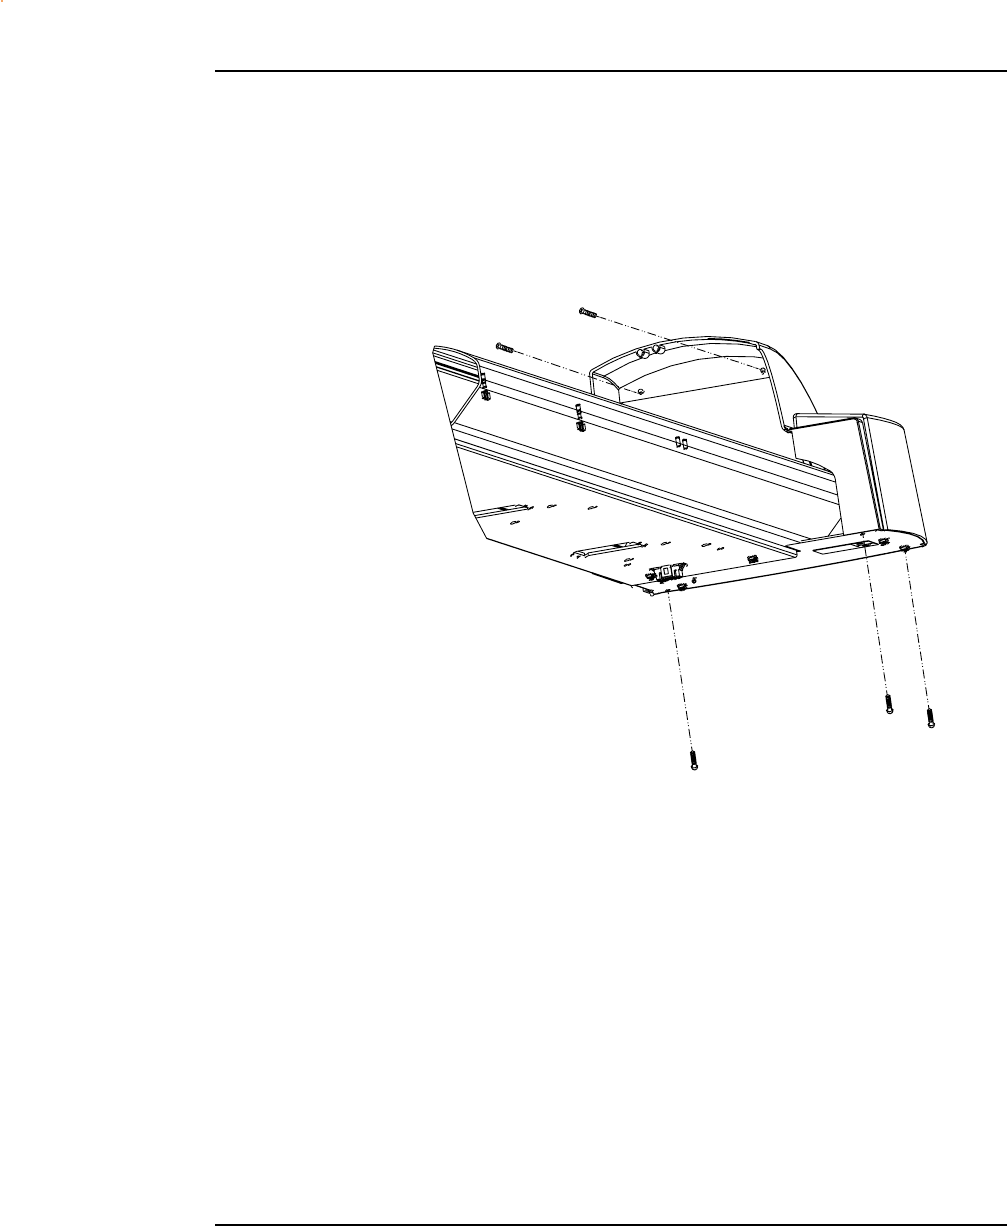
Figure 5-1. Right Cover Assembly Removal/Installation.
4. With a #2 Phillips screwdriver, remove the three screws securing the
Right Cover Assembly to the Right Baseplate and the two screws
securing it to the Right Sideplate. See Figure 5-1.
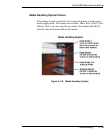
5. Reach under the Support Bracket and depress and hold the retracting
stop assembly that secures the Right Cover Assembly to the Support
Bracket.
6. Carefully lift up on the Right Cover Assembly until it clears the printer
enough to gain access to the Keypad and Display connections going
to the Main Printed Wiring Assembly (PWA).
7. Disconnect the Keypad flex cable connection at the J9 location on the
Main PWA. See Figure 3-4 for jack locations on the Main PWA.


