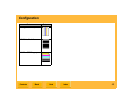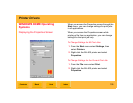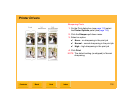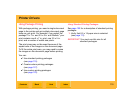
Print Server
Back
IndexContents
Next
56
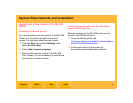
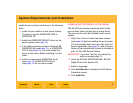
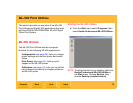
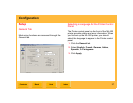
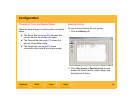
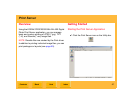
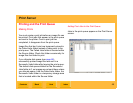
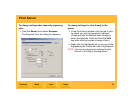
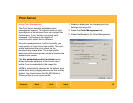
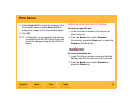
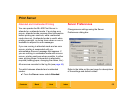
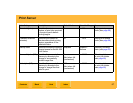
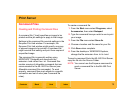
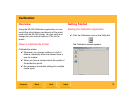
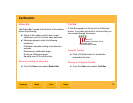
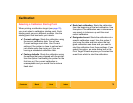
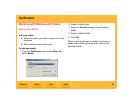
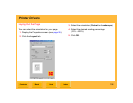
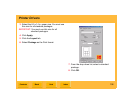
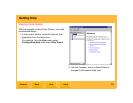
Sharpening Images
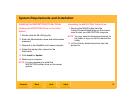
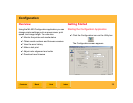
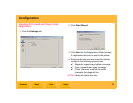
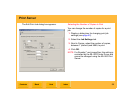
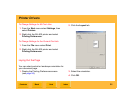
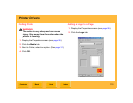
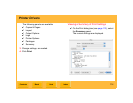
1. Display a dialog box for changing print job
settings (see page 52).
2. Select the Job Settings tab.
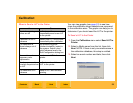
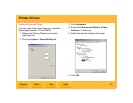
3. Under Sharpen, select an option:
None - No sharpening is applied. Use when
sharpening is applied elsewhere in the imaging
chain.
Normal (default) - Moderate amount of
sharpening is applied. Use with images that
have good sharpness.
High - Increased sharpening is applied. Use
with images that have less than optimal
sharpness.
4. Click OK.
NOTE: For Rosetta (*.ros) image files, this setting is
controlled by the ML-500 Printer Driver and
cannot be changed using the ML-500 Print
Server.
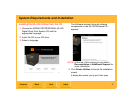
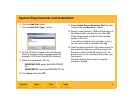
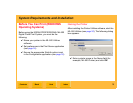
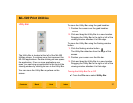
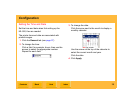
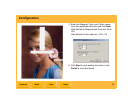
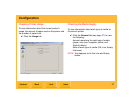
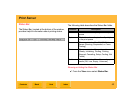
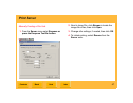
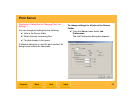
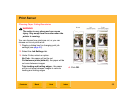
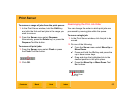
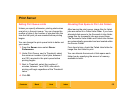
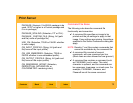
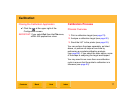
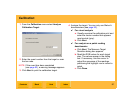
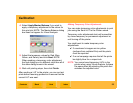
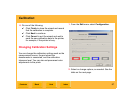
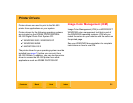
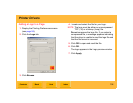
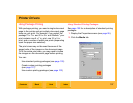
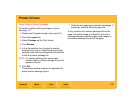
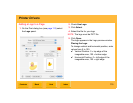
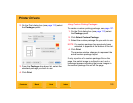
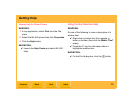
Labeling Prints
You can add labels (up to 256 characters) to your
prints to help identify them.
The text label you create appears below the image
and adds 1/2 inch to the trailing border.
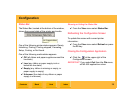
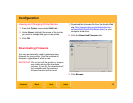
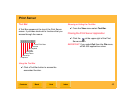
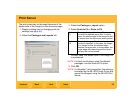
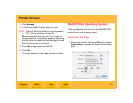
1. Display a dialog box for changing print job
settings (see page 52).
2. Select the Job Settings tab.
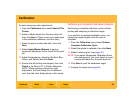
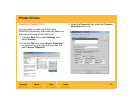
3. Under Label, select Use Label.
4. Click Define.
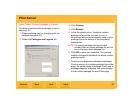
5. Select from the options under Information and
Text color. You can enter additional text in the
Custom text box.
6. Click OK to close the Define Label dialog box.
7. Click OK.
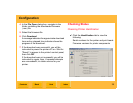
NOTE: If the Use Label option is checked and the
default settings are not changed, the date
and time are printed in black.