


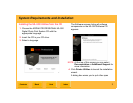
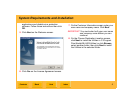
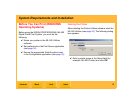
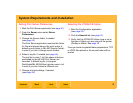

System Requirements and Installation
Back
IndexContents
Next
11
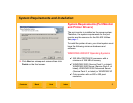
c. Navigate to the directory on the CD
where the ML500.inf file resides, for
example,
<CD_drive>:\English\Print_Driver\Win_X
P_Win_2000).
d. Open this file. The Install From Disk
dialog box reappears.
e. Click OK.
The Kodak Professional ML-500 printer
appears in the list.
f. Click Next.
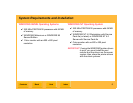
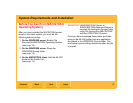
✔ Name your Printer dialog box
Click Next to accept the default selections
or choose an appropriate printer name.
Select whether or not you want this to be
the default printer.
✔ Printer Sharing dialog box
Choose Share as: so that the printer will be
accessible from clients printing with drivers.
Provide a share name to be displayed on
the network.
✔ Location and Comment dialog box
Optionally supply a location and comment
that is displayed in the Printers list.
✔ Print Test Page dialog box
Select No.
✔ Completing the Add Printer Wizard
dialog box
Click Finish.
✔ Digital Signature Not Found dialog box
Click Yes to continue the installation.
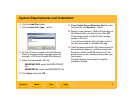
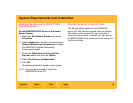
5. If the new printer driver is not listed in the
Printers window after the installation is
complete, select Refresh from the View menu.
6. If you plan to use the logo feature in the driver,
you must disable advanced printing.
a. Right-click the ML-500 printer and select
Properties).
b. Click the Advanced tab.
c. Uncheck Enable advanced printing
features.