


Calibration
Back
IndexContents
Next
81
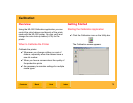
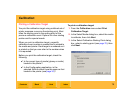
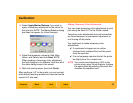
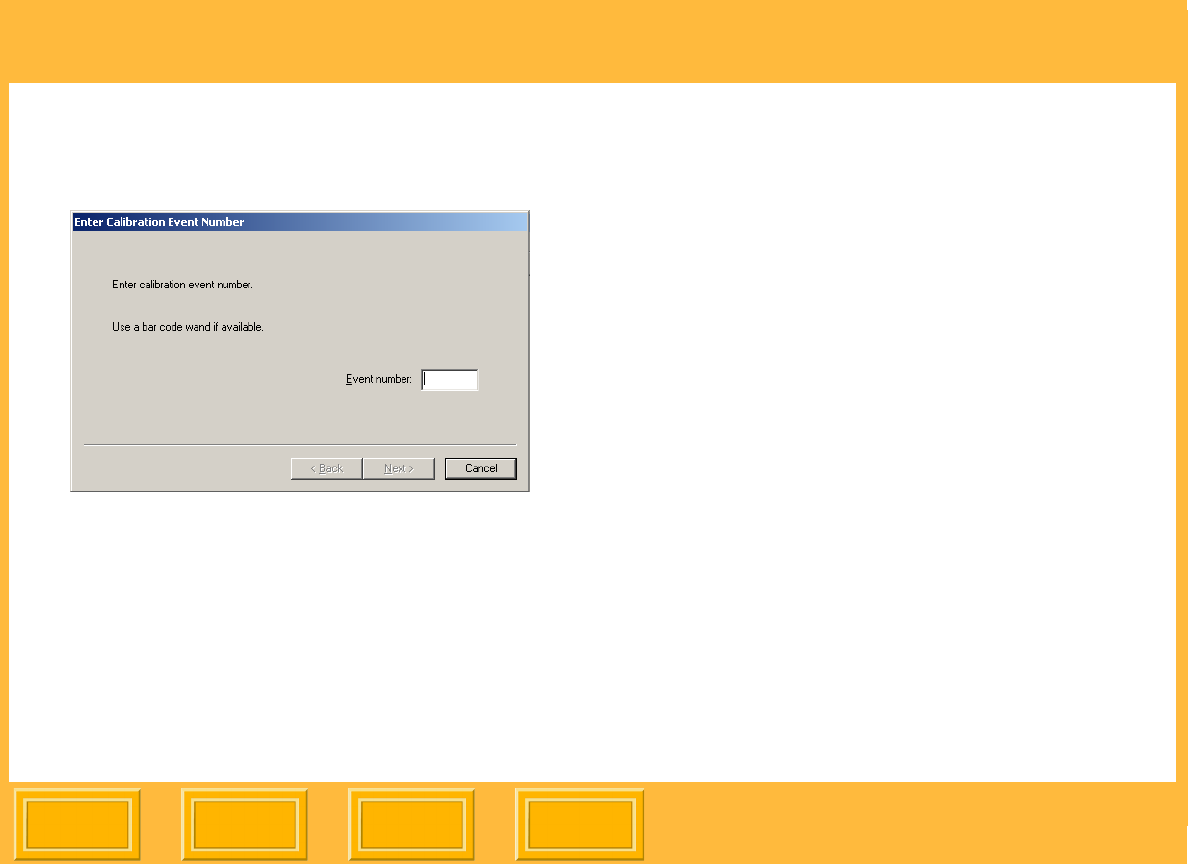
1. From the Calibration menu select Analyze
Calibration Target.
2. Enter the event number from the target or scan
the bar code.
NOTE: If the event has been completed
(see page 92), a warning message appears.
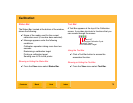
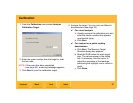
3. Click Next to print the calibration target.
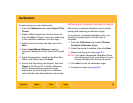
4. Analyze the target. You can only use Status A
densitometers (see page 92).
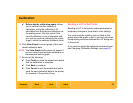
✔ For visual analysis
a. Visually examine the calibration print and
enter the cluster number that appears
most neutral (gray).
b. Click Next.
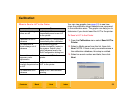
✔ For analysis on a patch reading
densitometer
a. Click Next. The Measure Target
Densities dialog box appears.
b. Read the RGB values for each target
step. The values appear in the dialog
box. If necessary, use the cursor to
adjust the sequence of the readings,
positioning the highlight row to reread a
patch.
c. Click Done.