


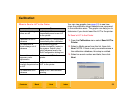
Calibration
Back
IndexContents
Next
85
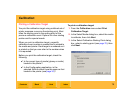
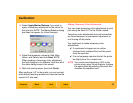
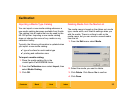
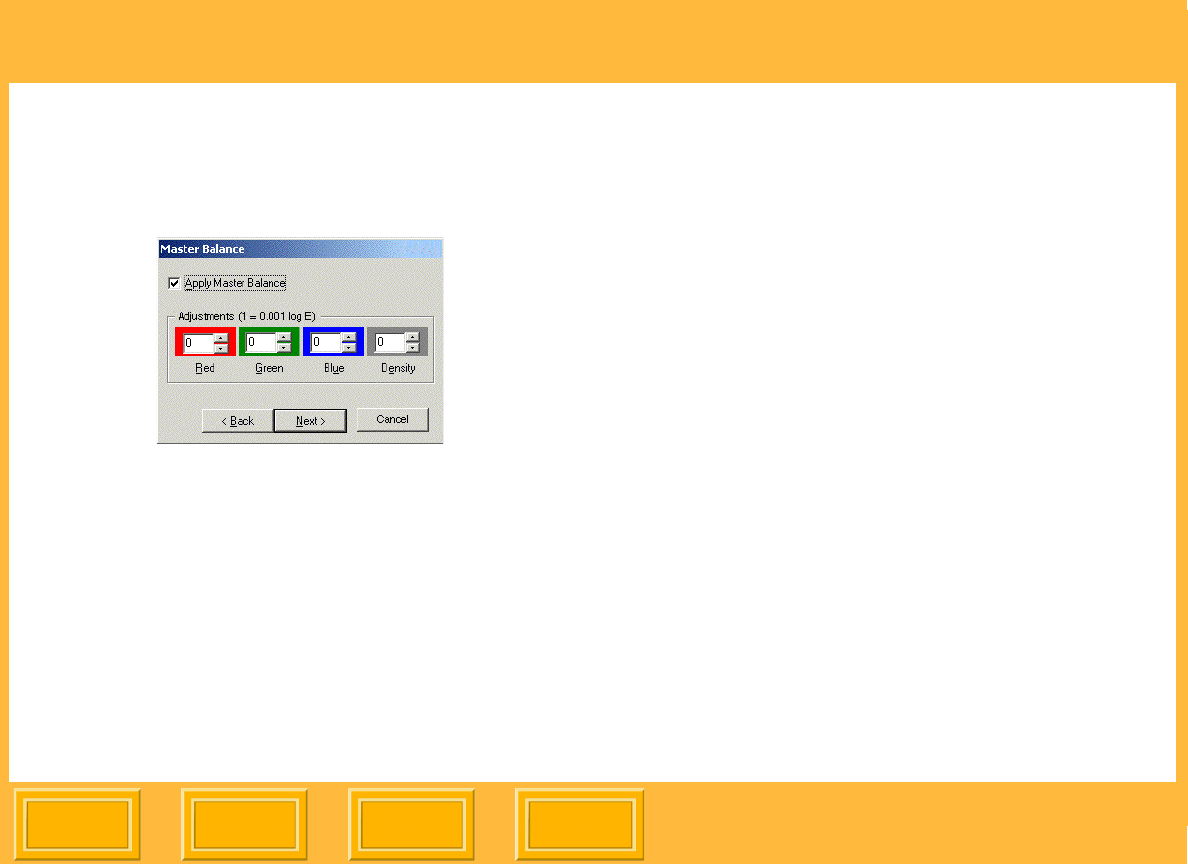
4. Select Apply Master Balance if you wish to
apply a temporary adjustment to the colors for
this print job. NOTE: The Master Balance dialog
box does not appear for Visual Analysis.
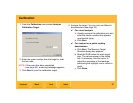
5. Adjust the temporary values for Red, Blue,
Green, and Density and click Next. NOTE:
When sending a temporary color adjustment,
the final dialog box is a different color than all of
the other dialog boxes in the wizard.
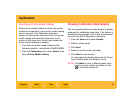
6. Wait until printing stops, then click Finish.
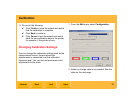
After sending a LUT to the printer, you can run test
prints before resuming production to ensure that the
correct LUT was sent.
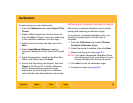
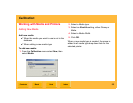
Making Temporary Color Adjustments
You can make temporary color adjustments to print
jobs using the Send LUT to the Printer wizard.
Temporary color adjustments last until overwritten
by a new temporary or permanent adjustment or
until turning off the printer.
You might want to make temporary color
adjustments:
✔ If a customer's images are too yellow
(perhaps from outdated film) and the prints
must be reprinted.
✔ If an ad campaign requires that all the prints
be slightly blue for a unique look.
NOTE: You cannot send temporary LUTs to the
printer when using Visual Analysis. Achieve
the same effect by selecting the patch that
matches the adjusted color.