


Calibration
Back
IndexContents
Next
80
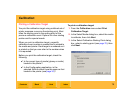
NOTE: If you select Designated event as a starting
point, you must select an event number and
date from the drop-down list on the Select
Calibration Event dialog box then click
Next.
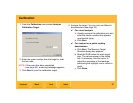
4. Click Finish.
You need not analyze the target immediately. If
necessary, you can exit the calibration application
between printing and analyzing the target so that
you can resume printing.
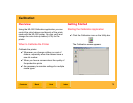
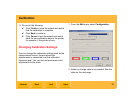
Analyzing a Calibration Target
You can analyze the printed target visually or with a
suitable densitometer. Then, you determine if the
current calibration is acceptable or if the printer
response curves from this calibration event should
be stored in the database and the new LUTs sent to
the printer.
Since each target has a unique event number, you
need not analyze a target immediately after you
print it. After you analyze the calibration target, the
results can be stored in the program and sent to the
printer in the form of new LUTs, or you can ignore
the results.
The analysis steps differ slightly depending on the
measurement source selected in the Edit
Configuration dialog box (see page 87).