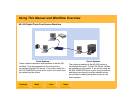
Print Server
Back
IndexContents
Next
57
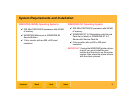
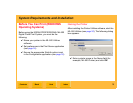
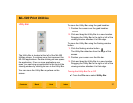
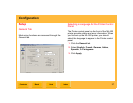
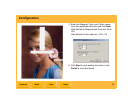
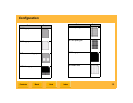
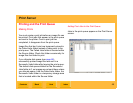
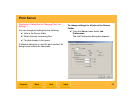
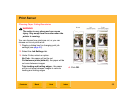
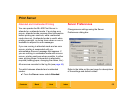
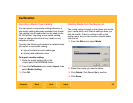
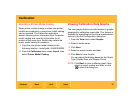
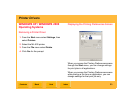
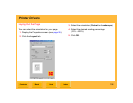
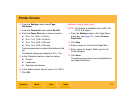
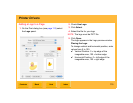
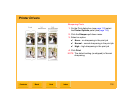
Adjusting Borders on Prints
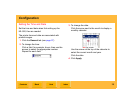
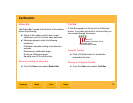
You can reposition an image on a print, which
changes the thickness of the white borders around
the image.
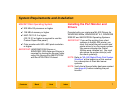
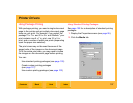
The default spacing for leading and trailing borders
is 75 pixels, and the Center Image box is checked.
This ensures that there will be equal amounts of
white space on the top and bottom of the image,
and equal space on the left and right of the image.
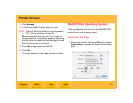
NOTE: 300 pixels = 1 in. = 2.54 cm (for example,
900 pixels = 3 in. = 7.62 cm)
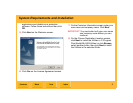
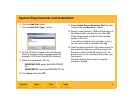
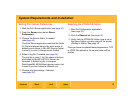
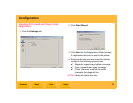
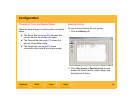
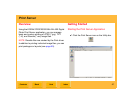
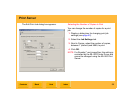
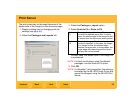
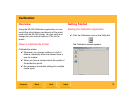
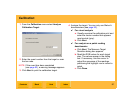
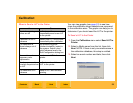
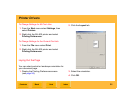
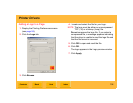
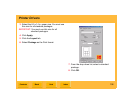
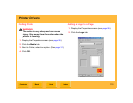
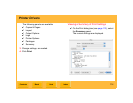
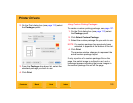
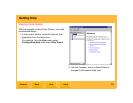
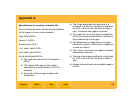
1. Display a dialog box for changing print job
settings (see page 52).
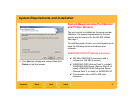
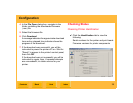
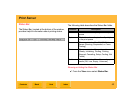
2. Select the Job Settings tab.
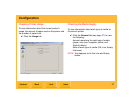
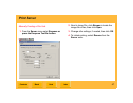
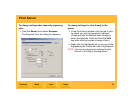
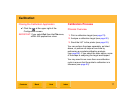
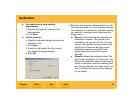
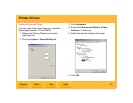
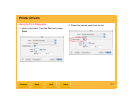
3. Change the settings under Image Placement:
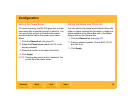
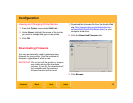
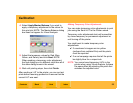
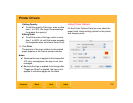
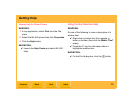
✔ Next to Leading Border, select the amount
of white space, between 0 and 3000, that
will print before the image.
✔ Next to Trailing Border, select the amount of
white space, between 0 and 3000, that will
print after the image.
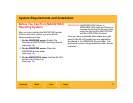
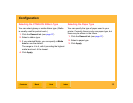
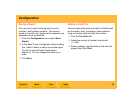
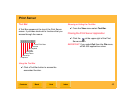
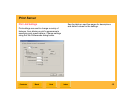
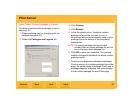
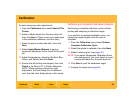
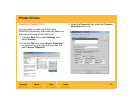
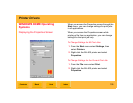
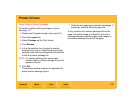
✔ To change the amount of white space that
will print on either side of the image,
deselect the Center Image box. Next to
Image Offset, select the amount of white
space, between 0 and 2560, from the left
edge of the paper to the left edge of the
image. The amount on the right side of the
image will decrease by this amount.
NOTE: For 8 inch paper, you may need to adjust
the print head and paper cutter registration
(see page 32) to center the image.
4. Click OK.
NOTE: For Rosetta (*.ros) image files, this setting is
controlled by the ML-500 Printer Driver and
cannot be changed using the ML-500 Print
Server.