


3- 12
Printing from Windows
TOP
Chapter 3
Printing Methods for
Different Objectives
Chapter 4
Maintaining the
Printer
Chapter 5
Using the Printer in a
Network Environ-
ment
Chapter 6
Troubleshooting
Chapter 7
Operation of the
Function Menus
Index
Contents
Chapter 2
Using a Variety of
Media
Chapter 1
Basic Procedures
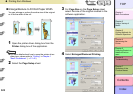
Note
z
If you do not see the checkbox for
Enlarged/Reduced
Printing
, then cancel the
Borderless Printing
selection.
The
Enlarged/Reduced Printing
checkbox will appear.
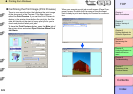
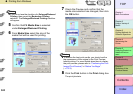
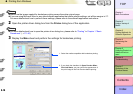
5
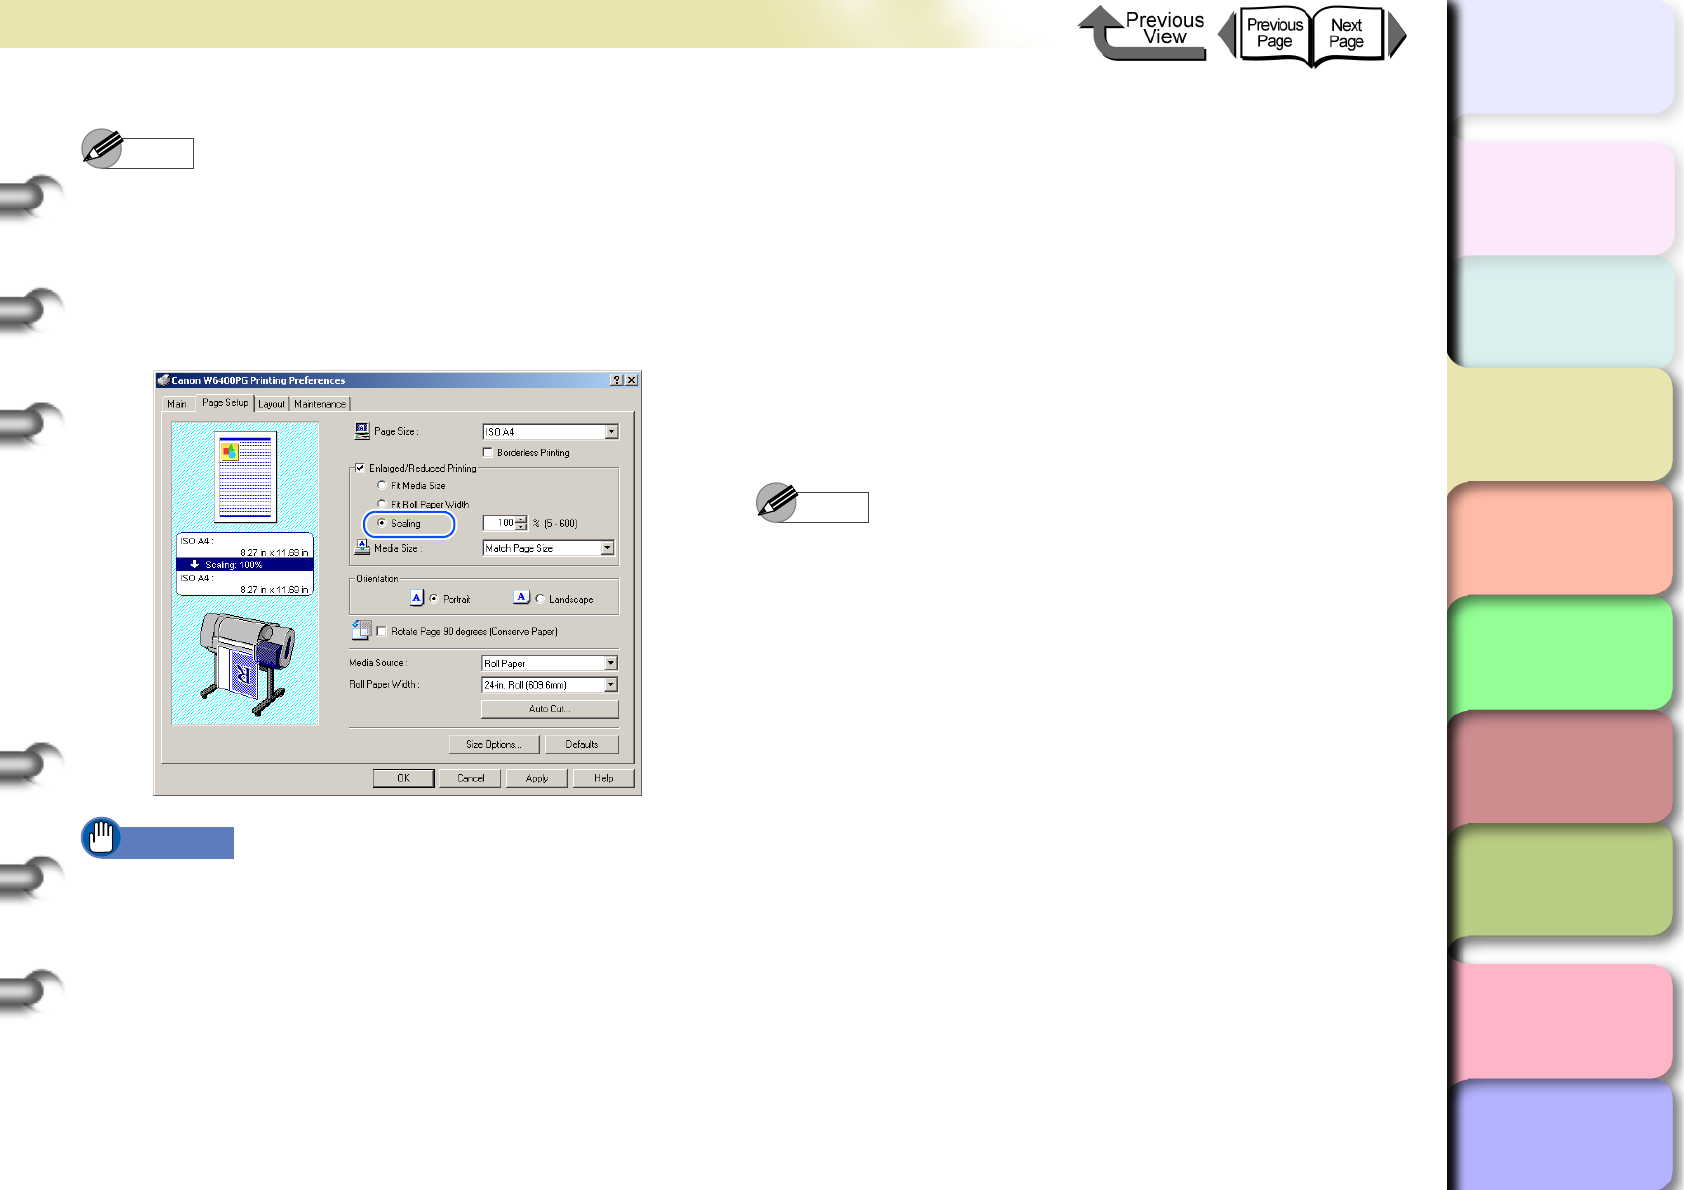
Under Enlarged/Reduced Printing select
Scaling then specify the desired setting.
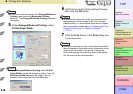
Important
z You can enter a setting for the rate of magnification
manually from the keyboard or use the arrow button on
the right to scroll the number settings up or down. The
rate can be changed in increments of 1%. The size
can be scaled in the range limited by the size of the
Scaling entry column displayed on the right.
z You can perform a setting that is larger than the size of
the media loaded in the printer, but some portions of
the will be cut off and not printed.
z Reduction is performed starting from the upper left
corner of the image, but if you select Print Centered
on the Layout sheet, the image will print in the center
of the media.
z When Scaling is selected, the maximum possible rate
of magnification is displayed to the right of the
magnification entry box.
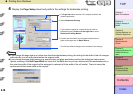
6
Select the Media Size setting that you want.
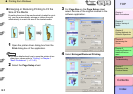
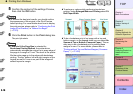
7
Confirm the content of the settings Preview,
then click the OK button.
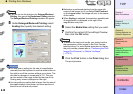
Note
z To achieve the best print results, you should confirm
the appearance of the original in the Print Preview
before printing. For more details about how to display
the print preview, please refer to “Confirming the Print
Image (Print Preview)” in “Before You Begin”.
(→ P. 3-5 )
8
Click the Print button in the Print dialog box.
The print job starts.