


2- 37
Printing with Cut Sheets
TOP
Chapter 3
Printing Methods for
Different Objectives
Chapter 4
Maintaining the
Printer
Chapter 5
Using the Printer in a
Network Environ-
ment
Chapter 6
Troubleshooting
Chapter 7
Operation of the
Function Menus
Index
Contents
Chapter 2
Using a Variety of
Media
Chapter 1
Basic Procedures
2
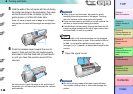
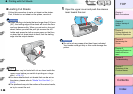
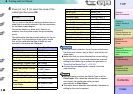
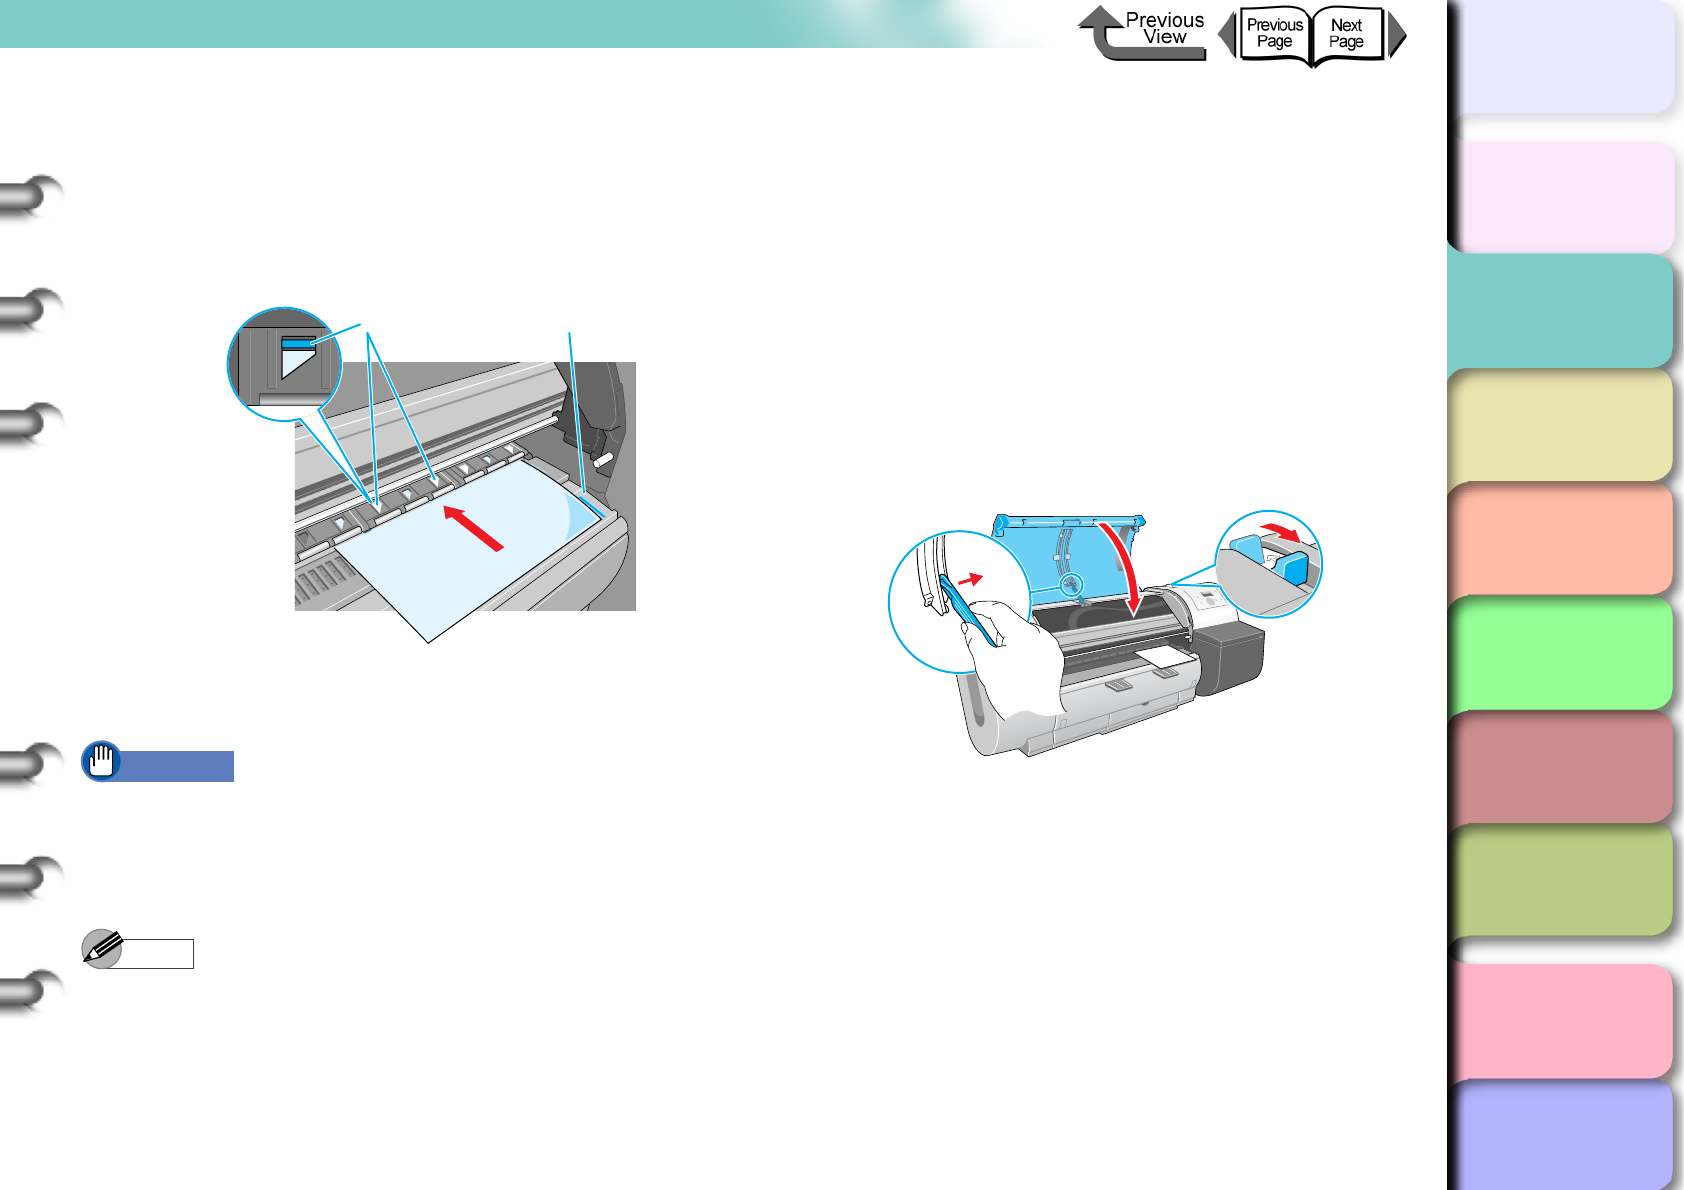
With the print side of the cut sheet facing up,
insert and press down parallel on the sheet
holder, making sure it is aligned with the line
(a) on the right and the orange line (b) at the
back.
When the cut sheet is inserted, the printer grabs it
and holds it on the platen.
Important
z Set a cut sheet parallel with the guideline on the right
side of the platen. If the cut sheet is skewed, this will
cause a skew error. If the error occurs, set the cut
sheet once again so it is aligned correctly.
Note
z The strength of the vacuum suction can be adjusted
while the release lever is open. If the media is difficult
to load, on the printer operation panel press []
(stronger) or [] (weaker) to adjust the strength of the
suction.
z The platen of this printer is provided with holes through
which air is sucked to create the vacuum that holds the
paper on the platen. You may hear a sound from the
location where the paper is set; this is normal and
does not mean any problem.
z If you are concerned about the noise, shift the position
of the paper about 1mm to the left or right (but not
more than 1 mm).
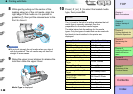
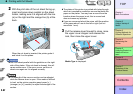
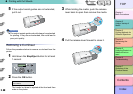
3
Pull the release lever forward to close, raise
the upper cover stopper and release the
lock, then close the upper cover.
Media Type is displayed.
b a