


Digital Still Camera Mode : Basic Image Taking
[ ENGLISH ]
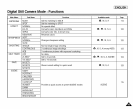
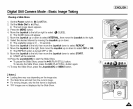
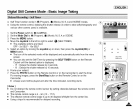
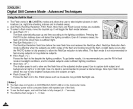
+ Self Timerfunction works in " (Program), M,(Movie), M, S,A and SCENE modes.
+ Usingthe remote control, delaying the shutter release (in order to take self-photographyand
various other camera uses) is available.
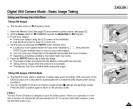
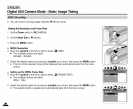
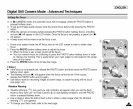
1. Set the Power switch to O (CAMERA).
2. Set the Mode Dial to a (Program), I_ (Movie), M, S,A or SCENE.
3. Pressthe MENU button.
4. Move the Joystick to the leftor rightto select _ (SELFTIMER).
• The available options arelisted.
OFF - 2s SELF - 10s SELF
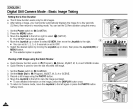
5. Select an option by moving the Joystick up ordown, then press the Joystick(OK) or
MENU button.
• The icon of the selected mode will be displayed andautomatically exitsfrom the menu
screen.
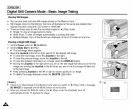
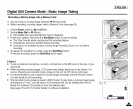
• You can also setthe Self Timerby pressingthe SELF TIMER button on the Remote
Control until the desiredoption is displayed.
- _ : Delaysthe shutterrelease by2 seconds.
- _ : Delaysthe shutter releaseby 10 seconds.
6. Frame your subject.
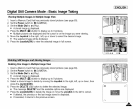
7. Pressthe PHOTObutton on theRemote Control or onthe Camcorder to startthe timer.
For moving images, press the Start/Stop button on the Remote Controlor on the
Camcorder.
• Abeep sound will be played and after the time indicated,recording starts.
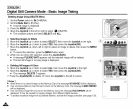
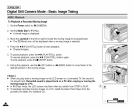
[ Notes ]
• Donot obstructthe remote control sensor by putting obstaclesbetweenthe remotecontrol
and Camcorder.
• The remote control range is 4 - 5m (13 - 17 ft).
• The effectiveremote controlangle is up to 30 degrees left/rightfrom the centerline.
• Usinga tripod is recommendedfor delayed recording.