CHAPTER 2: INSTALLATION 7
Initial Configuration Using the Graphical User Interface (GUI)
To initially configure the Dominion SX unit from the Graphical User Interface, follow the steps
below.
Network Access
1. Ensure that the installation computer has the route for 192.168.0.192 and that it can
communicate with IP address 192.168.0.192.
2. To check the route table in Windows, type the command route print in a Command
window on the installation computer. If 192.168.0.192 is on the gateway list, proceed to step
3. Otherwise, add 192.168.0.192 to the gateway list using the appropriate DOS or UNIX CLI
command:
• Windows 98/2000/NT system: route add 192.168.0.192
<INSTALLATION COMPUTER IP ADDRESS>.
[Example: route add 192.168.0.192 15.128.122.12
• UNIX (including Sun Solaris) system:
route add 192.168.0.192 <CLIENT_HOST IP ADDRESS> -interface.
[Example: route add 192.168.0.192 15.128.122.12 –interface]
3. Type ping 192.168.0.192. Go to step 4 if you receive a successful reply from the
Dominion SX unit. If an error occurs, verify that the default IP address is entered correctly
and that a route to that IP address exists.
4. Use the installation computer to connect to the unit by launching a browser and typing the
factory default IP address 192.168.0.192 in the Web browser’s address box.
5. The computer displays the security screens before you can log in.
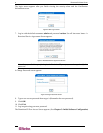
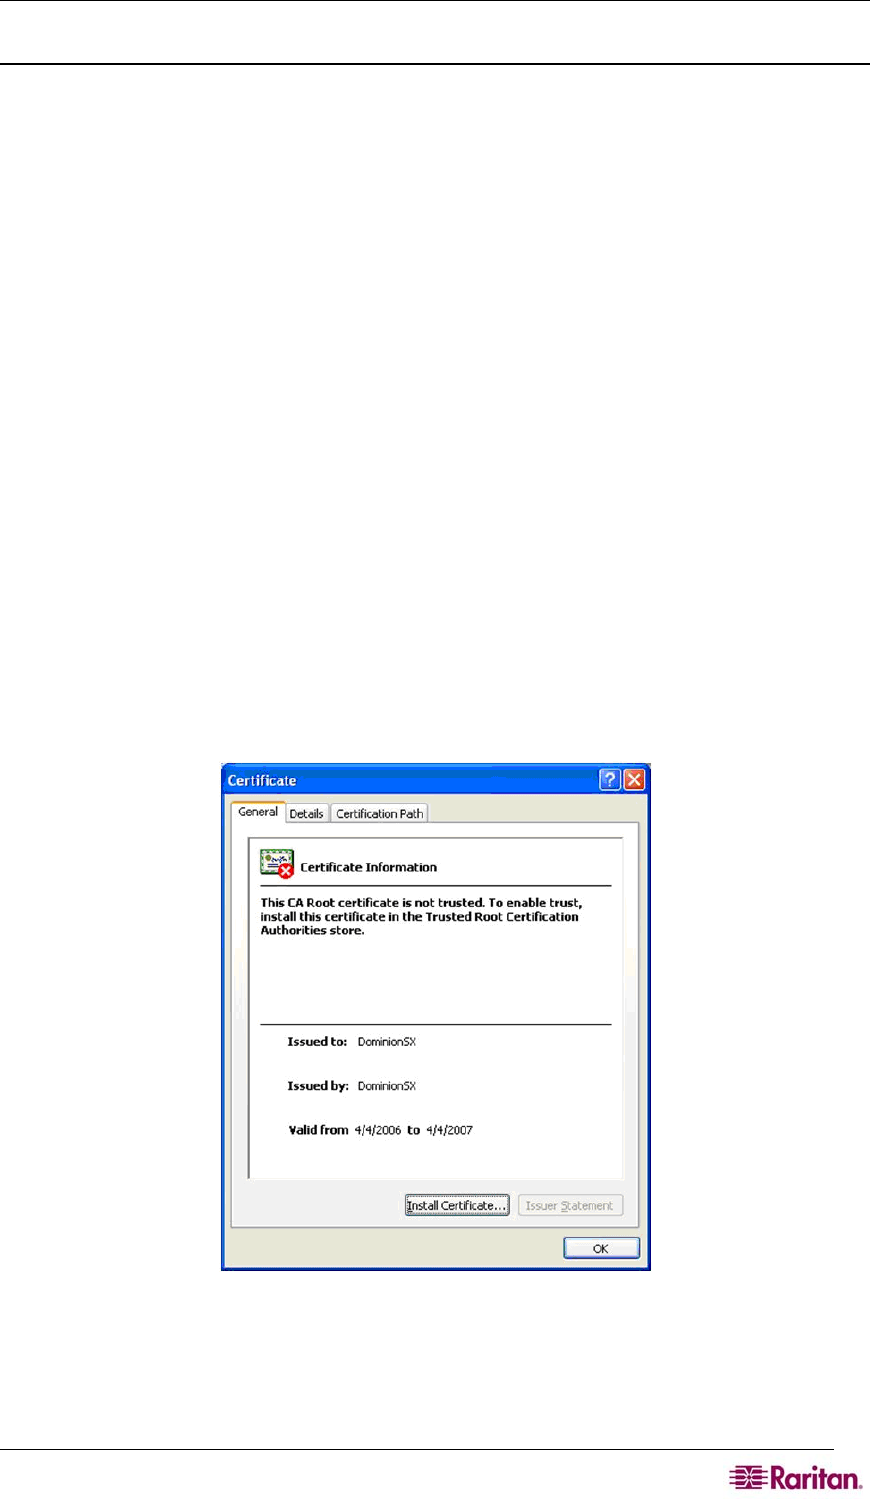
6. If you click View Certificate on the Security Alert-Certificate screen a Certificate screen
appears.
Figure 3 Certificate Information
See Chapter 8: Security and Appendix C: Certificates for information about installing
certificates.


