


42
43
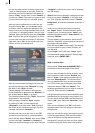
play" button beneath is activated and you can
use it to choose the format for playback: "Vi-
deo" or "Field" are the two options. The "Field"“
option has an advantage in that unlike "Video",
there are no movement artefacts -- however, the
resolution is lower.
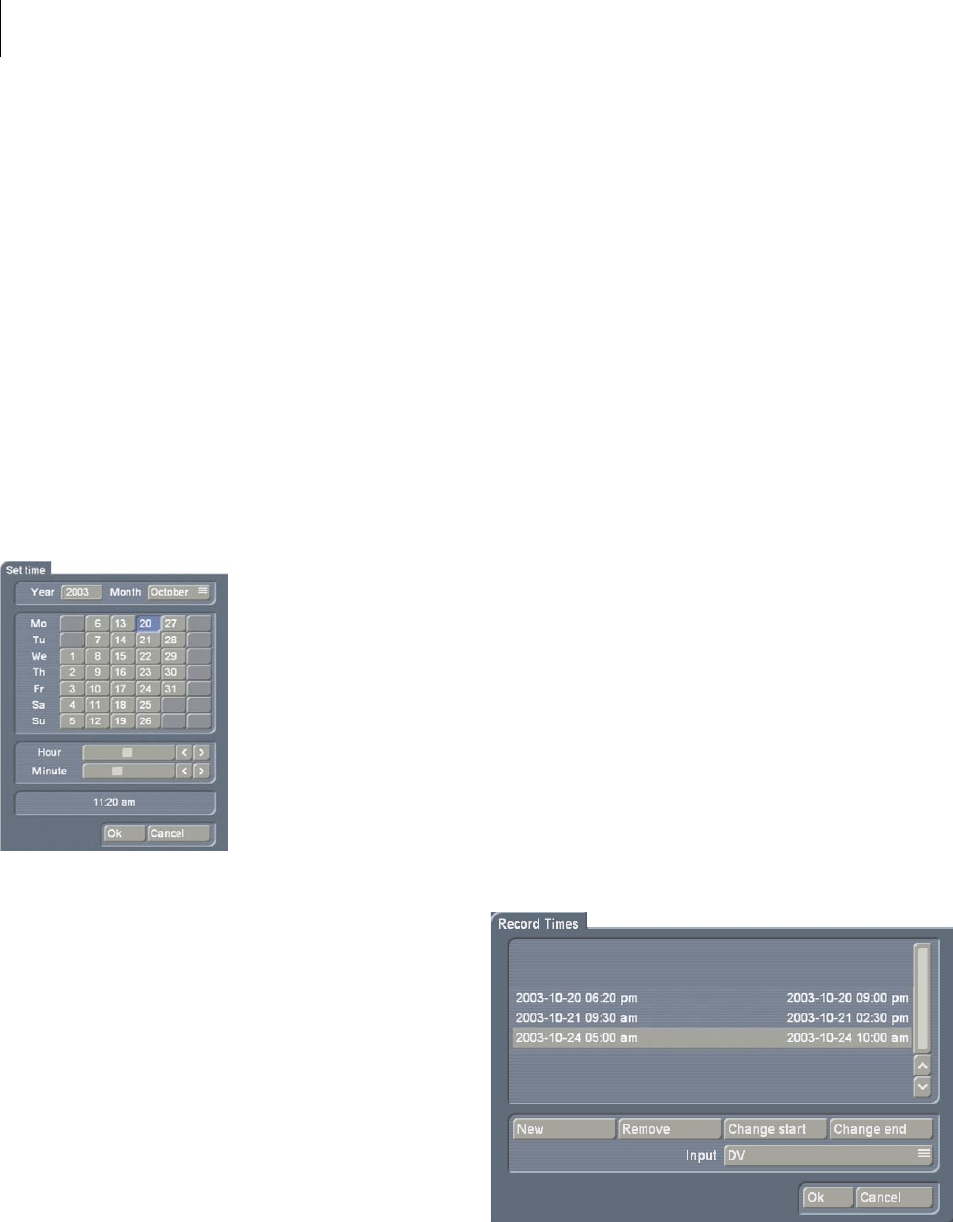
(5) The button "Set time" offers the possibility to
set date and time of your machine. This function
is required in order to let the system start
recording automatically (item (10)).
Clicking on the button opens a window in which
you can choose the "Year". Click onto the year,
so that a window is displayed in which you can
select the year by moving the slider. Afterwards
conrm it with "Ok".
By clicking onto "Month", a menu is displayed
allowing you to choose the current month.
Afterwards, the dates which are displayed
underneath change, so that they correspond
to the weekdays of the selected month. Now
choose the current date. Then you can set the
time by moving the sliders and nally conrm
your settings by clicking on "Ok".
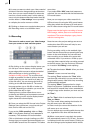
(6) After clicking on the button "Smart Rende-
ring“ a window appears, in which you can ac-
tivate the background rendering for the effects.
Just checkmark the box (next to "Smart Rende-
ring") to do this.
Click on it again to deactivate the background
rendering function. Next, you can see the func-
tion "Cancel Rendering", which offers the possi-
bility to cancel the current rendering process.
Underneath, you can see the number of effects
and their total time.
In addition, you can decide how the current
effect is to be rendered. For the "last inserted"
effect, you can choose between "rst" and "last".
Conrm your settings and close the window
with "Ok".
(7) Here you can see the "Render Border"
function that can be activated by placing a mark
next to it. This creates a black border around
the edges of the screen, covering any unwanted
disturbances during playback.
Please note that the affected border is so thin
that is normally not visible on a normal video
monitor. Usually, it is only possible to see
it during a presentation on a video beamer/
projector for instance.
(8) Click the selection button "language" to open
a separate menu with items to select. Select the
desired language and the switch takes place
immediately.
(9) By clicking on the selection button "Keymap",
a list is called up in which you can choose
the language of the keyboard (also possible
for external keyboards). The selection "As
language" copies the settings chosen in the
"language" window. But it is also possible to
set an independent keymap from the system
language.
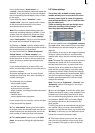
(10) Clicking on "Record Times" opens a window
in which you can enter dates and times, so that
your system starts or stops recording at the
given time.
Thus your system acts as a harddisk video
recorder. You can start as many recordings as
you like via time control.
A click on the button "new" opens the window
"Record start". Enter the starting time of the
recording as described in item (5). After having
clicked on "Ok", the window "Record end" opens
which is used to set the time for stopping the
recording. After conrming it with "Ok", the set
time appears in the upper part of this window.
If you dene several recording dates and times,
they will be displayed in a list. If the recording