EPSON Stylus Pro 7000 Revision B
Disassembly & Assembly Summary 110
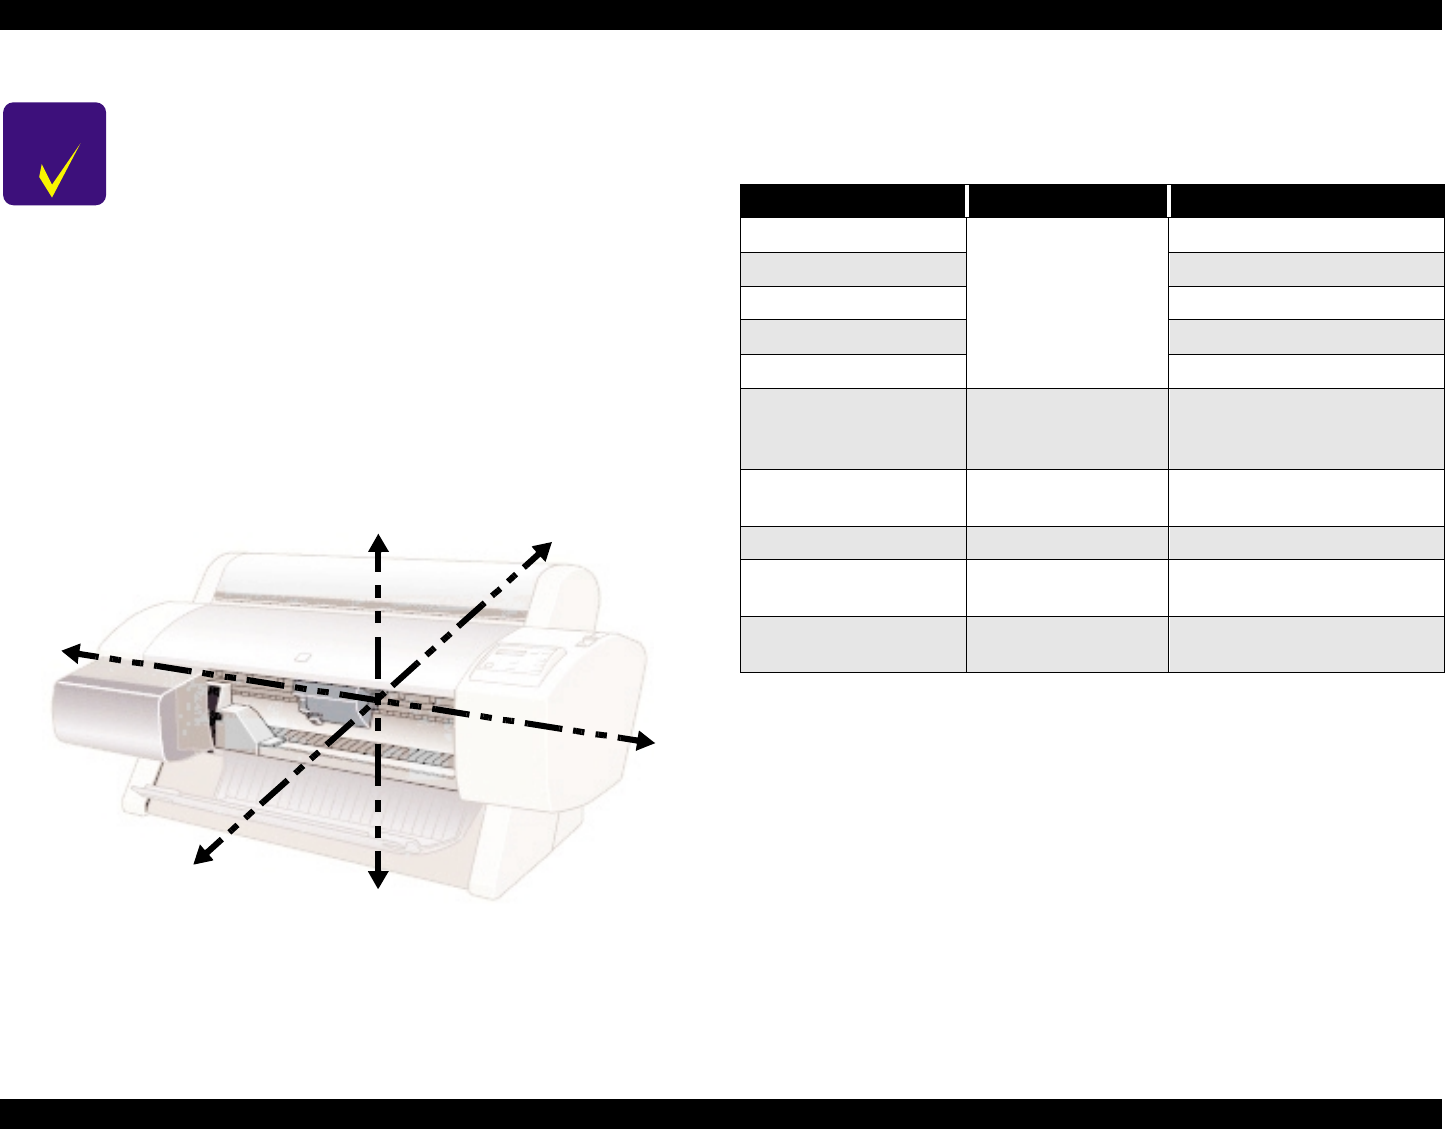
Figure 4-1. Directional View of the Printer
4.1.2 Tools
This section lists the tools necessary to disassemble or assemble the printer.
CHECK
POINT
If you find it is necessary to perform service on a part not
described in this chapter, be sure to check the after-
service parts situation before beginning the service.
If you need to remove the ink tubes or other ink related
parts, see “Transportation Mode” on page 53 to drain the
ink before removing anything.
If necessary (i.e. when transporting the printer) use the
above mentioned mode to drain ink, install transportation
fluid cartridges (P/N1045585), and then perform an initial
ink charge with the fluid. Enter the transportation mode
again to remove the fluid (user can do) and then perform
initial ink charge with ink.
The directional instructions in this chapter are given as if
viewing the printer from the front. See the illustration
below.
Top
Bottom
Rear
Front
R
L
Table 4-1. Necessary Tools
Tool Part Code Notes
(+) Phillips screwdriver #2
commonly available
tools, no special tools
necessary
longer than 250mm is helpful
(+) Phillips screwdriver #1
(-) Standard screwdriver -
Round-nosed pliers -
Tweezers -
Hex (Allen key) wrench
Comes with stand,
commonly available
tools also OK
5.5 mm for stand assembly
only
#E589 torque wrench
(6mm x 1Kg)
B765106901 Tube lock tightener
#F733 Self Training Kit 1053426 CD-ROM based service tool
transportation fluid
cartridges, S46, recycle
1045585
Transportation fluid cartridges
= six units required
Maintenance Kit SP7000 1054038
Replacement parts for periodic
maintenance


