EPSON Stylus Pro 7000 Revision B
Adjustment Self-Diagnostic Mode Menus 167
VERSION
This function confirms the firmware version and dip switch settings.
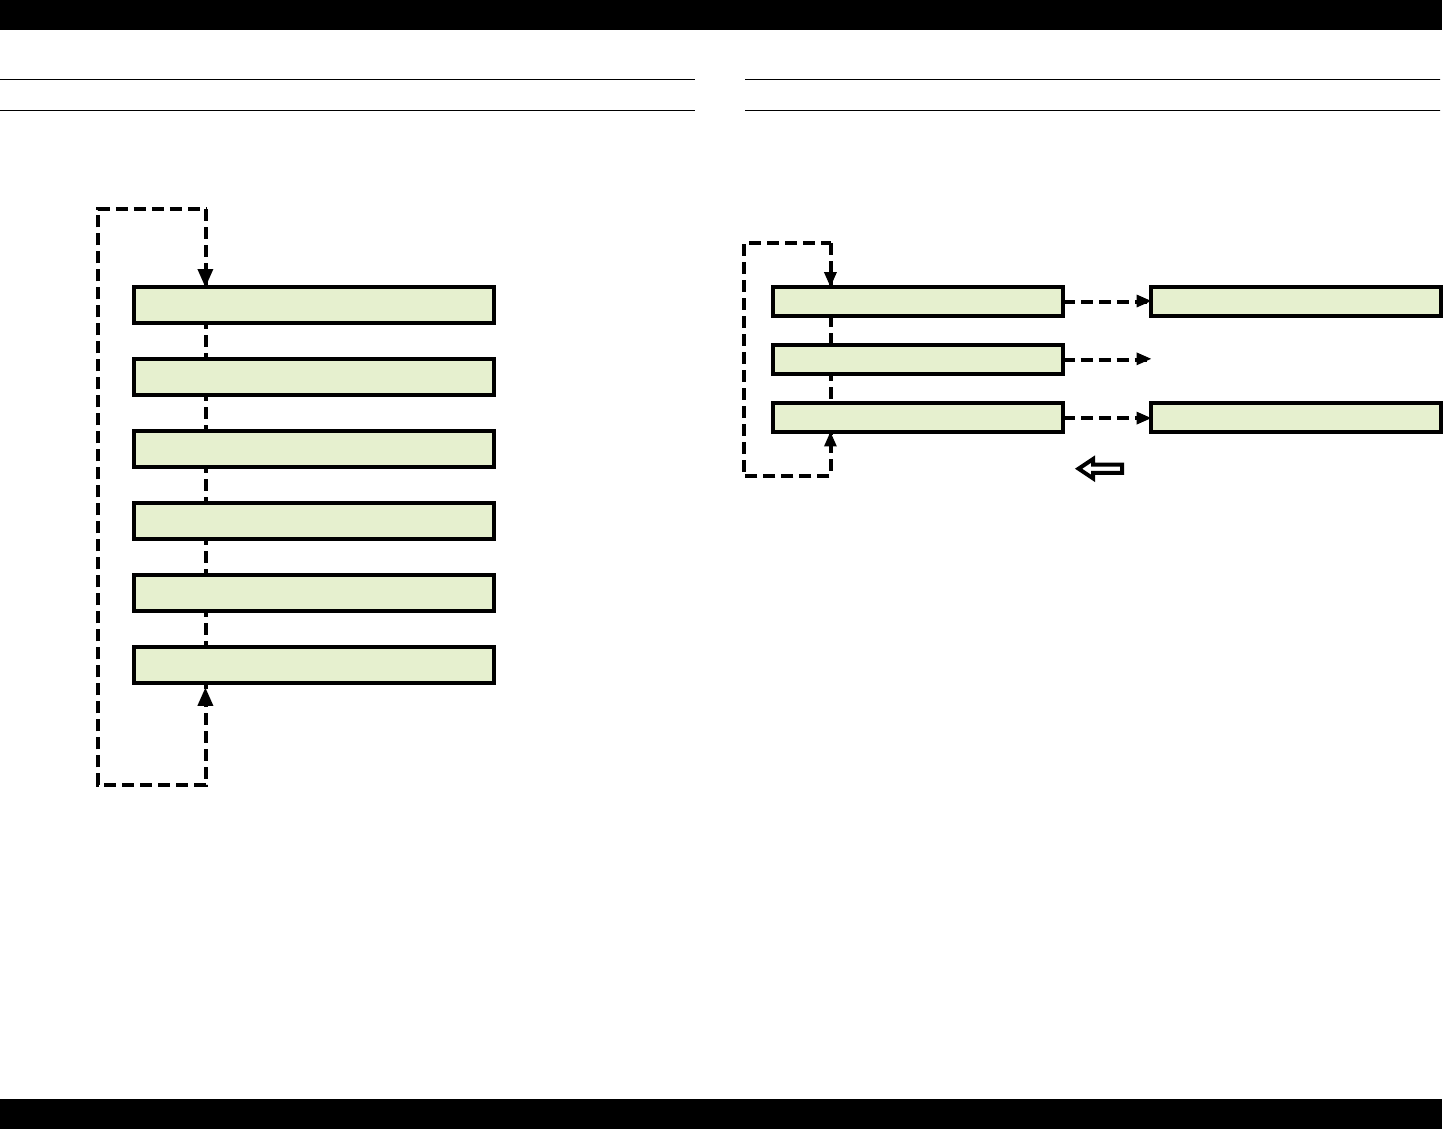
Figure 5-4. Version Menu Options
NOTE: The Dip switch
The dip switch located on the Main Board is a 2-bit switch,
SW-1 is LSB (Least Significant Bit) and SW-2 is MSB (Most
Significant Bit). For example, if JP1 = jumpered/ JP2 =
jumpered, the LCD will display "Ver. DipSW 0x03".
Parameter Moe is for the mechanism version.
CONTROL PANEL
This function allows you to check the operation of the control panel buttons,
LED indicators, and LCD panel.
Figure 5-5. Control Panel Check
"Key" check
The name of the button that is pressed appears. Press the [Pause]
button twice to exit the "Panel: Key" function.
"LCD" check
All dots turn on. If a dot is not on, the LCD is not working properly.
"LED" check
The LED indicators turn on in the following order and the name of the
indicator appears on the LCD when that indicator turns on.
Power, Pause, Ink End (K, C, Lc, M, Lm, and Y), Paper Out, Roll Auto
Cut, Roll Cut Off, and Sheet
[Item]
[SelecType]
[Pause] returns you
to previous menu
Ver. Firm XXXXXX
Ver. Parameter Pnl XXX
Ver. Parameter Moe XXXX
Ver. DipSW 0x03
Ver. Main Rev XX
Ver. Panel Rev 01
ON: 0
OFF: 1
16 bit
hexadecimal
0~FF
16 bit
hexadecimal
0~FF
[Pause] returns you
to previous menu
[SelecType]
[Enter]
[Item]
[Pause] (press two times to exit "Panel: Key" function
All dots = ON
"XXXXXX" = name of pushed button
Panel: Key
Panel: LCD
Panel: LED
Panel: LED XXXXXX
Panel: Key XXXXXX
"XXXXXX" = name of flashing LED


