EPSON Stylus Pro 7000 Revision B
Adjustment Self-Diagnostic Mode Menus 185
6. Referring to the table below, press the SelecType or Item button until you
find the pattern that needs adjustment on the LCD display.
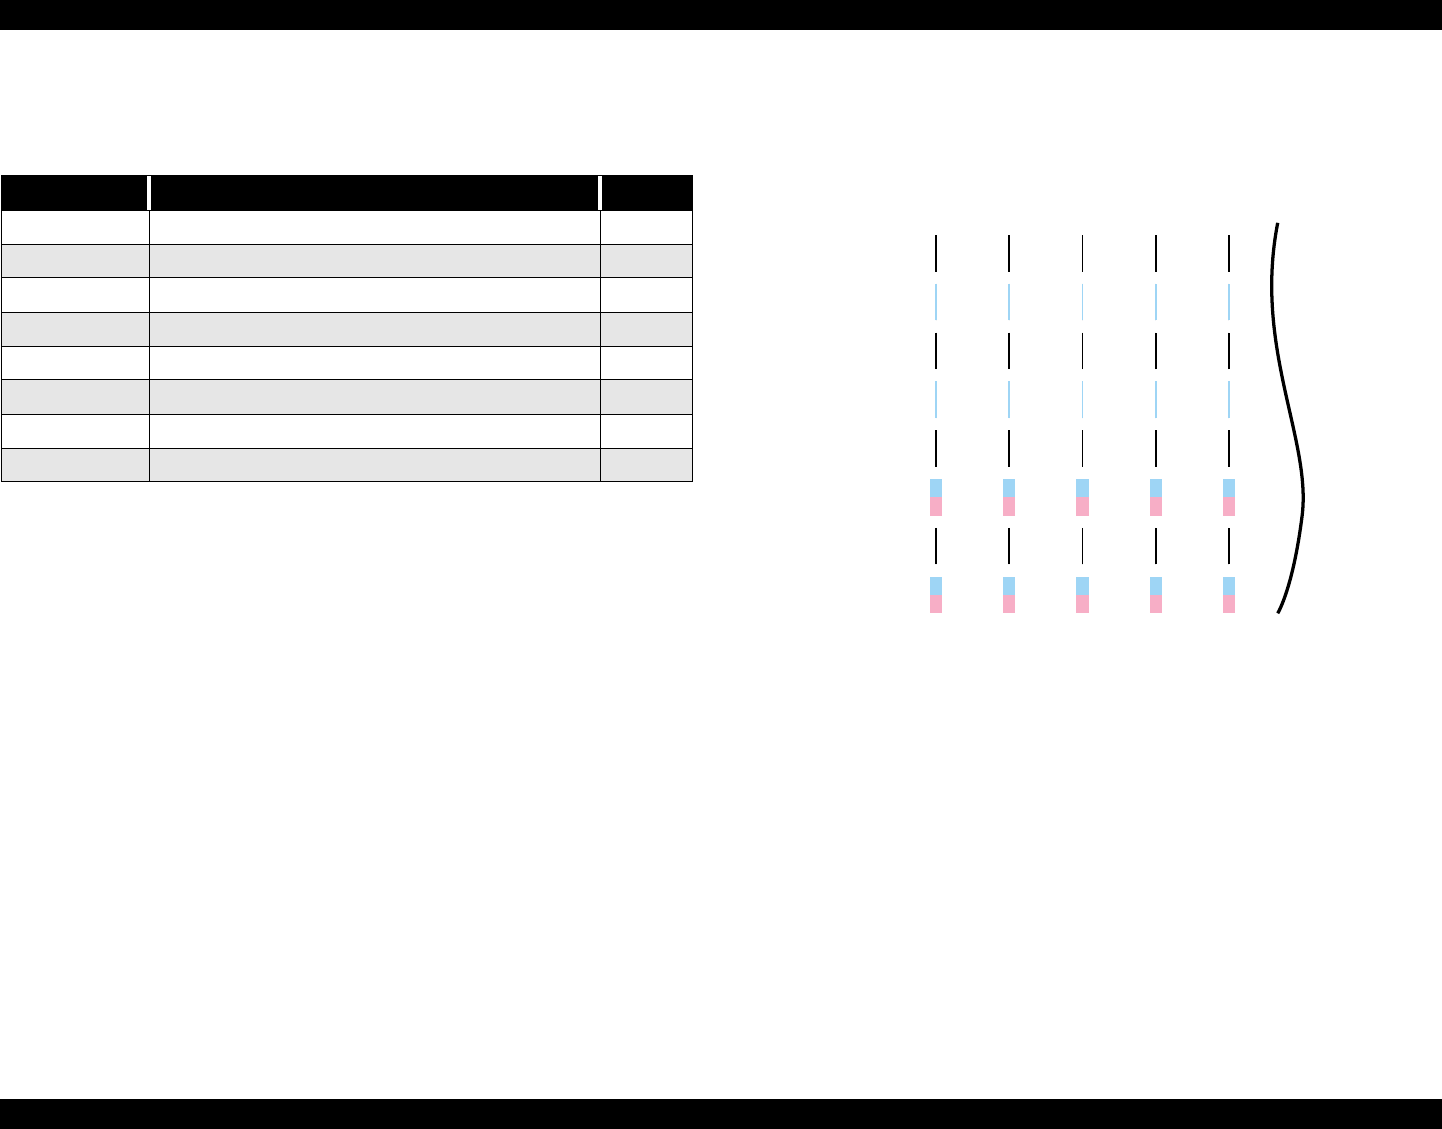
Note: The number refers to the numbered pattern on the printed Bi-D test pattern.
7. - When adjusting #1~5 or #7, press Paper Feed + or Paper Feed - until the
correct value appears on the display, and then press Enter. That pattern
only is reprinted with the new value and “BiD End” appears on the
display.
- When adjusting #6 or #8, press Enter. You see “xDBaseValueAdjust: y”
on the display. (x = M or N depending on dot size, and y = adjustment
value)
To move (up or down) the entire range of patterns for this set, press
Paper Feed + or Paper Feed -
To adjust the value one color at a time, press Item.
8. Press Item and “xD LC: y” appears on the display. Press Paper Feed + or
Paper Feed - to change the Light Cyan value. Press Enter.
9. “xD LM: y” appears, and press Paper Feed + or Paper Feed - to change
the Light Magenta value. Press Enter.
10. “xD LM: y” appears, and press Paper Feed + or Paper Feed - to change
the Light Magenta value. Press Enter to finish.
Repeat from step 3 until all Bi-D adjustment items are correct.
Figure 5-28. Bi-D Adjustment Test Pattern
Table 5-11. Bi-D Adjustment Items
Item Description Number
BiD, 200, N, B Bi-D adjustment/200cps/Normal-dot/B head 1
BiD, 200, N, C Bi-D adjustment/200cps/Normal-dot/C head 2
BiD, 200, M, B Bi-D adjustment/200cps/Micro-dot/B head 3
BiD, 200, M, C Bi-D adjustment/200cps/Micro-dot/C head 4
BiD, 300, N, B Bi-D adjustment/300cps/Normal-dot/B head 5
BiD, 300, N, C Bi-D adjustment/300cps/Normal-dot/C head 6
BiD, 300, M, B Bi-D adjustment/300cps/Micro-dot/B head 7
BiD, 300, M, C Bi-D adjustment/300cps/Micro-dot/C head 8
