EPSON Stylus Pro 7000 Revision B
Adjustment Self-Diagnostic Mode Menus 186
1. Make sure "Bi-D" appears on the LCD, and press the Enter button.
2. After all the patterns print, "BiD, 200, N, B: vvv" appears in the LCD.
3. At this point, you need to check the vertical alignment of the lines on the
printed test pattern.
If all the lines are correctly lined up as in the above sample, (make
sure "BiD End" appears in the LCD and) press the Enter button to
finish.
If some lines are not aligned, select the numbered pattern using the
Paper Feed +/- buttons.
Correction increment: 1/2880 inch
Correction direction: "+" = toward HP and "-" = away from HP
Aim:
#1~5, #7 = Align the lines vertically
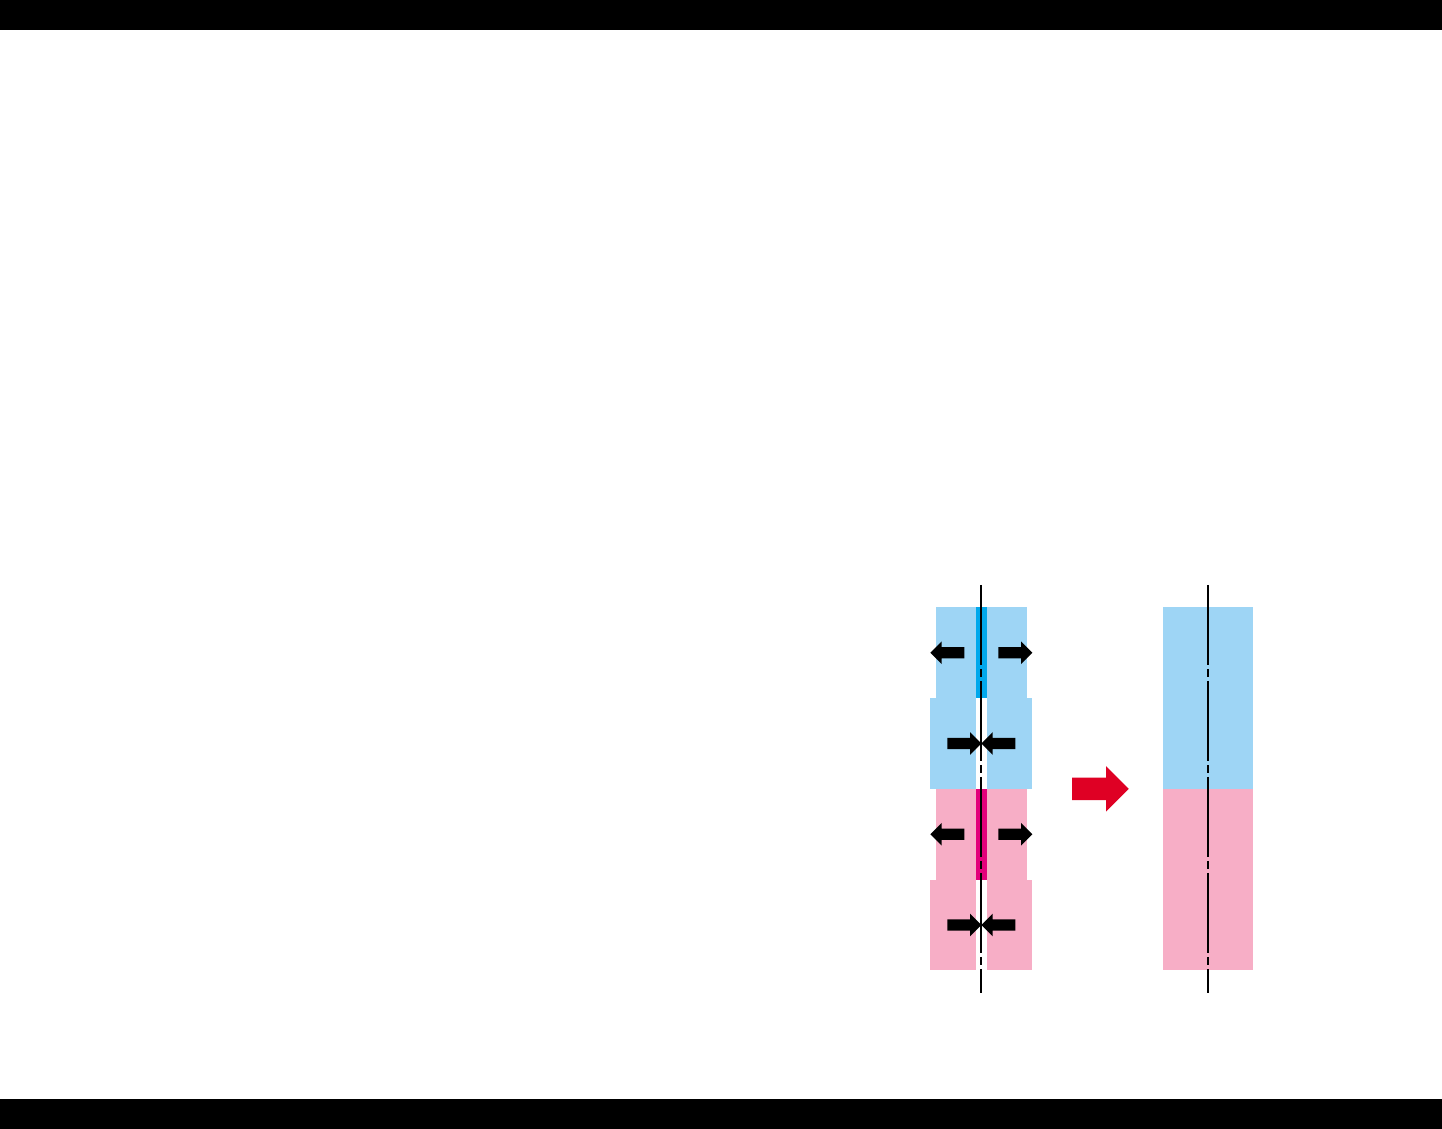
#6, #8 = Make sure light cyan and light magenta
are equal width without overlapping (see
the illustration below)
After you finish correcting a pattern, press the Enter button to print
another test pattern of that number only with your new settings in
effect.
4. Repeat the steps until all numbered patterns are aligned.
Figure 5-29. Bi-D Adjustment for Patterns #6 and #8
