EPSON Stylus Pro 7000 Revision B
Disassembly & Assembly Disassembly Flow 135
4.2.3.6 Removing the Cutter Solenoid
1. Remove the cutter housing as described in “Removing the Cutter
Housing” on page 133.
2. Push the cutter down (second tab from top) while moving the cutter cap
(first tab from top) to the right to release it from the CR lock guide.
Remove the cutter and cutter spring.
3. Remove the cutter cap, cutter solenoid core, and cutter solenoid spring.
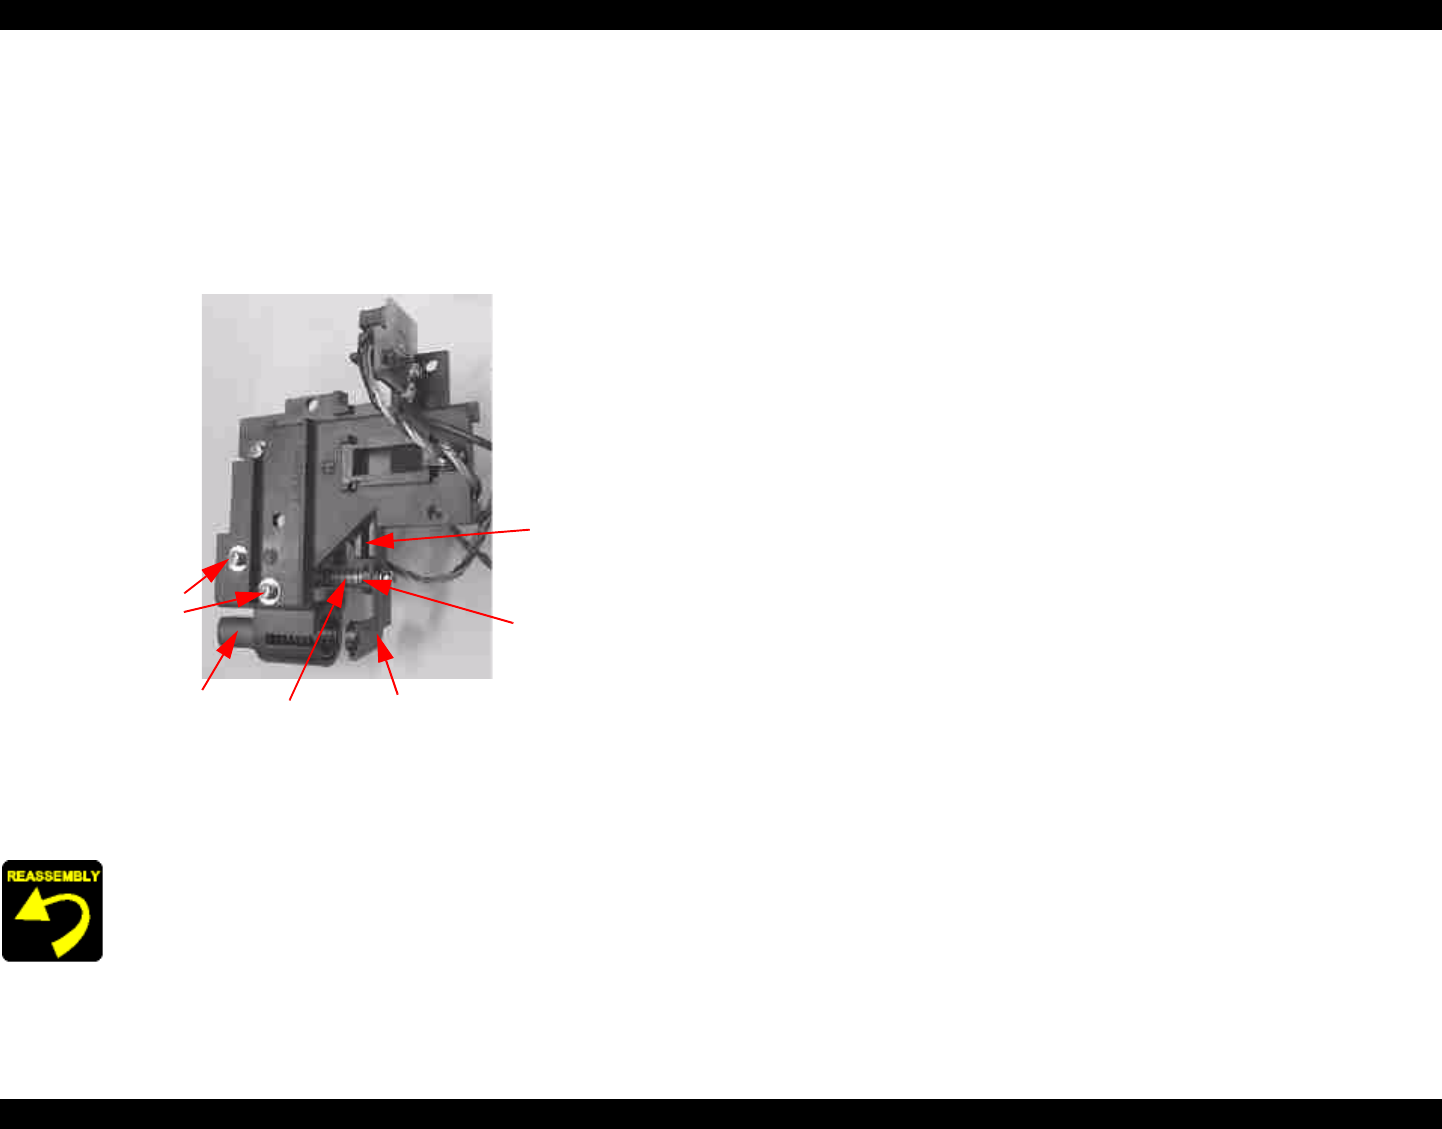
Figure 4-46. Cutter Solenoid Removal
4. Remove two screws (CP(W)M3x6) securing the cutter solenoid, and then
using a (+) driver or similar tool, push the solenoid out from underneath
the Cutter Assembly.
After reassembly of the cutter housing, perform an auto cut
operation to make sure 1) the cutter correctly disengages the
CR lock and 2) the cutter correctly cuts the paper. If either
operation is not satisfactory, the
CR lock
guide
Cutter cap
Cutter shaft
(cutter not
shown)
Cutter
solenoid
spring
Push out
the cutter
solenoid
from
below
Cutter
solenoid
screws
Cutter
solenoid
core


