EPSON Stylus Pro 7000 Revision B
Adjustment Self-Diagnostic Mode Menus 183
ADJ BI-D
The Bi-D adjustment description is divided into three sections.
Printing the adjustment patterns: described below
Judging the adjustment patterns: described below
Modifying the adjustment parameters: described on the next page
The first section describes how to print the new Bi-D adjustment patterns
along with several other adjustment patterns. The second section describes
how to print the list of parameters stored in EEPROM, fatal-error record, and
USB EEPROM data. These two sections are optional when adjusting the Bi-D
parameters, but they are included for your reference and are useful. Also,
without reading these two sections, you will not completely understand how
to judge and correct the new patterns. Finally, the third section describes how
to modify the adjustment parameters using the control panel.
To print the Bi-D adjustment patterns as well as other adjustment
patterns:
NOTE: This is an optional procedure; you can only modify the
parameters using the procedure described in the “To modify
the adjustment parameters:” on page 184.
1. Enter the Self Diagnostics mode by holding down the Paper Feed +, Paper
Feed -, and Enter buttons while turning on the printer.
2. Press the Item button until “Check: Print” appears on the display, and
then press Enter.
3. Make sure “Print: Nozzle Check” appears, and then press Enter. The
printer prints all adjustment patterns related to the physical and logical
printhead positioning
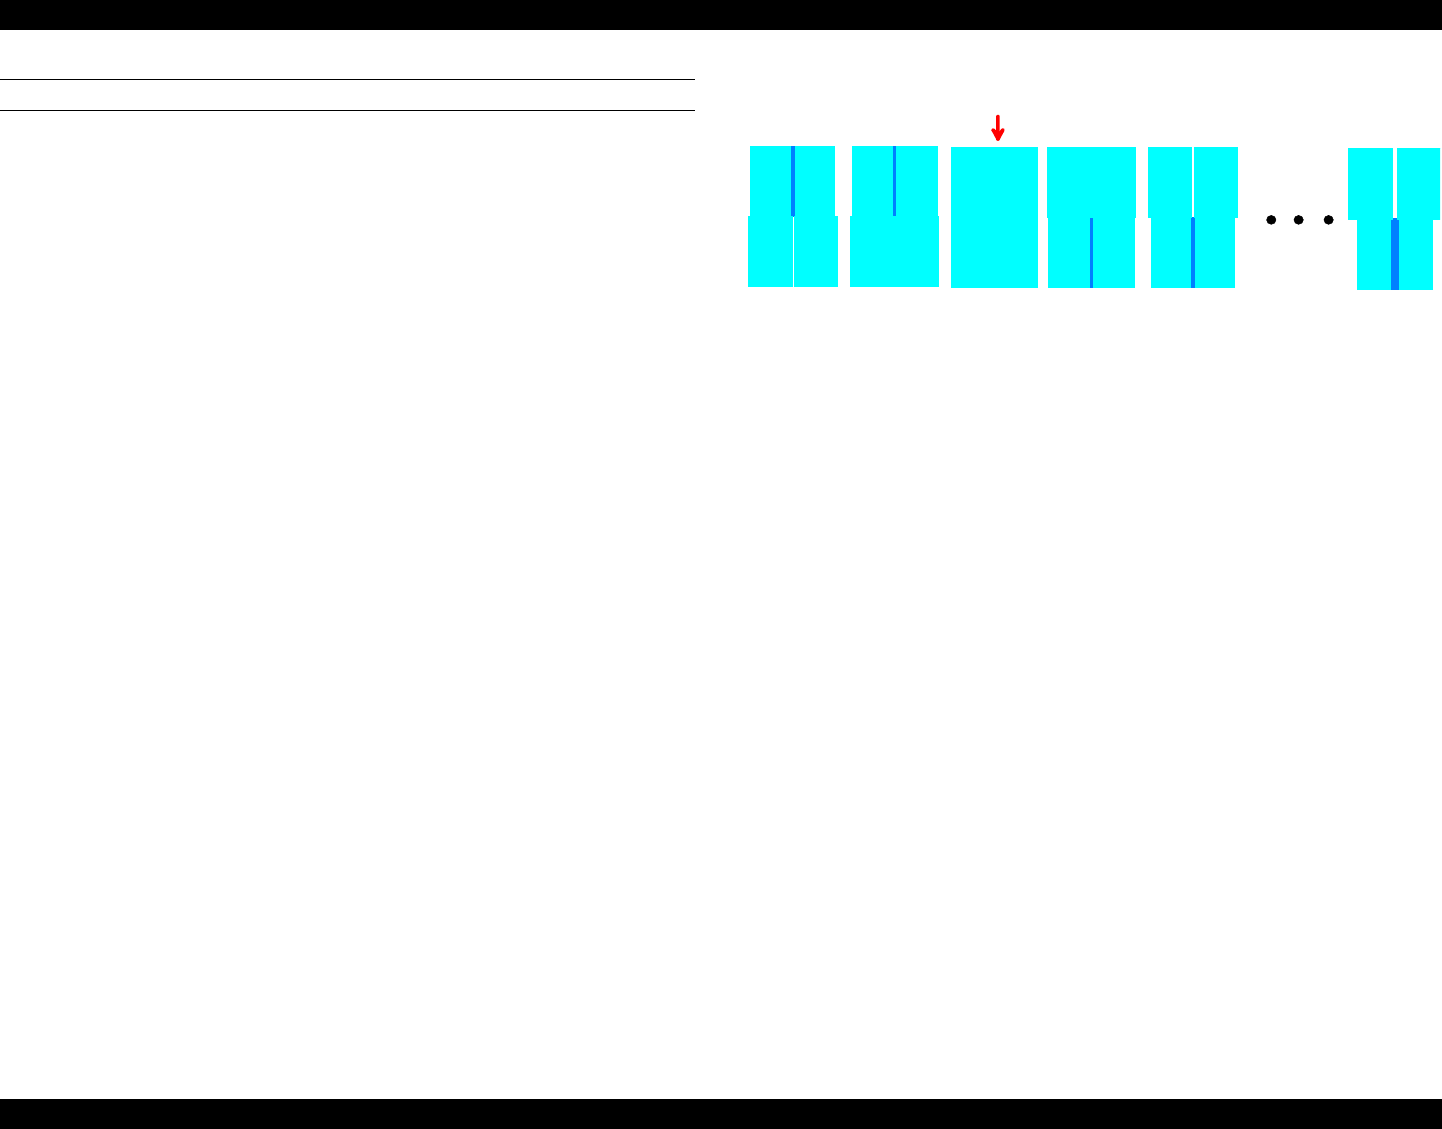
Figure 5-25. New #6 and #8 patterns
NOTE:
The correct pattern is the pattern with no dark or white vertical lines.
Number 2 is correct in the example below
.
This function adjusts the Bi-D print settings for both printheads. The printer
prints several vertical test patterns. Lines that do not line up vertically indicate
the heads need Bi-D adjustment. The Bi-D adjustment items are shown in the
table below.
To check whether the current Bi-D adjustment parameters are correct:
NOTE: This is an optional procedure and this works in combination
with the printed patterns described above; however, you can
only modify the parameters using the procedure described in
the “To modify the adjustment parameters:” on page 184.
1. Enter the Self Diagnostics mode by holding down the “Paper Feed +”,
“Paper Feed -”, and “Enter” buttons while turning on the printer.
2. Press the Item button until “Check: Print” appears on the display, and then
press Enter.
0
1
2
3
4
F
Correct


