EPSON Stylus Pro 7000 Revision B
Adjustment Self-Diagnostic Mode Menus 171
P_FRONT Sensor
1. If necessary, remove the access cover on the rear cover and enter the
"Test Menu" in the self-diagnostic mode. Select "Sensors" check mode.
2. Select “Sen:FrontAD” from the sensor menu, and make sure the front
cover is closed. Remove any paper from the printer.
3. Write down the volume shown on the LCD. You will need to refer to this
number and the table below to complete the volume adjustment.
4. Open the cover. Push the Paper Set Lever back and load a sheet of A3-size
tracing paper using the guide on the right side of the roll paper cover. Pull
the Paper Set Lever forward to lock the paper in place. Close the cover
about halfway.
5. Using the original no-paper volume (left column in the table above) you
wrote down as a guide, make sure the current tracing paper volume
(middle column) is within the range shown in the table above.
For example:
original no-paper volume = 014
target tracing paper volume = 068~06C
Through the access cover, adjust the volume on
VR2
(rough adjustment)
and
VR6
(precise adjustment) as necessary. See Figure 5-7 for details.
NOTE: If the signal level cannot be adjusted properly, check the
position of the sensor and if this does not correct the signal
level, replace the sensor.
P_REAR Sensor
1. If necessary, remove the access cover on the rear cover and enter the
"Test Menu" in the self-diagnostic mode. Select "Sensors" check mode.
2. Select “Sen:RearAD” from the sensor menu, and make sure the front
cover is closed. Remove any paper from the printer.
3. Write down the volume shown on the LCD. You will need to refer to this
number and Table 5-8 to complete the volume adjustment
4. Open the cover. Push the Paper Set Lever back and load a sheet of A3-size
tracing paper using the guide on the right side of the roll paper cover. Pull
the Paper Set Lever forward to lock the paper in place. Close the cover
about halfway.
5. Using the original no-paper volume (left column in the table above) you
wrote down as a guide, make sure the current tracing paper volume
(middle column) is within the range shown in the table above.
For example:
original no-paper volume = 019
target tracing paper volume = 080~084
Through the access cover, adjust the volume on
VR3
(rough adjustment)
and
VR4
(precise adjustment) as necessary. See Figure 5-7 for details.
NOTE: If the signal level cannot be adjusted properly, check the
position of the sensor and if this does not correct the signal
level, replace the sensor.
6. Remove the paper and turn off the printer.
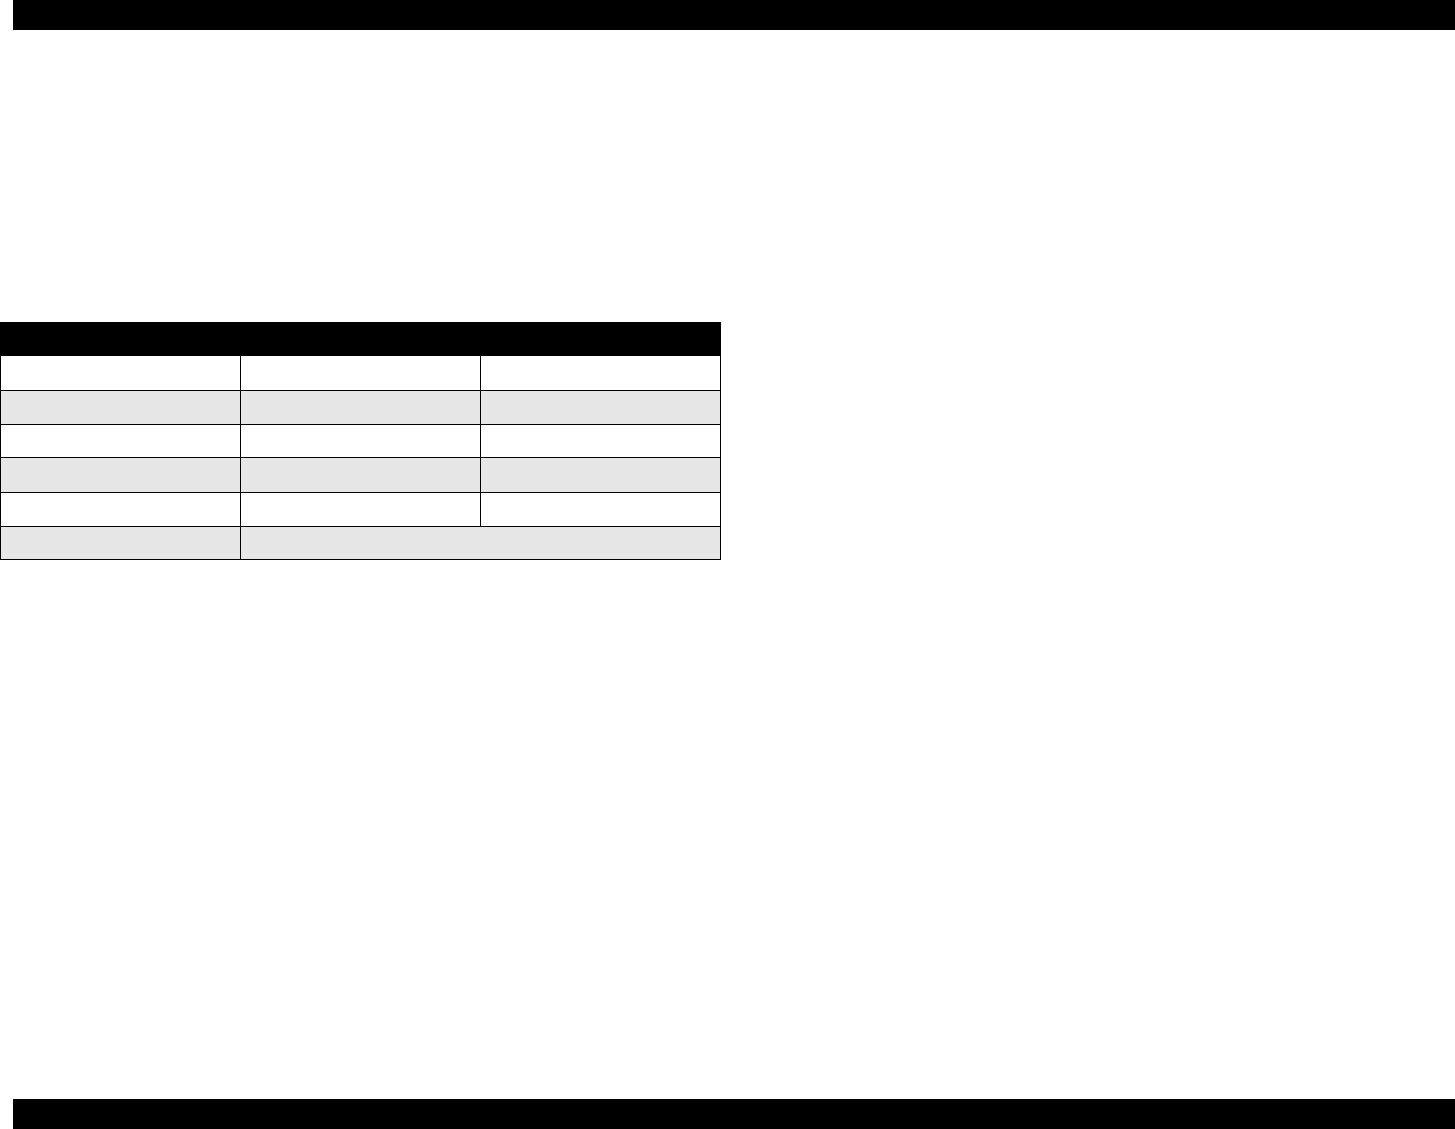
Table 5-8. P_FRONT & P_REAR Volume Adjustment
Original No-Paper Volume Tracing Paper Volume Post adjustment Volume
000~008 050~054 up to 00A
009~00F 058~05C up to 015
010~018 068~06C up to 028
019~01F 080~084 up to 03F
020~024 091~095 up to 053
025 or more Out of range; check paper and sensor positions


