


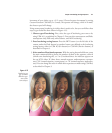

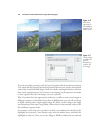
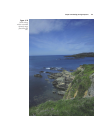


If you do everything correctly, you’ll end up with a photo like the one shown in Figure
4.18, which has the properly exposed foreground of the first shot, and the well-exposed
rocks of the second and third images. Note that, ideally, nothing should move between
shots. In the example pictures, the ocean waves are moving, but the exposures were made
so close together that, after the merger, you can’t really tell.
What if you don’t have the opportunity, inclination, or skills to create several images at
different exposures, as described? If you shoot in RAW format, you can still use Merge
to HDR, working with a single original image file. What you do is import the image
into Photoshop several times, using Adobe Camera Raw to create multiple copies of the
file at different exposure levels.
For example, you’d create one copy that’s too dark, so the shadows lose detail, but the
highlights are preserved. Create another copy with the shadows intact and allow the
highlights to wash out. Then, you can use Merge to HDR to combine the two and end
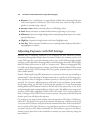
David Busch’s Nikon D7000 Guide to Digital SLR Photography126
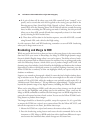
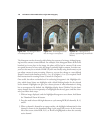
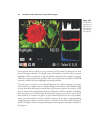
Figure 4.16
Make three
exposures for
the highlights,
midtones, and
shadow areas.
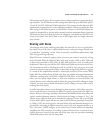
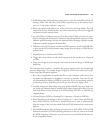
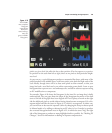
Figure 4.17
Use the Merge
to HDR com-
mand in
Photoshop to
combine the
two images.