83
Video Switching
Chapter 3 Operations
The image is inserted in both the PGM viewer and PVW viewer.
By selecting a logo file from the list, it always appears in the program output
video. If you do not want to show the logo, select [None].
4
Press the MENU button to close the menu.
Adjusting the logo display
Adjust the parameters for logo insertion, and set the logo position.
1
Show the logo.
For details of the operation, see “Showing a logo in the video” (page 82).
2
Press the MENU button.
3
In the top menu, select [Logo].
4
In the submenu, set the following adjustment items.
Adjusting the outline of the logo
1 Select one of [Clip], [Gain], and [Density], and confirm; 2 adjust the
slider.
The items you can adjust are as follows.
[Clip]: Adjusts the threshold level for the logo key.
[Gain]: Adjusts the sharpness of the outline.
[Density]: Adjusts the density of the text to be inserted.
When you have recalled a logo file and made adjustments, the logo file
adjustment values for the logo file depend on the next recalled file as follows:
• When a file with no alpha channel is recalled: the adjustments are
maintained as is.
• When a file with an alpha channel is recalled: the adjustments are returned
to their default values.
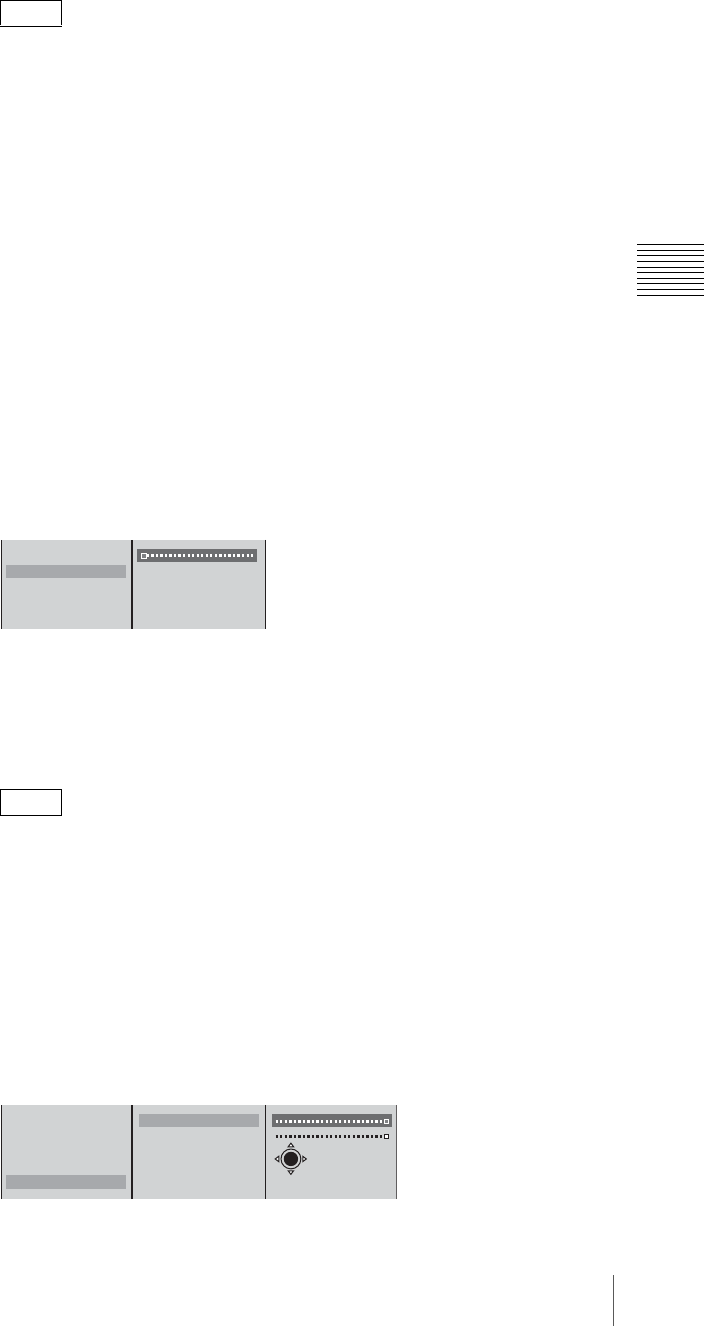
Specifying the position of the logo display
1 Select [Location], and confirm; 2 select [X] or [Y], and confirm; 3
specify the position with the sliders.
Note
Note
Logo Source None
Clip 0
Gain 0
Density 100
Location
1
2
Logo Source None
Clip 0
Gain 0
Density 100
Location
X 320
Y 280
X-Y
1
2
3


