Chapter 3 Operations
86
Video Switching
The “KEY ON” indicator on the operation screen also turns off.
Each press of the AUTO TRANS button or CUT button or operation of the
transition level alternately inserts or removes the video effect.
Adjusting the Combined Video
You can make keying adjustments while viewing the results in the PVW viewer
before program output. For details, see “Checking the Results of Combining
Videos (Effect Preview)” (page 88) and “Giving Priority to Displaying the PVW
Viewer” (page 90).
1
Perform keying.
2
Press the MENU button.
3
In the top menu, select [Video Effect].
4
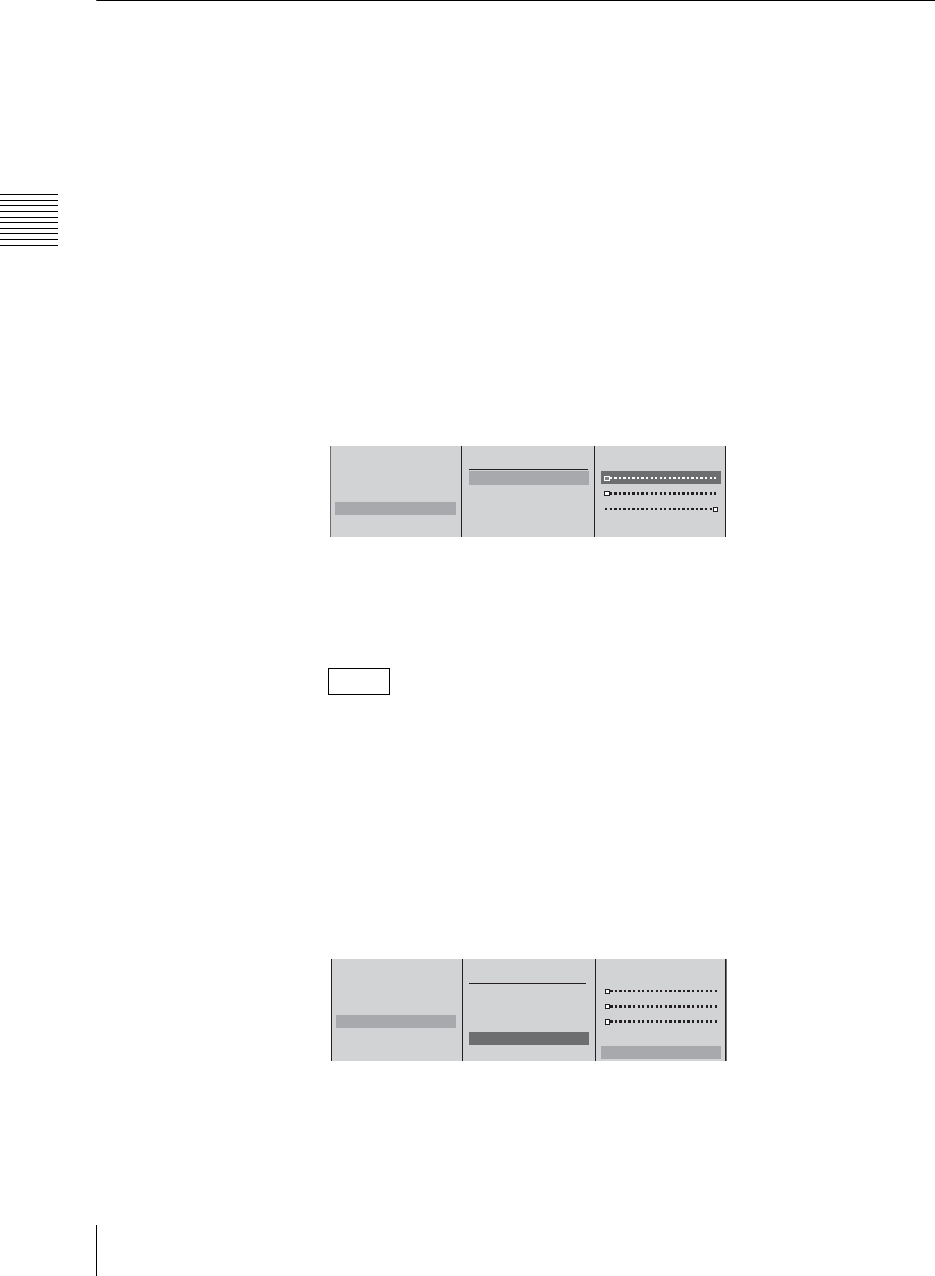
Select [Key], and confirm, then make the following settings in the submenu.
Sharpening the outline of the key
1 Select one of [Clip], [Gain], and [Density], and confirm; 2 adjust the
slider.
The meaning of these items are as follows.
[Clip]: Adjusts the threshold for background cutout.
[Gain]: Adjusts the sharpness of the outline.
[Density]: Adjust the density of the video to be combined.
If you have recalled and adjusted a graphics file, the adjusted values of the
graphics file change as follows depending on the next file recalled:
• When a file with no alpha channel is recalled: adjusted values remain
unchanged.
• When a file with an alpha channel is recalled: values return to their default
settings.
Inverting the luminance key
1 Select [Key Invert], and confirm; 2 select [On], and confirm.
5
Press the MENU button to close the menu.
Note
Effect Pattern 0004
Transition Time 30 Frame
Edge Off
Key Chroma Key
Crop Off
B Luminance Key
Clip 0%
Gain
Density 100%
Key Invert Off
1
2
Effect Pattern 0004
Transition Time 30 Frame
Edge Off
Key Chroma Key
Crop Off
B Luminance Key
Clip 0%
Gain
Density 100%
Key Invert Off Off
B On
1
2


