9-11
Cisco IP Solution Center L2VPN and Carrier Ethernet User Guide, 6.0
OL-21636-01
Chapter 9 Creating a VPLS Policy
Defining an MPLS/EMS (EP-LAN) Policy with a CE
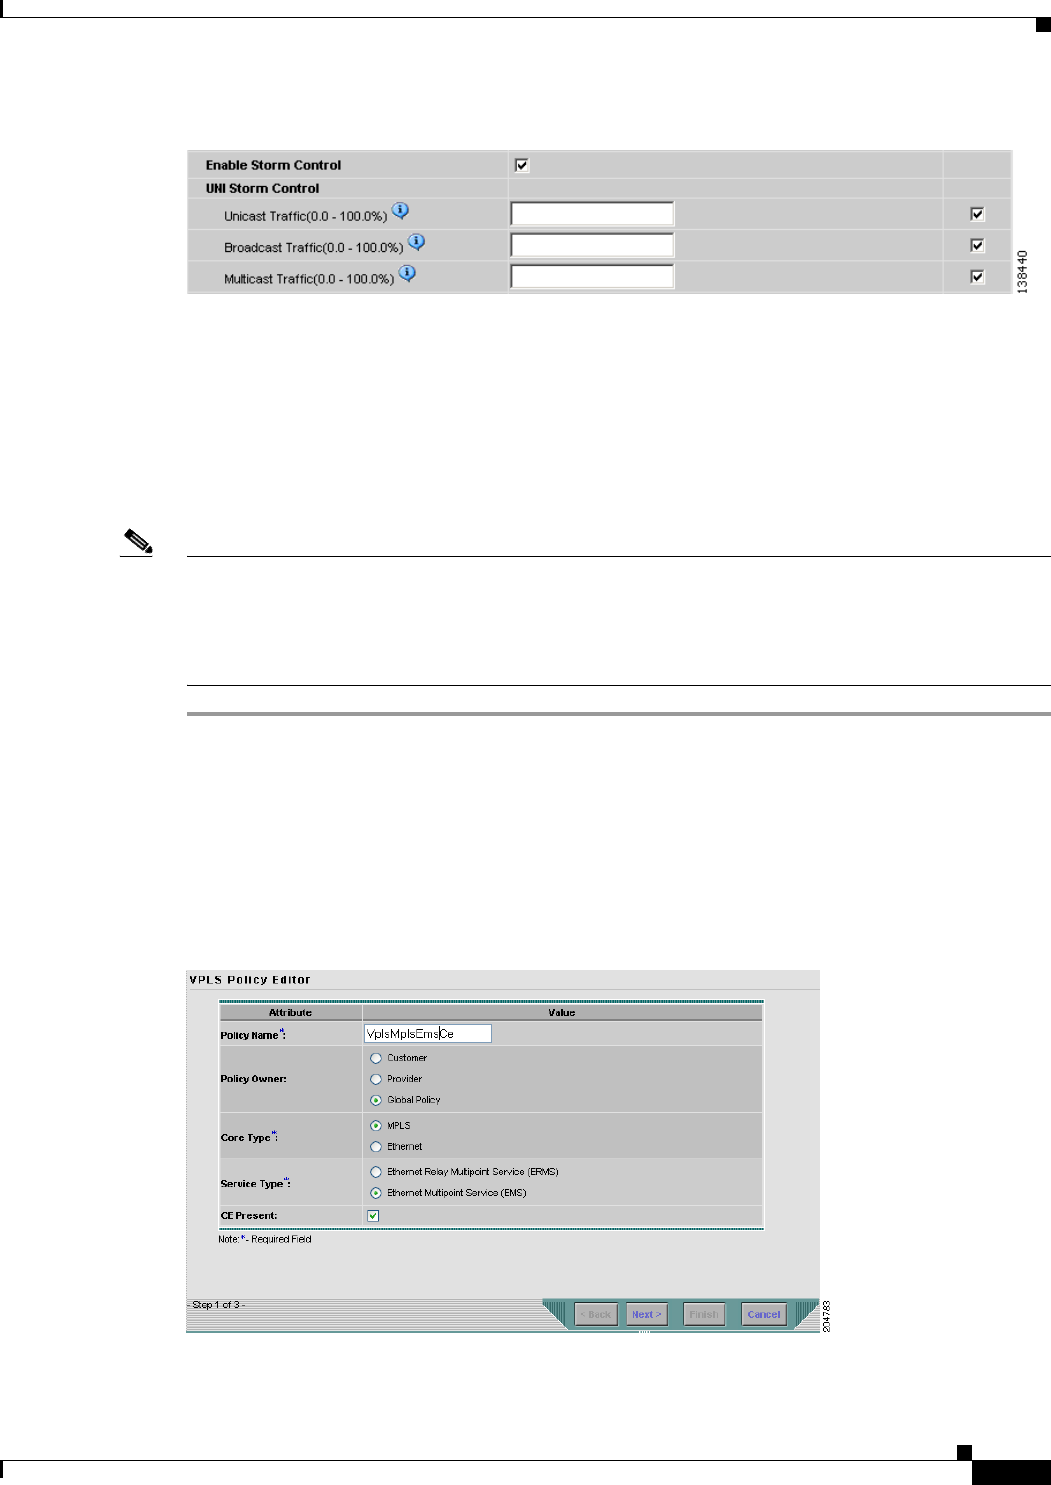
Figure 9-9 Enable Storm Control
Step 23 Click the Next button, if you want to enable template support for the policy.
The Template Association window appears. In this window, you can enable template support and,
optionally, associate templates and data files with the policy. For instructions about associating
templates with policies and how to use the features in this window, see
Appendix B, “Working with
Templates and Data Files”. When you have completed setting up templates and data files for the policy,
click Finish in the Template Association window to close it and return to the Policy Editor window.
Step 24 Click Finish.
Note The VC ID is mapped from the VPN ID. By default, ISC will “auto pick” this value. However, you can
set this manually, if desired. This is done by editing the associated VPN configuration. The Edit VPN
window has an Enable VPLS check box. When you check this box, you can manually enter a VPN ID
in a field provided. For more information on creating and modifying VPNs, see the
Cisco IP Solution
Center Infrastructure Reference, 6.0.
Defining an MPLS/EMS (EP-LAN) Policy with a CE
This section describes defining a VPLS policy with an MPLS core type and an EMS (EP-LAN) service
type with CE present.
Figure 9-10 is an example of the first page of this policy.
Figure 9-10 MPLS/EMS (EP-LAN) Policy with a CE


