Step 3 - Creating a Source Overlay
In this step, an overlay is designed by creating a source overlay.
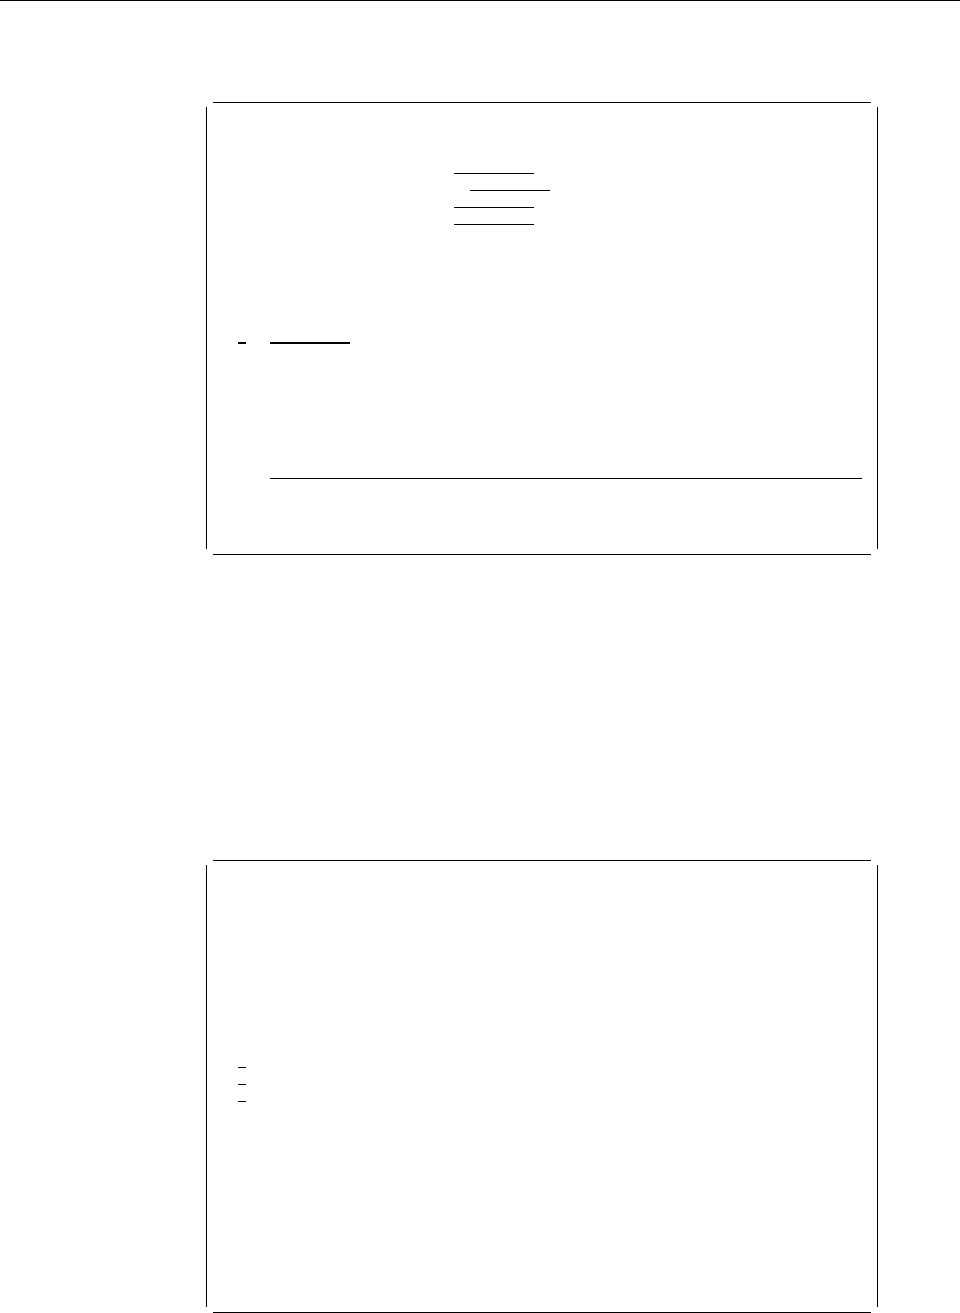
Work with Source Overlays
File . . . . . . . . . . OVLFILE Name, F4 for list
Library . . . . . . . . OVLLIB Name, ᑍLIBL, ᑍCURLIB
Source overlay . . . . . ᑍALL Name, genericᑍ, ᑍALL
Position to . . . . . . . Starting characters
Type options, press Enter.
1=Create 2=Change 3=Copy 4=Delete 6=Print 7=Rename
9=Create overlay
Source
Opt Overlay Text Changed
1 STATIONERY
(No source overlays in file)
Bottom
Parameters or command
===>
F3=Exit F4=Prompt F5=Refresh F9=Retrieve F11=Display names only
F12=Cancel
Example Actions
1. Type 1 (Create) in the
Opt
column in the first line of the list.
2. Type STATIONERY in the
Source Overlay
column in the first line of the list.
3. Press the Enter key.
Note: Unless it is changed, the first 8 characters of the source overlay name will
be used for the overlay (object) name when you create an overlay (object) using
option 9 (Create overlay). Any remaining characters are discarded.
The Create Source Overlay display appears.
Create Source Overlay
File . . . . . . . . . . . . : OVLFILE
Library . . . . . . . . . : OVLLIB
Source overlay . . . . . . . : STATIONERY
Type options, press Enter.
1=Select
Opt Action
Define overlay specifications
Work with source overlay fonts
1 Design overlay
F3=Exit F5=Refresh F9=Select all F12=Cancel
Chapter 3. Getting Started with the Overlay Utility 33


